How to Repair Cracks, Tears, and Peeling on Faux Leather Jackets and Furniture
Published on: March 27, 2026 | Last Updated: March 27, 2026
Written By: Harriet Nicholson
Hello Tannery Talk. That split seam or flaking surface on your faux leather piece feels like a lost cause. I hear you, and I want you to know it’s often a fix you can handle at home.
We will cover identifying the type of damage, gathering the right repair supplies, and step-by-step fixes for cracks, tears, and peeling.
My years of hands-on repair work on everything from worn saddles to synthetic materials give me the practical insight to guide you through this.
What You Can (and Can’t) Fix on Faux Leather
Can faux leather be repaired? Yes, but with clear limits. Think of it like first aid, not a full restoration. You can patch up the damage and make the piece functional and presentable again, but it won’t be “like new.”
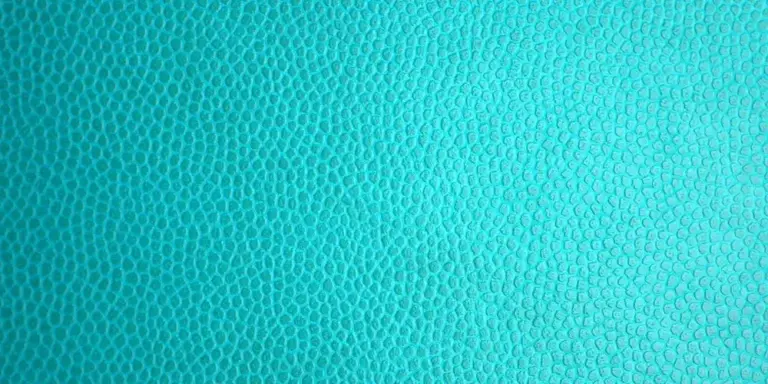
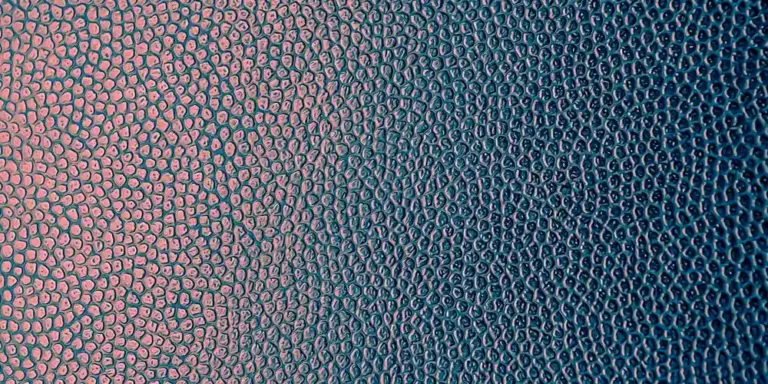
Faux leather is built like a painted wall. It has a fabric backing (the drywall) with a thin plastic coating of PVC or PU (the paint). Age, friction, and sunlight make this coating brittle. It cracks, peels, and tears away from the fabric. Your repair goal is to re-bond that split or fill the gap with a flexible material that can move with the fabric underneath.
Here’s your repair point of no return. Small, contained damage is fixable. A clean tear on a jacket sleeve, a network of fine cracks on a couch arm, or a section of peeling no bigger than a coin. Large areas where the coating has fully separated from the fabric base (delamination) are often beyond DIY repair. The foundation is gone.
Is it worth it? Compare the cost of a good repair kit to the value and sentiment of the item. Fixing a beloved jacket or a couch cushion is usually worthwhile. For a cheap, mass-produced item with widespread damage, your effort might be better spent elsewhere.
Gathering Your Repair Toolkit
Gather everything before you start. A paused repair with half-dried glue is a mess. Here is what you need.
- Flexible Adhesive: This is not super glue. You need a specialist adhesive designed for vinyl or faux leather. It stays pliable.
- Filler Compound: A flexible paste, often latex or vinyl-based, to fill cracks and holes. It should sand smooth.
- Color-Matched Paints or Dyes: Liquid or cream formulas made for faux leather. Some kits include mixing colors to match.
- Patching Material: A piece of matching faux leather or a strong, thin fabric for backing large tears.
- Faux Leather Repair Kit: A good kit bundles most of these. It’s a smart choice for your first repair on a valued item.
Choose your method based on the damage. Use a faux leather repair patch and adhesive for a clean tear where you can slip material underneath. Use filler for fine cracks and punctures. Use faux leather repair tape only as a last-resort, temporary fix on low-stress areas (like a couch back). It rarely looks good. You can also repair holes and tears in leather for a more permanent solution.
You’ll also need common items for prep: rubbing alcohol, cotton swabs, a small craft knife, fine-grit sandpaper (220 grit), tweezers, and a soft cloth.
Your Step-by-Step Fix for Cracks and Small Tears
This process works for a split seam on a jacket or a crack on a chair. Follow the order.
- Deep Clean the Area. Adhesion fails on dirt. Dampen a cloth with a bit of rubbing alcohol (test hidden area first). Gently wipe the damaged spot and a wide margin around it. Let it dry completely. Any grease or old conditioner will ruin the repair.
- Prep the Crack. For a hairline crack, use the craft knife to gently widen it just enough to create a tiny “V” groove for the filler. For a tear, carefully sand the edges of the faux leather coating to rough them up. This gives the filler something to grip. Wipe away all dust with a dry swab.
- Apply the Filler. Think of this like spackling a small hole in a wall. Use a small tool to press the flexible filler compound into the crack, overfilling it slightly. Your goal is to bond the sides and create a new, smooth surface. Keep the repair neat and contained.
- Smooth and Sand. Let the filler dry completely (check product times, often 2-4 hours). Once hard, use the fine-grit sandpaper to gently sand the repair flush with the surrounding surface. Feather the edges. The area should be smooth to your fingertip, with no ridge.
- Color the Repair. Apply the faux leather repair paint with a fine brush or sponge. Use thin layers, letting each dry. Build up the color to match. For better blending, apply a light coat over the border of the repair onto the good material. Some kits include a sealer or texture pad to mimic the grain.
How to Handle Peeling and Flaking Surfaces
Peeling is a different beast than a crack. The coating is lifting from its fabric base. Your job is to re-stick it or remove the loose part cleanly.
- Assess the Damage. Press on the lifted area gently. Is the coating still flexible and strong, just unglued? Or is it crispy and ready to flake more? If it’s mostly intact, you can re-adhere it. If it’s crumbling, you must trim it away and treat the area like a crack.
- Trim the Lifted Material. Use fine, sharp scissors to carefully cut away any coating that is fully detached or frayed. Stop where the coating is still firmly attached. You want a clean edge. Do not pull.
- Apply Flexible Adhesive. Lift the remaining, still-attached coating carefully with tweezers. Apply a thin line of your specialist flexible adhesive to the exposed fabric backing. Too much glue will seep out and stain. Press the coating back down.
- Weigh It Down. This step is critical. Place a piece of wax paper over the repair, then a flat, heavy book or weight. Even, firm pressure for the full cure time (often 12-24 hours) creates a strong, flat bond. Peeling often fails because this step is rushed.
- Touch Up the Seam. Once bonded, you will likely see a line where the coating was lifted. Use your faux leather repair paint to color over this seam, blending it into the surrounding area. The goal is to camouflage, not to build up a thick ridge.
Special Situations: Jackets, Furniture, and Car Seats
The repair process changes based on what you’re fixing. A car seat needs to survive sun and friction. A jacket needs to bend with you. The approach for each is slightly different.
How to Fix a Fake Leather Couch Arm
Couch arms take a beating. Leaning, spills, pets, you name it. Your repair needs to be tough, not just pretty. For a durable fix, your goal is to build a flexible, bonded layer that can handle pressure without peeling again. If peeling is involved on leather or faux leather couches and sofas, tailor the repair for those materials. We’ll cover peeling-specific steps in the next steps. Start by cleaning the area with a gentle, water-based cleaner. Let it dry completely. Then, apply a thin layer of flexible adhesive made for vinyl or fabric directly into the crack. For large tears, you may need to use a patching material from underneath.
A common mistake is using a hard-drying glue. It will crack at the first lean. Always opt for a flexible, clear-drying adhesive. Press the repair flat with a weight (like a heavy book wrapped in wax paper) for at least 24 hours. This gives the bond time to set under pressure, just like the original material.
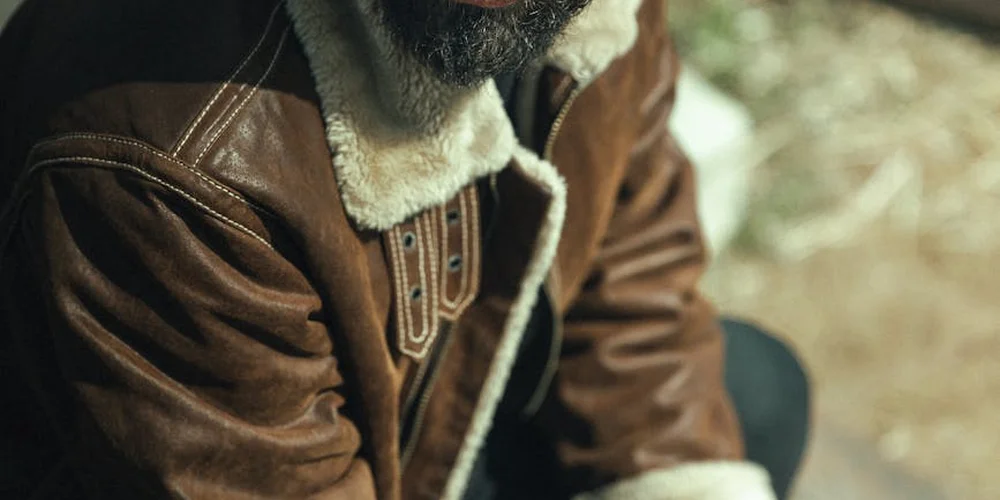
Repairing a Faux Leather Jacket
Your jacket, like my old calfskin June, needs to move. A stiff repair will look obvious and feel uncomfortable. Using a specialized faux leather repair kit for jackets is your best bet, as these often include flexible color-matched compounds and graining tools. The key step is matching the surface texture. Before the repair compound dries, use the tool from the kit or even a piece of similar material to gently press a grain pattern onto it.
Work on a flat surface. For a tear, apply a thin patch from the inside with flexible adhesive first. Then, build up the colored compound on the outside in thin layers, letting each dry. This prevents a bulky, stiff spot. The finish should feel smooth and supple, not like a rigid scab.
Faux Leather Repair for Car Seats
Car seats face the worst conditions: constant friction, body oils, and intense UV light. A standard repair might melt or fade. Fixing leather automotive interiors involves special considerations for car seats and dashboards. Search for repair products specifically labeled as UV-resistant and formulated for automotive vinyl or leatherette. These are engineered to withstand the dashboard environment. After the repair, protecting it is non-negotiable.
Clean the seat with a pH-balanced automotive interior cleaner. Any residue from armor-all type products can prevent the repair material from sticking. For cracks on seat bolsters, you might need to inject a liquid vinyl repair filler to rebuild the spongy base before addressing the surface color.
Using a Faux Leather Repair Patch for Strength
Sometimes, surface color isn’t enough. A patch gives structural integrity. For hidden strength, apply a faux leather repair patch from the backside of the material, like inside a jacket lining or under a couch cushion. Cut the patch larger than the tear. Apply flexible adhesive to the patch and press it firmly onto the back of the damaged area. Use a roller or the back of a spoon to remove air bubbles.
Let this internal patch cure fully before you do any surface work. This creates a durable bridge so the tear cannot spread. It’s the hidden foundation that makes the visible repair last.
When to Search for “Faux Leather Repair Near Me”
Know your limits. I know when a job is beyond my bench. Call a professional upholsterer for large sections of peeling coating, major seam failures on furniture, or if the underlying foam padding is damaged. They have the tools and large swatches of material to replace whole panels seamlessly. It’s often more cost-effective and looks infinitely better than a DIY fix on a massive scale.
Keeping Your Repair Looking Good
A repair is a new beginning. Without changing your habits, the material will crack and peel again in the same spots. Faux leather isn’t like real leather; it can’t absorb conditioner. Its lifespan depends entirely on proper care and protecting its plastic or polyurethane coating.
Faux leather cracks again because the plasticizer oils in the material slowly evaporate, and UV rays break down the surface coating, making it brittle. Your daily routine is about slowing that process. Following a targeted care routine can help prevent faux leather from peeling, cracking, or flaking. Small, consistent steps make a big difference.
Simple, Powerful Habits
- Dust weekly with a soft, dry cloth. Grit acts like sandpaper.
- Clean spills immediately with a barely damp cloth. Don’t let liquids sit.
- Use a protectant spray designed for vinyl or faux leather every 2-3 months. This adds a sacrificial layer against UV rays and scuffs.
Choosing Your Cleaners
Harsh chemicals are the enemy. Avoid anything with ammonia, bleach, or abrasive solvents. They strip the coating’s top layer, leaving it dull and vulnerable. Stick to pH-balanced cleaners labeled for use on sensitive surfaces or automotive interiors. For a homemade option, a drop of mild dish soap in a cup of warm water works in a pinch. Always test any cleaner on a hidden area first.
Smart Placement for Furniture
Where you put your couch or chair matters most. Keep faux leather furniture away from direct sunlight and heating or air conditioning vents to prevent the material from drying out and fading rapidly. Use curtains or blinds. Rotate cushions if you can. Heat accelerates the loss of the plasticizers that keep the material flexible, unlike genuine leather which requires regular conditioning to extend its lifespan.
Answering Your Care Questions
How do you care for faux leather when it gets wet? Blot it dry immediately with an absorbent towel. Do not rub. Then, let it air-dry completely away from direct heat. Do not use a hairdryer, as concentrated heat can cause the layers to separate. Should it require cleaning beyond blotting, use a mild soap and a damp cloth to wipe it gently. For deeper cleaning, follow a safe washing method tailored for synthetic leather to avoid damage.
How do you protect faux leather? It’s a two-part plan: prevent damage and shield the surface. Use coasters, avoid sharp objects, and apply a quality protectant spray regularly. This creates a barrier against spills and UV light, which are the two main causes of premature aging.
Common Questions
Is a “faux leather repair spray” a good solution for cracks?
Most sprays are temporary, cosmetic topcoats. For a lasting repair on a crack, you must fill and bond the damage first with a flexible compound, then use a colorant.
How do I find a reliable “faux leather repair near me” service?
Search for “upholsterer” or “vinyl repair specialist,” not just general handymen. A true pro will ask for photos of the damage and can explain their patching and color-matching process upfront.
Are the faux leather repair kits at Home Depot any good?
They can be adequate for small, straightforward jobs on low-value items. For a prized jacket or sofa, invest in a specialized kit from a leathercare supplier for better color matches and flexibility.
What’s the single most important feature in a repair product for car seats?
UV resistance. Standard products will fade and fail quickly. Only use compounds and paints formulated specifically for automotive vinyl to withstand sun and heat.
When should I use a clear repair tape versus a patch and glue?
Use tape only as a temporary, invisible-from-a-distance fix on low-contact areas. For any repair you want to last, a fabric or leather patch bonded with flexible adhesive from the underside is the correct, permanent method.
Final Thoughts on Faux Leather Repair
Remember, clean first. Every successful repair on a vinyl or PU leather jacket starts with removing old wax and dirt from the damaged area. A good bond needs a perfectly clean surface. That same care extends to the jacket as a whole—clean, condition, and protect leather or faux leather. It’s also important to know how to remove stains and restore the finish to keep it looking fresh.
Choosing to repair instead of replace is a responsible step for your wallet and the planet. Practicing these skills on an old piece first builds the confidence to care for all your belongings better.
Further Reading & Sources
- Amazon.com: Faux Leather Repair Kit
- r/howto on Reddit: Repair fake leather?
- How to Fix Peeling Leather? All About Bonded & Faux Leather
- How to Repair Peeling Faux Leather Jacket and Make It Look New Again?
Harriet is a avid collector of leather goods such as purses, bags, seat covers, etc and has an extensive background in leather care, recovery, stain removal and restoration. She has worked for a number of years perfecting her leather care techniques and knows the ins and outs of restoring all kinds and types of leather products. With her first hand knowledge in leather care, you can not go wrong listening to her advice.
Bonded and Faux Leather Care