How Do You Remove Mold from Leather Furniture?
Published on: November 19, 2026 | Last Updated: November 19, 2026
Written By: Harriet Nicholson
Hello Tannery Talk. Seeing that blotchy mold on your leather couch is worrying, but take a breath. Many leather pieces can recover with the right care.
This guide walks you through a safe cleanup. We will cover identifying mold safely, gathering gentle supplies, a detailed cleaning method, proper drying, and simple prevention tips.
I have handled mold on client pieces and my own, like Mason, using methods that protect the leather’s integrity.
Why Mold Finds a Home on Your Leather
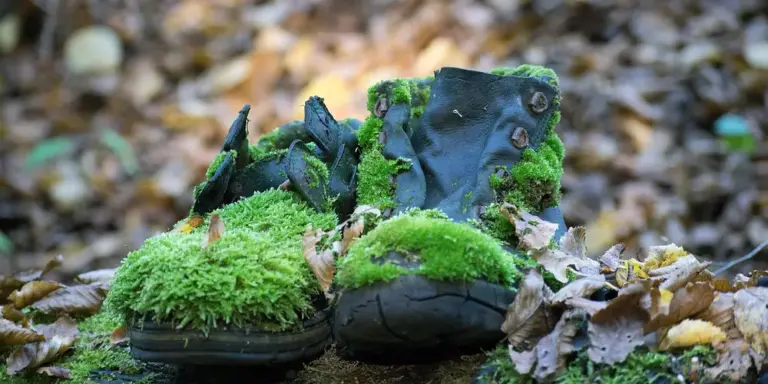
Leather comes from animal skin. That makes it an organic material, just like wood or cotton. Mold feeds on organic matter. Think of a forgotten loaf of bread in a plastic bag. The damp, enclosed space lets mold thrive. Your leather couch is not so different when the conditions are right.
Mold needs three things: food (the leather itself), moisture, and poor air circulation. Common causes in your home create this perfect storm.
- High Humidity: Damp climates or steamy rooms without a dehumidifier.
- Spills and Stains: Liquid that soaks in and doesn’t fully dry.
- Poor Ventilation: Furniture pushed against cold exterior walls or in stuffy, closed rooms.
- Storage in Damp Places: Basements, garages, or sheds are the most common culprits.
You might see two types of growth. Mildew is usually surface-level, powdery, and white or gray. True mold is fuzzier, can be green, black, or blue, and may dig deeper. I treat both with the same immediate caution and cleaning steps. However, fuzzy, colorful mold often signals a more serious moisture problem that you’ll need to fix to stop it from coming back.
Getting Ready: Safety and Spot Tests First
Your first step is not cleaning. It is setting up safely. Mold spores are not good to breathe in.
If you can, take the furniture outside. This is the best option. If you must work inside, open all windows and doors in the room. Use a fan to push air outside. Wear protective gloves and a basic dust mask. You are protecting your leather, but you must protect yourself first.
Gather your gear before you start. You don’t want to run back inside with moldy hands. You will need:
- Clean, soft-bristle brushes (a horsehair shoe brush or a very soft nail brush works).
- Several clean, white microfiber cloths.
- A bowl of clean, lukewarm water.
- Mild, dye-free dish soap.
- White distilled vinegar.
- A separate spray bottle for your cleaning solution.
Now, the most important step that everyone wants to skip: the spot test. This checks if your cleaning method will damage the leather’s finish or color.
- Mix one drop of your mild soap into a quarter cup of water.
- Dampen a corner of a white cloth with this solution.
- Gently rub a hidden area, like the back of a cushion or underneath the couch.
- Blot it dry with a clean part of the cloth.
- Wait for it to dry completely. Look for any color transfer to your cloth or a change in the leather’s texture.
If you see color bleed or the leather feels rougher, your leather’s finish is fragile, and you should call a professional. Proceed only if the test spot looks and feels unchanged.
Finally, look at your couch. Is the leather already dry, cracked, or brittle? Is the mold growth thick, fuzzy, and covering a large area? If you answer yes, pause. Aggressive cleaning on compromised leather can cause more harm. For severe cases or antique pieces, seeking a professional restoration service is the wisest and safest choice for your furniture’s long-term health.
The Step-by-Step Clean: How to Clean Mold Off Your Leather Couch
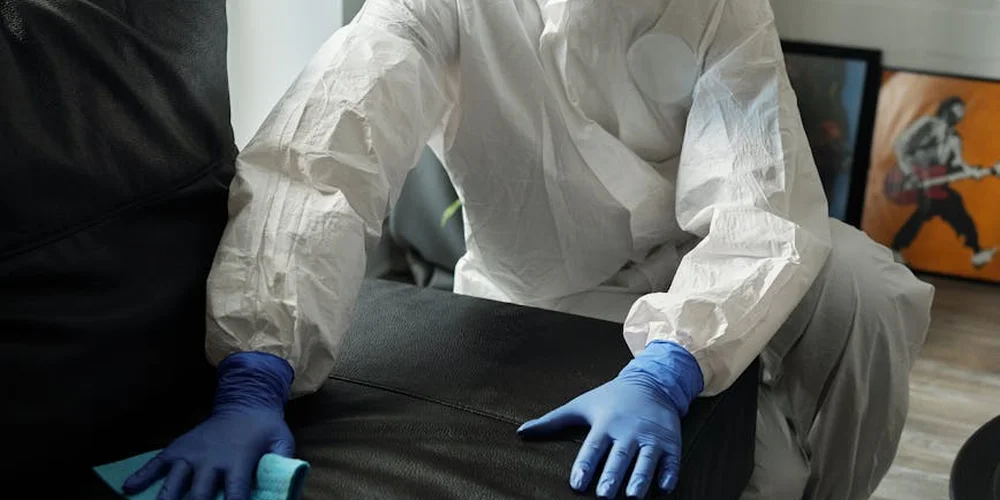
Seeing mold on your couch can feel defeating. Take a breath. This is a fixable problem if you move slowly and gently. Rushing or scrubbing can grind spores deeper into the grain or damage the leather’s surface. Think of this like nursing a good piece back to health, not attacking a stain. When you’re ready to act, we’ll show you how to remove and treat mold from leather items safely in the next steps. That guide will walk you through protecting the finish while you clean.
Work in a well-ventilated area, or better yet, take the piece outside. You do not want to breathe in those spores or let them settle elsewhere in your home.
Your Toolkit
- Soft-bristled brush (a clean, dry paintbrush works)
- Vacuum with a soft brush attachment
- Several clean, white, lint-free cloths (old t-shirts are perfect)
- Mild dish soap
- Distilled white vinegar
- Spray bottle (for the vinegar solution only)
- Clean, dry towels
- A quality leather conditioner
Step 1: Dry Removal
Start with everything dry. Your goal is to lift away the fuzzy, dry top layer of mold without mashing it into the leather. If you’re dealing specifically with mildew, check out this step-by-step guide to safely clean and restore moldy leather.
Using your soft brush, gently flick the moldy areas to dislodge the spores. Brush in one direction, away from you. Do this outside if you can. Follow up by vacuuming the entire piece with the soft brush attachment. This picks up the loose spores you just brushed away.
This dry step removes a huge amount of the problem before you ever add moisture.
Step 2: The Soap Wash
Now, we clean. Fill a bowl with lukewarm water. Add just two or three drops of mild dish soap and swish it to mix. Dampen one of your clean cloths in this solution, then wring it out until it is barely damp. You want the cloth damp, not wet.
Wipe the leather down in small, controlled sections. Use light, circular motions. Rinse your cloth in clean water and wring it out thoroughly after each section. Turn to a fresh, dry cloth to blot the area you just cleaned and remove any soapy residue. Note that cleaning is not the same as disinfecting. If you’re looking for the best methods to clean and disinfect general leather items, that topic is explored next.
This step is about lifting grime, not soaking the hide. If your leather feels soggy, your cloth is too wet.
Step 3: The Disinfecting Rinse
Mold is a living fungus. Cleaning removes it, but we need to discourage what’s left. White vinegar is a gentle, natural disinfectant for this job.
Mix equal parts white vinegar and distilled water in your spray bottle. Do not spray this directly onto the leather. Instead, mist it lightly onto a clean cloth until the cloth is slightly damp. Wipe this gently over all the areas you just cleaned with soap. Let it sit for about 10 minutes. Remember that household items such as vinegar, alcohol, and soap can harm leather over time. This is why many DIY guides warn about the dangers and suggest safer alternatives.
The vinegar smell is strong but it will fade completely as it dries. This step helps kill any remaining mold spores that are hiding in the pores.
Step 4: The Dry Down
Patience here is everything. This careful approach helps prevent your leather items from drying out and cracking over time. Use a dry, absorbent towel to blot away all visible moisture from the leather’s surface. Then, let the furniture air dry naturally. Keep it out of direct sunlight and away from heaters, radiators, or hair dryers.
Artificial or intense heat will bake the leather, causing it to shrink, stiffen, and crack. It can take a full day or more to dry completely. You will know it’s ready when it feels cool and dry to the touch, not cold or damp.
Rushing the drying process is one of the most common mistakes and can cause irreversible damage.
Step 5: Condition and Protect
Cleaning, and especially disinfecting with vinegar, strips the leather’s natural oils. This leaves it thirsty and vulnerable. Conditioning leather is not an optional last step. It is the most important part of the repair.
Once the couch is bone-dry, apply a generous amount of a good leather conditioner. Use a clean cloth and work it into the leather in circular motions, just like I do with Mason my saddle after a muddy ride. Let it soak in fully. This replenishes the oils that keep leather supple and forms a barrier against future moisture.
Well-conditioned leather is resilient leather. This single step drastically reduces the chance of mold returning.
What About Suede or Special Finishes?
The soap-and-water method is too aggressive for suede or nubuck. Water can leave dark, permanent stains on these porous surfaces.
For these materials, start with a dry, specialized suede brush or a suede eraser kit. Brush the moldy area gently in one direction to lift the nap and remove surface spores. Vacuum gently. For stubborn spots, use a tiny amount of suede-specific cleaner on a brush, following the product’s directions exactly.
Be extra careful with aniline or semi-aniline leathers. They have minimal pigment coating, making them more absorbent. Test any cleaner, even a vinegar solution, in a hidden spot first. They can stain easily.
Using Commercial Leather Mold Removal Products
Several companies make leather-safe biocides and mold removal sprays. These can be very effective. If you choose this route, your number one rule is to follow the product’s label instructions without deviation.
Look for terms like pH-balanced for leather or “non-abrasive.” Products designed for automotive or furniture leather are usually a safer bet than general household cleaners. Even with a dedicated product, always test it on a hidden area first.
When Mold Won’t Budge or You’re Unsure
Sometimes, mold roots itself deep into the leather or the hide is too delicate for a DIY approach. Calling a professional is a sign of good care, not defeat.
You should consider a professional leather restoration service if:
- Dark, ink-like stains remain after a thorough cleaning.
- A deep, musty smell persists in the leather days after it has dried.
- The mold is on a valuable, antique, or sentimentally irreplaceable piece.
- The leather feels stiff, cracked, or tacky after your cleaning attempt.
A pro has tools for deeper cleaning, can correct the leather’s pH balance, and can even match and reapply dye if the mold has caused discoloration. For pieces with severe structural damage, restoration might not be possible. Part of responsible ownership is knowing when to seek expert help.
How to Keep Mold Off Your Leather Furniture For Good
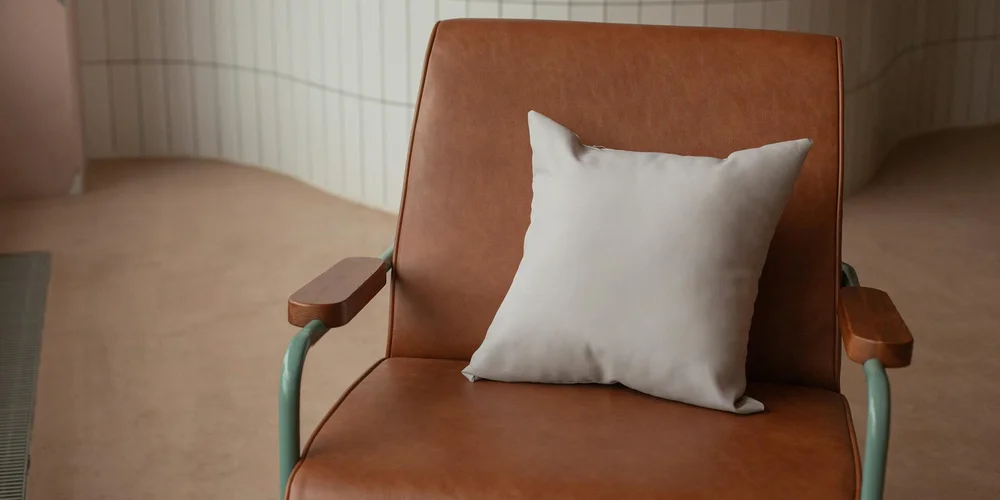
Prevention is simply part of the routine, like giving June my jacket a quick wipe-down after a wear. Mold needs moisture, warmth, and organic material (dust, skin oils) to grow. Your goal is to take away its welcome mat.
- Control Humidity: Use a dehumidifier in damp basements or rooms. Ensure good airflow around your furniture. Don’t push couches directly against cold, exterior walls where condensation can form.
- Clean Spills Immediately: Blot liquids with a dry cloth right away. Never let water or other liquids sit and soak into the seams.
- Regular Light Cleaning: Every few months, wipe down your leather with a dry, soft cloth to remove dust and skin oils. This removes the “food” mold would use.
- Condition Regularly: This is your best defense. Condition your furniture every 6 to 12 months. Supple, oil-rich leather is far more resistant to absorbing ambient moisture that leads to mold.
- Store Smartly: If covering furniture, use a breathable cotton canvas cover, never plastic. Plastic traps moisture and creates a perfect greenhouse for mold. Store items in a cool, dry place.
Consistent, simple care keeps the leather’s natural defenses strong and your mind at ease.
Common Questions
Is vinegar really safe for my leather couch?
Yes, when used correctly as a diluted rinse, not a soak. Always apply it to a cloth first, never spray it directly on the hide, and follow it with a thorough conditioning.
How do I clean mold from the fabric parts of my leather sofa?
Treat fabric cushions or backs separately with methods meant for upholstery, not leather. You may need a specialized fabric cleaner or a mild upholstery shampoo after a careful vacuuming.
What should I look for in a commercial leather mold removal product?
Seek pH-balanced formulas specifically designed for leather care or preservation. Regardless of the marketing, always perform a spot test in an inconspicuous area first.
Can I use the same method on my moldy leather shoes?
The core principles are identical: dry brushing, a gentle soap wipe, and a diluted vinegar rinse. Pay extra attention to drying them slowly away from heat before conditioning.
When is it time to call a professional instead of trying this myself?
Call a conservator if the mold has caused deep staining or a persistent odor after cleaning, or if the leather is antique or already cracked. Do not experiment on historically or sentimentally valuable pieces.
Final Thoughts on Mold and Leather Care
The most important lesson is this: stopping mold is simpler than fighting it. Your best tool is a regular, gentle cleaning routine that keeps your leather dry and clean, especially when dealing with mold on leather.
Looking after leather is a commitment to preserving something well-made. I find that building these care skills deepens my respect for the material and the craft behind every piece. Debunking common myths about leather care also helps in taking better care of it.
Citations and Authoritative Sources
- How to Remove Mold From Leather: The Guide – Moonster Leather Products
- How to Clean Mold Off Leather | Puracy
- How to Remove Mold From Leather – An Essential Guide
Harriet is a avid collector of leather goods such as purses, bags, seat covers, etc and has an extensive background in leather care, recovery, stain removal and restoration. She has worked for a number of years perfecting her leather care techniques and knows the ins and outs of restoring all kinds and types of leather products. With her first hand knowledge in leather care, you can not go wrong listening to her advice.
Treating Mold and Mildew