How to Restore and Refresh Your Suede Shoes to Look New Again
Published on: July 2, 2026 | Last Updated: July 2, 2026
Written By: Harriet Nicholson
Hello Tannery Talk. That matted, dusty look on your suede shoes doesn’t have to be permanent-I can show you how to bring back their soft texture and rich color.
This article will walk you through a gentle cleaning method, how to lift the nap properly, dealing with stubborn stains, and choosing the right protector.
My advice comes from hands-on experience restoring everything from rugged boots to soft suede, much like caring for the patina on my old saddle Mason.
The Right Mindset and Tools for Suede Revival
First, let’s talk about what suede really is. Imagine a piece of leather. One side is smooth and tight, that’s the grain. Suede is the other side, the soft, fuzzy underside. It’s not a different material, it’s just the flesh side of the hide. That fuzzy surface, called the nap, is beautiful but delicate. It grabs onto dirt and shows scuffs more than smooth leather like the hide on my jacket, June.
Reviving suede is not about harsh scrubbing. Think of it as coaxing the nap back to an even, upright position, gently brushing away what doesn’t belong. You are guiding the material back to life, not fighting with it.
You only need a few key tools to do this right. Gather these essentials before you start:
- A good suede brush, typically with brass and nylon bristles. The brass is for gentle, dry cleaning. The softer nylon is for finishing.
- A suede eraser, which looks like a pencil eraser or a block of rubbery material.
- A clean, white microfiber cloth.
- A quality suede protector spray for aftercare.
For shoes with deeper stains or faded color, you might consider two optional items: a suede-specific cleaner liquid and a color refresher product. Have them on hand if your shoes need that extra step.
Your workspace matters almost as much as your tools. Find a clean, well-lit table. Lay down some paper. Patience is your most important tool here. Rushing leads to mistakes, and with suede, it’s better to go slow and steady.
How to Clean Your Suede Shoes Step by Step
This process is the foundation. Follow these steps in order, and you will see a dramatic difference. I recently did this for a pair of suede Chelsea boots, and the transformation was all in the method.
Step 1: The Dry Brush
Never start with liquid or sprays. Always begin with a thorough dry brushing. This lifts surface dirt and dust out of the nap without grinding it in.
- Hold the shoe firmly.
- Use the brass-bristle side of your brush. Brush in one direction, following the natural grain of the nap. You’ll often feel it smooth one way and roughen the other.
- Brush the entire shoe this way. Apply firm but gentle pressure.
- Tap the shoe soles together over your paper to dislodge the dust you’ve lifted.
This first step alone can restore a surprising amount of color and texture, especially on shoes that are just dusty or lightly worn.
Step 2: Tackling Scuffs with the Eraser
See those dark spots or scuff marks? The suede eraser is for them. Common mistake: people press too hard. Be gentle.
- Rub the eraser over the scuff mark using a gentle, circular motion.
- You’ll see a pink or gray rubber residue build up on the suede. That’s the dirt and oil being lifted out.
- Use your brass brush to thoroughly brush away all the eraser residue. Brush in the direction of the nap.
For stubborn spots, you can repeat this process two or three times. Let the eraser do the work, not your elbow grease.
Step 3: Deep Cleaning for Ground-In Grime
If dry brushing and erasing aren’t enough, it’s time for a dedicated suede cleaner. This is for overall dinginess or set-in stains.
- Shake the cleaner well. Apply a small amount to your microfiber cloth, never directly to the suede.
- Gently wipe the cloth over the soiled area. Use small, circular motions.
- Allow the cleaner to dry completely. This usually takes about 30 minutes.
- Once dry, brush the entire area vigorously with your brass brush to reactivate the nap.
Step 4: The Final Brush for a Like-New Finish
This is the secret step. After any cleaning, the nap can be lying in different directions, looking patchy.
- Switch to the softer nylon bristles on your brush, or use a dedicated suede finishing brush.
- Brush the entire surface of the shoe evenly in one direction to set the nap uniformly.
- Go over it once more with a light, lifting motion to fluff the fibers.
This final brush is what gives suede that consistent, velvety, fresh-from-the-box appearance. It blends the cleaned areas with the rest of the shoe and makes the color look even and rich again.
How to Tackle Stubborn Stains and Water Marks
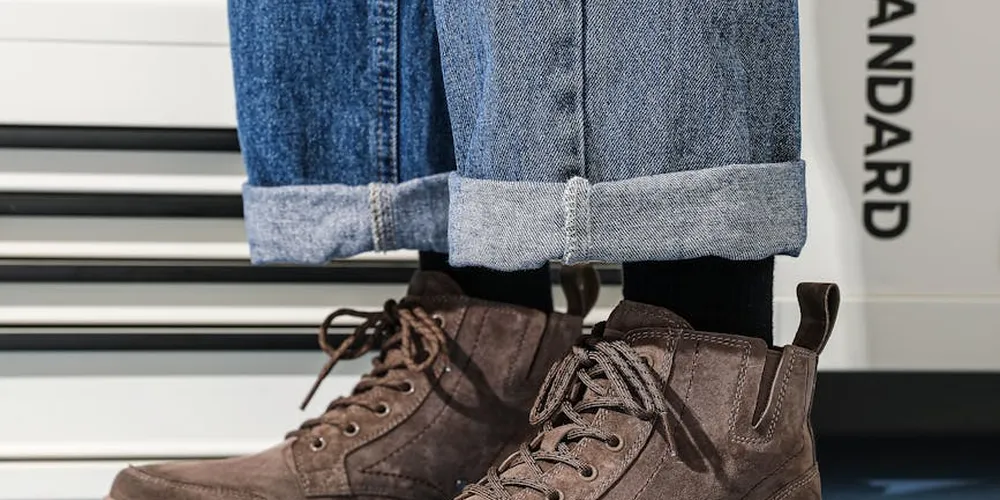
Stains on suede feel like a final sentence. A dark water spot or a greasy mark can make you want to hide your shoes forever. I understand that worry completely. The good news is, most stains are not permanent if you act calmly and correctly, especially when you know how to remove water stains and marks from suede shoes or boots.
Let’s start with the most common issue: water. When your suede gets wet, your first move is critical. Do not put them near a radiator, hairdryer, or in direct sun. Heat will cook the stain into the leather, making it a permanent, stiff scar. This is particularly problematic when trying to remove stains.
The Right Way to Dry Wet Suede
Follow these steps as soon as you can.
- Blot any excess water gently with a clean, absorbent cloth. Do not rub.
- Stuff the shoe firmly with crumpled white paper (newsprint can bleed ink). This holds the shoe’s shape and draws moisture out from the inside.
- Place them in a well-ventilated room at normal temperature. Let them dry completely for 24 to 48 hours. Patience is your best tool here.
Once the shoe is totally dry, you can often revive the nap and make water marks disappear by gently massaging the area with your fingertip or a suede brush. Work in a circular motion to reactivate and lift the fibers. You’ll see the color and texture even out. If rings remain, you can follow a method to remove water stain rings from suede shoes without damaging the nap.
Handling Salt Stains and Grease
Winter brings salt rings, and life brings oily spots. Each needs a different touch.
For white salt stains, you need to neutralize the salt. Make a weak solution of equal parts white vinegar and water. Dampen a corner of a clean, light-colored cloth with the solution. Gently dab at the stain, being careful not to soak the suede. Let the area air dry completely. Once dry, brush the nap vigorously with a suede brush. The stain should lift away. This approach also helps remove salt stains and snow damage from setting in on suede or faux suede boots. Treating them promptly after exposure keeps the nap looking its best.
Grease is trickier. Your first and safest move is always a specialized suede degreaser or dry cleaning pad. These are formulated to pull oil out of the fibers without spreading it. Rub the pad gently over the spot or apply the degreaser as directed. Never try to wash a grease spot with water, as this will set the stain and create a larger, darker ring. If a degreaser doesn’t work, consulting a professional cleaner is the wise next step. These tips apply directly to removing grease stains from suede leather boots or shoes.
How to Refresh and Restore Suede Color
You asked how to make black suede look new again. That desire for a rich, deep color is what keeps us caring for our leather. Restoring suede color means one of two things: reviving the original pigment or carefully adding new pigment back, which is often done through dyeing and repair techniques.
First, try a deep clean. Often, dirt and grime are just masking the true color. Use a suede-specific cleaner and a nubby eraser for scuffs. You might be surprised how much life comes back. My jacket, June, looks brighter after every gentle clean.
If cleaning isn’t enough, you move to a color refresher. This is different from conditioning smooth leather like my saddle, Mason. With suede, you are not feeding oils into the hide. You are adding pigment back to the very tips of the surface fibers.
Using a Suede Dye or Color Spray
This process requires care, but it’s straightforward.
- Test First. Always spray or apply the product to a hidden area, like inside the tongue or behind the heel counter. Check for color match and any adverse reaction after it dries. I learned this the hard way years ago.
- Prepare the shoe. Ensure it is completely clean, dry, and brushed. Stuff it with paper to protect the interior.
- Apply in thin, even layers from about 6 inches away. Do not soak the suede. A light mist is all you need.
- Let the first layer dry fully according to the product instructions. This is usually 10-15 minutes.
- Assess the color. Apply a second or third light layer only if needed to build up an even, deep shade. More thin layers are always better than one heavy, dripping coat.
- Allow for final, complete drying for at least 24 hours before wearing or brushing.
Black and darker brown suedes are the most forgiving and often restore to a near-new, uniform shade with a dedicated color refresher. Lighter colors can be trickier to match perfectly, so take your time with the test step. The goal is a refreshed, vibrant look that embraces the shoe’s history, not a perfect, factory-fresh coat that hides its character.
How to Protect Your Suede and Keep It Looking New
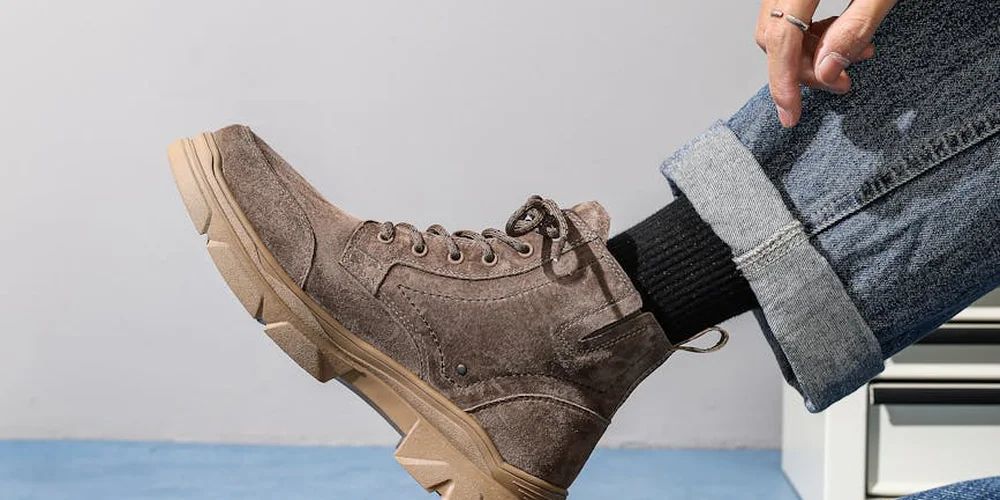
You’ve just cleaned your suede. The nap is standing up, the color looks revived. This is the moment to lock in that good work. Protecting your suede isn’t an optional extra, it’s how you make your restoration efforts last for years. Think of it like this: cleaning fixes the past, but protecting secures the future.
The Essential Shield: Suede Protector Spray
After every single cleaning session, applying a protector spray is your most important step. I never skip this with my own suede items. It’s their raincoat and stain shield in one. To maximize protection for suede shoes and boots, you must know how to properly apply protective spray. The next steps will walk you through the correct technique for applying protective spray to suede items.
Here is how to apply it correctly:
- Ensure your shoes are completely dry and at room temperature.
- Take them and the spray can outside or to a very well-ventilated area.
- Hold the can about 6 inches away from the suede.
- Apply a light, even first coat. Move the can in a steady sweeping motion. You want a fine mist, not a drenching.
- Let this coat dry for 10-15 minutes.
- Apply a second light coat for complete coverage.
- Let the shoes dry fully for at least 24 hours before you even think about wearing them.
This spray creates an invisible barrier that causes water to bead up and roll off, giving you precious seconds to blot a spill before it soaks in. Reapply this protection every few months, or immediately after a thorough cleaning, to maintain its strength.
Simple Daily Habits for Long-Term Care
Protection from a spray is fantastic, but your daily habits are what truly prevent wear. These small actions take seconds but add years to your shoes’ life.
- Brush After Every Wear: Before you put them away, give your suede a quick once-over with a suede brush or a clean, dry toothbrush. This lifts the nap and knocks out dust and dirt before it gets ground in. It’s like brushing your teeth, it’s just basic maintenance.
- Use a Shoe Horn, Always: This isn’t just for fancy dress shoes. Jamming your foot into a suede shoe crumples and crushes the soft heel counter. A long-handled shoe horn preserves the shape effortlessly.
- Store Them Smartly: Keep them in a cool, dry place away from direct sunlight, which can fade colors. Use shoe trees made for suede or cedar ones to absorb moisture and maintain form. If you don’t have trees, stuff them loosely with acid-free tissue paper.
Building Your Maintenance Routine
Consistency beats heroic efforts. A simple, repeatable routine prevents the panic of a major stain or loss of color.
Follow this basic schedule:
- After Each Wear: Quick brush, check for spots, let air out.
- Every Month: A more dedicated brushing session to revive the nap.
- Every 3-4 Months or After Cleaning: Reapply your suede protector spray.
- Seasonally: Do a full assessment. Do they need a deeper clean with a suede eraser? Is the protection still strong?
This proactive approach means you’re always ahead of problems, so you rarely need to perform a major “restoration” again. My jacket, June, gets this same kind of scheduled check-in. It keeps her looking good with minimal fuss.
Knowing When to Call a Professional
We can handle most things at home. But sometimes, acknowledging a limit is the wisest form of care. If you encounter any of the following, it’s time to seek a professional shoe repair or leather care expert:
- Major Structural Damage: A torn sole, a separated heel, or a deep crack in the leather itself.
- Severe, Set-In Stains: You’ve tried gentle erasing and cleaning, but an oil-based stain or deep ink mark remains.
- Significant Color Loss or Bleaching: From extensive sun exposure or a harsh chemical accident. Re-dyeing suede is a very specialized skill.
- You Feel Unsure: If you’re hesitant or the shoes have high sentimental or monetary value, a professional consultation is a smart investment for peace of mind.
There’s no shame in getting help. It shows you value the item enough to give it the best possible care.
Common Questions
When should I use the suede eraser versus just the brush?
Use the brass brush first for overall dust and surface dirt. Reserve the eraser specifically for targeted scuff marks and dark spots where dirt is embedded in the nap.
Is it safe to use a regular leather conditioner on my suede shoes?
No, never. Conditioners and oils are for smooth, grain-side leather. They will saturate and permanently mat the delicate nap of suede, creating dark, greasy spots. Leather conditioners and oils are indeed great for smooth leather, but not for suede.
How do I know if my shoes need a dedicated suede cleaner liquid?
If dry brushing and erasing leave an overall dingy or grayish cast, the grime is set in. That’s when you step up to a specialist suede cleaner for an all-over refresh.
Can a suede protector spray make my shoes completely waterproof?
Think of it as a highly water-resistant shield, not a seal. It buys you critical time to blot moisture away before it soaks in. No spray makes suede suitable for a downpour.
What’s the biggest mistake people make when trying to restore color?
Applying a color spray or dye to dirty suede or using too much product. Always clean first, then build color with several light, even mists-never one heavy, soaking coat.
Giving Your Suede a Lasting Refresh
Caring for suede is about gentle habits, not harsh treatments. Regular brushing and a careful, patient approach to cleaning will keep your shoes looking their best far longer than any quick fix. For suede, the right methods and products can make all the difference when cleaning shoes and boots. We’ll cover those best methods and products in the next step.
Every time you restore a pair of shoes, you extend their life and honor the material. Practice new cleaning techniques on a small, less visible area first; building your care skills is the most sustainable practice of all.
Deep Dive: Further Reading
- Tips for How to Clean Suede Shoes
- How to Restore Suede Shoes | Step-by-Step | MORJAS
- Do This, Not That: How to Clean and Restore Suede Shoes at Home – Reshoevn8r
- How To Restore Suede Shoes: Bringing Old Favorites Back to Life | VANELI Shoes
Harriet is a avid collector of leather goods such as purses, bags, seat covers, etc and has an extensive background in leather care, recovery, stain removal and restoration. She has worked for a number of years perfecting her leather care techniques and knows the ins and outs of restoring all kinds and types of leather products. With her first hand knowledge in leather care, you can not go wrong listening to her advice.
Suede and Nubuck Care