How Do You Remove Salt Stains and Snow Damage from Suede and Faux Suede Boots?
Published on: January 26, 2026 | Last Updated: January 26, 2026
Written By: Harriet Nicholson
Hello Tannery Talk. Those white, chalky rings on your boots after a snowy day don’t have to be a permanent mark of winter’s wear.
This guide will show you how to safely restore your footwear. We will cover identifying the type of stain, the right tools for suede versus faux suede, a gentle step-by-step cleaning process, and key aftercare to bring back the nap.
I’ve revived countless pieces from my own collection, like June my leather jacket after many salted slush puddles, using these trusted methods.
What Salt and Snow Really Do to Your Boots
Don’t panic. I’ve fixed boots like these before, and understanding the enemy is the first step to winning.
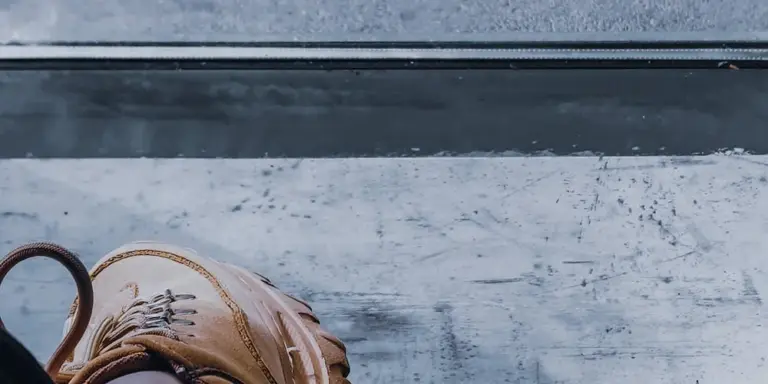
Road salt doesn’t just leave a white ring. Think of each granule as a tiny, sharp crystal. When it gets wet from slush, it dissolves into a harsh brine that gets sucked into your boot’s material. As it dries, the salt recrystallizes inside the fibers, acting like a thousand little pins that abrade the surface from within. This process pulls out the material’s natural oils, leaving it stiff, brittle, and marked with those telltale white tide marks.
Snow damage is different. It’s a straight water assault. For real suede, which is the soft, napped underside of a animal hide, heavy saturation mats down that beautiful velvety nap. If it dries matted, the stain can become permanent, and the leather underneath can lose its suppleness. For both suede and faux suede, pooled water can distort the boot’s shape, leading to lasting wrinkles or a misshapen toe box.
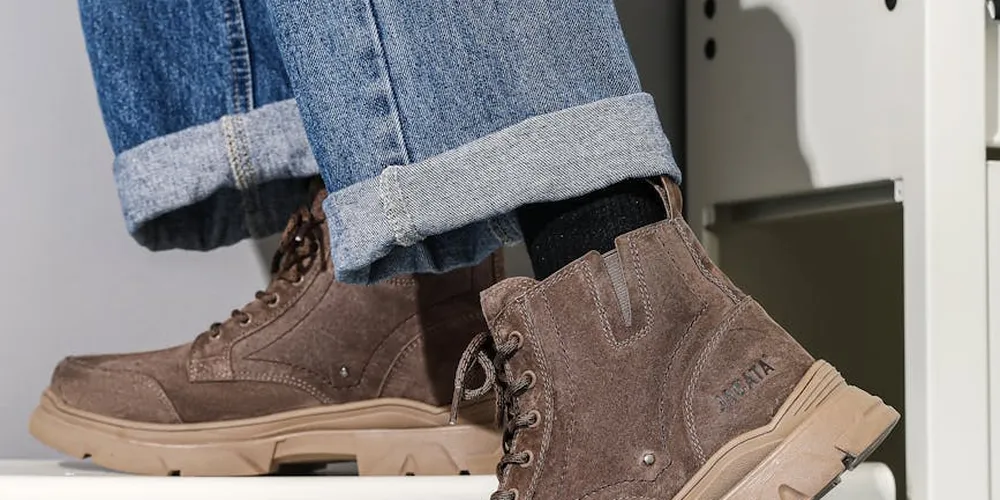
This is where knowing your material matters. Real suede is a form of leather. It’s porous and needs specialized, gentle cleaning and conditioning. Faux suede is a synthetic fabric, usually polyester. It’s more stain-resistant but can be melted or damaged by harsh chemicals or extreme heat. You must treat them with different goals: nourishing the leather versus simply cleaning the fabric.
Your Essential Boot Care Kit for Winter Stains
You don’t need a cabinet full of specialty potions. My kit for this job is simple, effective, and safe for your boots and your home.
- Two Soft-Bristle Brushes: One with brass or horsehair bristles for real suede (firm enough to lift the nap, gentle enough not to tear it). One with soft synthetic bristles, like a clean toothbrush, for faux suede. The wrong brush can ruin the texture.
- White Vinegar Solution: A 50/50 mix of white vinegar and cool water in a spray bottle. The mild acidity neutralizes salt without harming the materials. It’s my first line of defense.
- Mild, Dye-Free Dish Soap: For tackling grime and oil on faux suede. Leather generally doesn’t like soap, but synthetics can handle a drop in water.
- Clean, Absorbent Cloths: White or light-colored microfiber or cotton cloths. You’ll use these for dabbing, never rubbing.
- A Suede Eraser (for real suede only): This gritty block is perfect for lifting scuffs and stubborn dry stains from the nap after the main cleaning is done.
- A Well-Ventilated Space: Good airflow makes the drying process faster and safer, and it’s simply more pleasant than hunched over in a cramped corner. Your workspace matters.
Notice there are no harsh solvents, ammonia, or bleach here. Those are for emergencies we can almost always avoid with patience and the right simple tools. My old jacket June taught me that gentle, consistent care always beats a aggressive, rushed fix.
How Do You Remove Salt Stains from Suede Boots?
Salt stains are a common winter worry, but you can fix them. The process is about gentle removal, not harsh scrubbing. I always tell folks asking me how to get salt stains out of suede boots that patience is your best tool.
Before you start, find a small hidden spot, like inside the ankle, to test your vinegar solution. This ensures it won’t change the color of your leather.
- Dry Brushing. Use a suede brush or soft-bristled nail brush. Brush the stained area firmly in one direction to lift the nap and dislodge any dried, loose salt crystals and dirt.
- Vinegar Solution. Mix one part white distilled vinegar with two parts cool water. Dampen a clean, white cloth with the solution-never soak it. The mild acid in vinegar neutralizes the salt.
- Gentle Dabbing. Dab the stained area with the damp cloth. Do not rub. You’ll see the salt start to dissolve and transfer to the cloth. Use a dry part of the cloth to dab up the moisture.
- Restore the Nap. Once the boot is completely dry, use your suede brush again. Brush in one direction to lift and reset the velvety texture of the suede.
The Step-by-Step Process for Suede
Let’s walk through those steps with more detail. Think of salt as a dry crust that needs to be broken and dissolved.
Step 1: The Dry Brush-Out. Hold the boot firmly. Brush the entire stained area with short, firm strokes. You should see a cloud of fine, white dust-that’s the salt leaving. This step alone can make a big difference for light stains.
Step 2: Mix and Test Your Solution. Use a small bowl for your vinegar and water mix. Swirl it. Dampen your cloth and wring it out thoroughly. It should feel cool and slightly damp, not wet. Test it on that hidden spot and wait a minute. If the color holds, you’re clear to proceed.
Step 3: The Lift and Dab Method. Work on one small stain at a time. Press the damp cloth onto the stain and hold it for a few seconds to let the solution work. Gently dab—as if you’re pressing a stamp. Switch to a dry corner of the cloth to blot the area dry. Repeat until the stain is gone or significantly faded. Forcing it can mat the suede fibers. This method works best for most common stains on suede.
Step 4: The Waiting Game and Final Touch. Let the boots air dry naturally away from direct heat. Never use a hairdryer or place them on a radiator. Heat will set any remaining salt and can stiffen the leather. Once they are fully dry to the touch (this can take several hours), take your brush for a final pass. The leather should feel soft, not stiff or crusty, and the nap should look revived and even. That same air-dry approach also applies to drying a leather jacket or other leather shoes without damaging them. Keeping heat away preserves suppleness and prevents cracking across leather goods.
How Do You Remove Salt Stains from Faux Suede Boots?
You might be searching for “how do you clean salt off of suede boots,” but here’s the key difference. Faux suede is not leather. It’s a synthetic material that needs a softer touch to avoid melting the fibers or ruining the texture.
I often see well-meaning care routines cause more harm. With faux materials, gentleness is your best tool. Follow this modified process to lift salt without damage.
A Gentle, Step-by-Step Process for Faux Materials
-
Dry brush with a soft, clean brush. Use a brush made for synthetic materials or a very soft-bristled clothes brush. Before any liquid touches the boot, brush the entire surface firmly. This loosens dried salt and dirt from the nap. Work in one direction for the best results.
-
Clean with a mild soap and water solution. Mix a drop of clear, pH-balanced dish soap into a cup of lukewarm water. Dampen a clean, white cloth in the solution and wring it out until it’s barely wet. Gently dab at the salt stains. Avoid rubbing or soaking the material, as saturation can cause water spots or warp the fabric. Test on a small, hidden area first.
-
Blot dry immediately and thoroughly. Use a dry, absorbent towel to press down on the damp areas. Do not wipe. Lift the moisture away by blotting. Then, stuff the boots with paper towels or a dry cloth to help them hold their shape as they air dry away from direct heat. This step should take just a few minutes of active blotting.
-
Brush the nap back up once completely dry. Let the boots dry naturally for at least 24 hours. Once they are fully dry to the touch, use your soft brush again. Brush the entire surface in one direction to restore the velvety texture of the faux suede nap. This is especially important if you’ve followed any care tips for polishing and touching up suede.
What to Avoid with Faux Suede
Never use vinegar, strong solvents, or leather-specific cleaners on faux suede. These can break down the synthetic fibers, leaving a stiff or discolored patch. The acidic nature of vinegar is particularly harsh on man-made materials.
If a stain persists after this cleaning, it may be set. For tough stains, a cleaner made specifically for synthetic fabrics is a safer bet than household remedies. Always spot-test first.
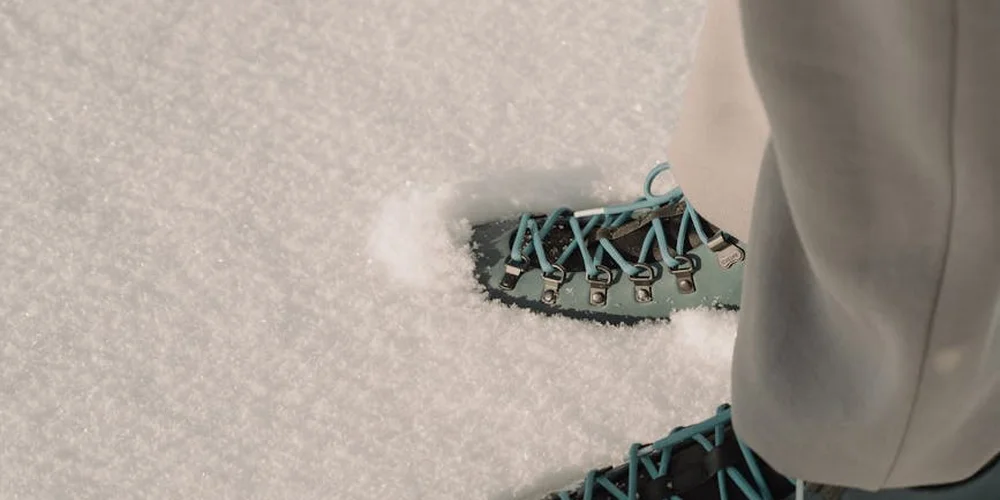
How Do You Fix Snow-Damaged, Waterlogged Suede Boots?

Finding your boots soaked through from winter slush is a sinking feeling. I’ve been there with a pair of suede chukkas. The key is not to panic, but to act with calm purpose. Rushing this process can cause permanent damage. Your goal is to gently guide the material back to health, not force it.
Step 1: The Immediate Rescue – Absorb and Shape
As soon as you can, take the boots off. Wipe away any surface slush with a dry cloth. Do not rub the suede, just blot. If water marks appear, you can learn how to remove water stains from suede shoes and boots.
Next, you need to absorb internal moisture and prevent the boots from collapsing into a wrinkled, misshapen mess as they dry. Crumple up plain newsprint or paper towels. Stuff the boots firmly, all the way to the toe and along the shaft, to help them hold their proper shape. This paper will act as a wick, pulling moisture from the leather. Replace the sodden paper every few hours for the first day.
Step 2: The Patient Dry – Why Heat is the Enemy
This is the step where most well-meaning fixes go wrong. You must let the boots dry slowly at room temperature, away from any direct heat source.
- Never place them on or near a radiator, fireplace, or use a hair dryer.
- Do not put them in a clothes dryer.
- Intense, direct heat will cook the leather’s natural oils, leaving it stiff, brittle, and prone to cracking. It can also set stains permanently.
Place the stuffed boots in a cool, dry, and well-ventilated area. A fan circulating air in the room can help, but don’t point it directly at the boots. This slow drying can take 24 to 48 hours. Patience here saves the leather.
Step 3: Reviving the Nap – The Gentle Brush-Out
Once the boots are completely dry to the touch inside and out, you can address the flattened, matted suede. You will need a proper suede brush or a clean, dry toothbrush with soft bristles.
Brush the entire surface gently in one direction to lift the nap. Use short, light strokes. You’re not scrubbing a stain, you’re coaxing the fibers to stand back up. Listen and feel as you work: you want to hear a soft rustle, not a stiff crackle, when you flex the leather. If the material still feels board-stiff, it is not fully dry inside. Go back to Step 2.
Step 4: Final Nourishment – Handling Stiffness and Spots
Even after careful drying and brushing, you might feel some residual stiffness or see faint water marks. This is where a light, dedicated suede conditioner comes in. Do not use a conditioner meant for smooth leather; it will often darken suede dramatically and clog the nap.
Look for a spray-on conditioner designed for nubuck or suede. Test it on a small, hidden area first. Hold the can about six inches away and apply a light, even mist over the boot. A light conditioner restores lost suppleness without altering the color or texture of the delicate suede surface. Let the boots sit for another few hours after conditioning before you wear them.
For faux suede boots, the process is similar but simpler. Focus on Steps 1 and 2 for drying. Once dry, brush the nap. Use only conditioners and cleaners specifically labeled as safe for synthetic materials, as some products can damage faux leather.
How Do You Fix Snow-Damaged Faux Suede Boots?
Many people ask if caring for faux suede is the same as real suede. The core principle is similar, but the materials are different. Faux suede is a synthetic fabric, often polyurethane, designed to look and feel like leather. Think of it more like a delicate, napped fabric than a robust hide. You must use gentler methods and avoid products made for real leather, which can damage the synthetic fibers. The safe method is always moisture control, gentle cleaning, and no harsh chemicals. These principles apply specifically to cleaning faux suede furniture without damaging the fabric. With the right approach, you can keep it looking fresh and soft.
Step 1: Blotting Away Moisture Immediately
Time is your best tool. As soon as you can, take a clean, dry, absorbent towel and press it firmly against the wet areas. Do not rub. Rubbing grinds salt and dirt deeper into the material and can mat the delicate surface fibers permanently. Just press and lift, press and lift, to soak up as much moisture as possible. This simple act prevents most of the damage from setting in.
Step 2: Air Drying Thoroughly
Never use direct heat from a radiator, hairdryer, or fireplace. Heat can melt, warp, or shrink the synthetic material. Instead, stuff the boots with crumpled paper or a dry towel to help them hold their shape and absorb internal moisture. Place them in a well-ventilated room at room temperature. This process isn’t fast. Plan for at least 24 hours, maybe longer. Be patient. Drying faux suede completely is non-negotiable; any trapped dampness can lead to material breakdown or mildew.
Step 3: Brushing to Restore Texture
Once the boots are bone-dry to the touch inside and out, you can address the flattened nap. Use a soft-bristled brush, like a clean suede brush or even a soft toothbrush. Brush in one direction with light, quick strokes. You’re not scrubbing, you’re just teasing the fibers back upright. You’ll see the color and texture become more uniform again. If the nap feels stubborn, a few passes with a clean pencil eraser can sometimes help lift it.
Step 4: Spot Cleaning Persistent Stains
If white salt rings or dirt marks remain after drying and brushing, you can try a targeted clean. Mix a drop of mild, clear dish soap with a cup of cool water. Dampen a corner of a white cloth in the solution, then wring it out until it’s barely damp. Gently dab (don’t rub) the stained area. Follow immediately by dabbing with a cloth dipped in clean water to rinse. Let the spot air dry again, then give it a gentle brush. Always test this method on a small, hidden area first.
This care is closer to how you’d treat a favorite wool sweater than a leather work boot. It requires a softer touch. The goal is to preserve the finish without breaking down the synthetic bonds. With this approach, your boots can face many more winters.
Smart Habits to Keep Salt and Snow at Bay
Fixing salt stains can be tricky. I always tell people that stopping the damage is much easier than reversing it. Think of it like brushing your teeth to avoid a cavity. A few simple habits now keep your boots looking good for years.
Your first line of defense is a quality waterproofing spray made for suede and faux suede. This spray acts like an invisible shield. It does not make boots fully waterproof, but it causes water and snow to bead up and roll off. This gives you precious time to wipe away moisture before it soaks in and brings salt with it. To get the most protection, learn how to properly apply protective spray to suede shoes and boots. Getting the application right helps ensure even coverage and longer-lasting results.
Apply this spray before winter even begins. Here is how I do it for pieces like my jacket, June:
- Start with completely clean, dry boots.
- Hold the spray can about 6 inches away in a well-ventilated area.
- Apply a light, even coat over the entire surface. Do not soak any one spot.
- Let the boots dry fully for 24 hours before wearing them.
A common mistake is rushing the drying time. If the spray is still damp, it will not work properly.
Make a quick dry brush part of your daily routine after wearing boots in winter. As soon as you come inside, take a soft-bristle suede brush or even a clean, dry towel. Gently brush or wipe the entire boot to knock off any loose salt crystals or slush. This takes less than a minute. That simple action prevents salt from sitting on the surface and starting to draw out moisture, which is what causes those white, crusty stains. I also protect my leather boots and shoes from scratches, salt stains, and water damage with a quick protective spray or conditioner after cleaning. This extra step helps keep the leather supple and ready for next wear.
For storage when winter ends, never use a plastic bag. Plastic traps any leftover dampness and can lead to mold. Instead, place your cleaned and brushed boots in a breathable cotton or canvas storage bag. Store them in a cool, dry closet away from heaters or damp basements. This lets the material rest and keeps it ready for action.
With these steps, your boots are ready for next season.
Common Questions
Can I use the same cleaner on both real and faux suede?
No. For real suede, use a mild white vinegar solution to neutralize salt. For faux suede, use only a drop of mild dish soap in water, as vinegar can degrade synthetic fibers.
How do I know when my boots are “completely dry” before brushing?
The boot must feel cool and dry to the touch inside and out, with no damp stiffness. If the leather or fabric still feels firm or cool, it needs more time away from heat.
Does faux suede need a conditioner after cleaning like real suede does?
No. Faux suede is synthetic fabric and does not require conditioning. Using a leather conditioner on it will likely damage the finish and clog the nap.
What’s the single most important step to prevent this damage?
Apply a protector spray designed for the specific material at the season’s start, and do a quick dry-brush after every wear to remove salt crystals before they dissolve.
When should I stop home care and take my boots to a professional?
If the material has become severely stiffened, cracked, or discolored after your gentle efforts, a professional conservator has specialized tools and compounds that may salvage them.
Keeping Your Boots Ready for Winter
Always tackle salt and snow messes on your boots as soon as you can. Letting them dry makes stains set, but a prompt brush and gentle clean keeps your suede or faux suede from lasting harm.
Good maintenance respects the material, whether it’s suede from ethically sourced leather or durable faux alternatives. Mastering these simple skills means your favorite pieces, like my trusty jacket June, stay with you longer, which is the heart of responsible care.
References & External Links
- How to Clean Suede Shoes Without Wrecking Their Velvety Texture
- Help! How do you remove salt stain from weatherproof suede and elastic gore? – YouLookFab Forum
- r/CleaningTips on Reddit: How to get salt stains out of suede boots – this picture is after already trying just plain water, then water and vinegar. Both times it looked like it was gone (boot was all black) until it dried and then it was back. The boots are only 2 months old!!
- How To Get Salt Stains Out Of Suede Boots
Harriet is a avid collector of leather goods such as purses, bags, seat covers, etc and has an extensive background in leather care, recovery, stain removal and restoration. She has worked for a number of years perfecting her leather care techniques and knows the ins and outs of restoring all kinds and types of leather products. With her first hand knowledge in leather care, you can not go wrong listening to her advice.
Suede and Nubuck Care