How Do You Restore Vintage Leather with Antique Stains and Damage?
Published on: August 22, 2026 | Last Updated: August 22, 2026
Written By: Harriet Nicholson
Hello Tannery Talk. Finding a vintage leather item with set-in stains or wear can make you nervous about where to start, but gentle, informed care makes all the difference.
We will walk through assessing the leather’s unique history, identifying the types of antique stains, selecting safe cleaning techniques, and executing repairs that honor its age.
I base this advice on years of practical experience reviving and maintaining leather, from family heirlooms to my own well-worn pieces like the saddle Mason and jacket June.
Why Vintage Leather Needs a Softer Touch
Modern leather is often tanned with chemicals for speed. Vintage leather, especially from before the mid-20th century, was typically tanned with natural materials like oak bark. This old-school vegetable tanning creates a beautiful, rich character, but it also makes the leather more sensitive with age.
The fibers in antique leather become brittle, almost like aged paper, and can’t handle the strong cleaners or vigorous scrubbing a new bag might tolerate. For patent leather and vintage bags, the goal is clean restoration without causing damage. Gentle, surface-only cleaning methods are usually best.
Think of it like caring for a first-edition book. Your goal isn’t to make the pages look brand new and white. It’s to stabilize it, gently clean it, and preserve its story for the future. You work with its age, not against it.
For context, I see “vintage” leather as a well-used item with great character, like my jacket June. Antique leather is historical and often fragile, requiring museum-style care. This guide focuses on that delicate scenario for historical or antique leather where every move must be calculated.
Reading the Signs: Common Damage in Antique Leather
Before you do anything, you need to diagnose. Run your fingers lightly over the surface and look closely. Here is what you’re likely to find.
- Dryness: This is the most common issue. The leather loses its oils and feels stiff and papery. It might make a faint crackling sound when gently flexed.
- Dark Stains: Often found on bag handles or jacket underarms, these are usually old sweat or oil stains. They are set deep into the fibers.
- Greenish or Whitish Spots: These are mold or mildew. They feel slightly fuzzy or powdery. You need to address these first to stop them from spreading or causing rot.
- Ink Stains: Fountain pen ink from decades ago can bleed into the leather, creating a deep, bluish stain that is nearly impossible to fully remove without damage.
- Scratches and Scuffs: These are part of the wear pattern. On a vintage leather jacket, they cluster around the cuffs and pockets. On an ottoman, they’re on the tops of the arms.
- Seam Separation: Thread weakens over time. You might see small gaps where two panels of leather are starting to pull apart.
The feel of damaged leather tells you more than the look: deep cracks are brittle, while surface scuffs are often just in the finish.
When Damage Tells a Story: Preserving Patina
Patina is not dirt. It is the earned character of the leather, a record of every touch and use. It’s the warm, deep glow on my saddle Mason’s seat, or the soft, honey-colored creases on June’s sleeves. Trying to “clean” it off is the biggest mistake you can make.
Your job is to preserve the patina by nourishing the leather underneath, not by stripping the surface. A gentle, pH-balanced cleaner will lift grime without disturbing that century of mellow color. A light conditioner will feed the dry fibers without masking the history written into the grain.
For many antique pieces, the stains and marks are the history. A dark spot might be where someone always held their briefcase. A slight discoloration could be from a long-ago splash of rain. Preserving these imperfections is often more valuable than trying to create a false, like-new appearance.
Assembling Your Gentle Restoration Toolkit
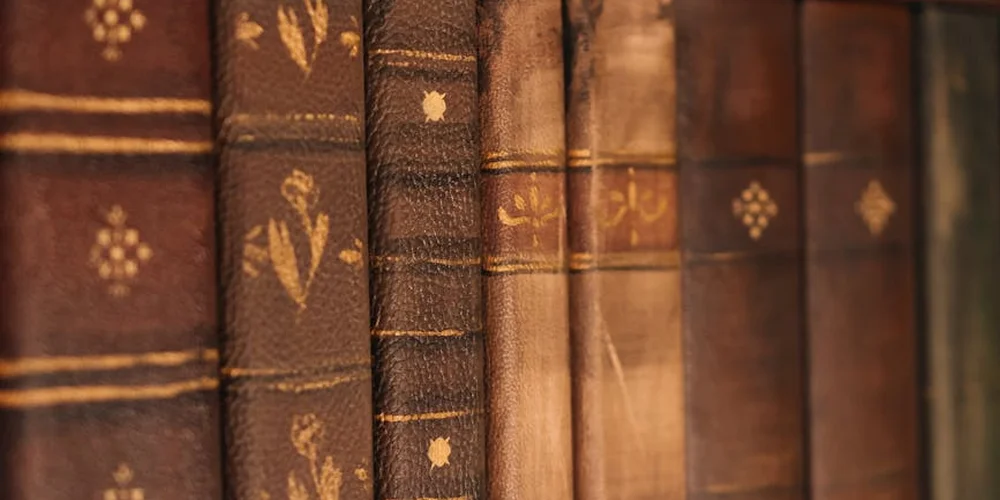
Vintage leather is a senior citizen. It needs respect and a gentle touch. Modern, powerful cleaners can be like a harsh scrub on aging skin. They strip away what little oils remain and can permanently alter the color.
Your goal is to clean and nourish, not to aggressively sanitize. Think of it like giving a cherished book a careful dusting, not pressure-washing a driveway.
Gather these items before you start. Having everything at hand prevents you from rushing.
- Soft Bristle Brushes: A horsehair detailing brush or a very soft toothbrush. These lift surface dirt without scratching.
- Cotton Cloths: Old t-shirts or lint-free cloths. Avoid paper towels, they can shred and leave fibers.
- Distilled Water: Tap water has minerals that can leave spots. Distilled water is pure and safe.
- pH-Neutral Saddle Soap: This is your core cleaner. It’s formulated for leather and won’t be too alkaline or acidic.
After cleaning, the leather will be thirsty. You must replace lost moisture with a gentle conditioner.
Pure lanolin or a simple, unscented leather balm are my top choices for vintage pieces. They soak in slowly and don’t contain solvents or silicones that might react with old tanning agents. For my jacket June, I use a dab of lanolin on the creases to keep them supple.
Stay away from anything labeled as a heavy-duty degreaser, all-purpose cleaner, or ammonia-based product. Avoid modern “one-size-fits-all” leather cleaners in spray bottles; they are often loaded with chemicals that are too harsh for delicate, aged hides.
If your item has buckles, zippers, or studs, you’ll need a separate plan. Use a non-abrasive metal polish on a soft cloth, applying it only to the metal. Protect the surrounding leather with masking tape. Polish the hardware, then wipe it clean and remove the tape.
The First Clean: A Methodical Approach for Aged Hides
This is not a race. Rushing is how mistakes happen. The following sequence is the safest way I know to assess and clean an old leather piece without causing harm. I use this same method on every vintage item that comes to my bench.
Follow these steps in order. Do not skip ahead, even if the leather looks very dirty.
Step 1: The All-Important Spot Test
Always test first. Every time. The oldest rule in leather care, and the most important.
Find a hidden spot. An inside seam, the back of a flap, or the underside of a strap. This is where you will conduct your test.
Dampen a corner of your cotton cloth with a tiny amount of your weak soap solution (you’ll make it in Step 2). Gently rub the hidden spot. Use less pressure than you think you need.
Now, wait. Let the area dry completely. This takes about an hour.
You are looking for two things: any color transferring to your cloth (color bleed) or any change in the leather’s texture, like it feels raised, rough, or sticky. If you see either, stop. Your cleaner is not compatible with this leather. A professional conservator may be your next step, especially if you need help removing dye or stain transfer from leather.
If the test spot dries looking and feeling the same, just cleaner, you can proceed with confidence.
Step 2: Dusting and a Light Clean
Start dry. Take your soft brush and gently flick it across the leather’s surface. Brush in one direction to coax dirt out. This removes loose, abrasive grit that could scratch the hide if you rubbed it with a wet cloth.
Think of brushing Mason, my old saddle, before a ride. You’re removing the surface dust so it doesn’t get ground in.
Now, make your cleaning solution. In a small bowl, mix a pea-sized amount of pH-neutral saddle soap with a tablespoon of distilled water. Whip it with your finger until it creates a thin, milky lather.
Your solution should be mostly water with just a hint of soap. It is always better to start too weak and do a second pass than to start too strong.
Dampen a cotton cloth in the solution, then wring it out until it is only barely damp. You want a damp cloth, not a wet one. Apply it to the leather using slow, circular motions. Work on a small section at a time, about the size of your hand.
Let the soap sit for a minute to loosen the grime, then wipe the area gently with a clean, damp cloth (using only distilled water) to remove the soap residue. Immediately dry the section thoroughly with a soft, dry cloth.
Move to the next section and repeat. This slow, section-by-section process prevents the leather from getting soaked and gives you control. If a stain remains after this light clean, leave it for now. Deep stains need a separate, focused approach.
Tackling Specific Antique Stains and Blemishes
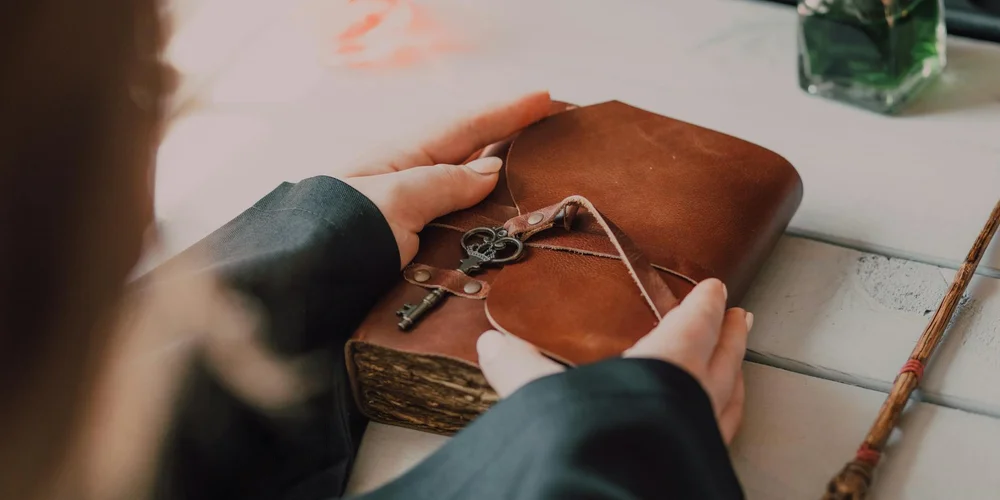
Old leather tells a story. Stains are often part of that story, and sometimes, trying to erase them completely can do more harm than good. Your goal isn’t always perfection, but careful improvement and stabilization, especially when you’re dealing with stubborn stains from leather surfaces.
Think of it like cleaning a historic painting. You want to reveal its beauty, not scrub away its age.
Handling Mold and Mildew
Finding fuzzy spots or that musty smell can be alarming. Mold feeds on organic material, and vintage leather is a prime target. The key is to act gently and dry the leather completely.
Rushing this process with water or harsh cleaners can force moisture deeper into the leather, causing permanent stains or stiffness. This is where the science of leather porosity matters: it explains why some stains sink deeper than others. Knowing this can guide gentler, more effective cleaning approaches.
Here is a safe method I’ve used on items stored in damp places.
- Move the item to a dry, well-ventilated area immediately.
- Use a soft, dry brush to gently remove any loose surface mold spores.
- Mix one teaspoon of white vinegar with one cup of cool water. Dampen a clean, white cloth in the solution, then wring it out until it is barely damp.
- Wipe the affected area lightly. Do not scrub. You are just disinfecting the surface.
- Use a second dry, absorbent cloth to immediately blot away all moisture.
- Let the item air dry naturally, away from direct heat or sunlight. You can use a fan to circulate air. Ensure it is bone-dry before you consider any conditioning, which could take a full day.
Addressing Old Ink and Oil Stains
These are the tough ones. Decades-old ink from a leaky pen or oil from hands and tools has often bonded with the leather fibers. Accepting a lightened stain is often wiser than chasing complete removal and risking damage.
For a small ink blot, like the one on my wallet Scout, you can try this with extreme caution. Test it on the most hidden edge you can find first.
- Use a cotton swab. Dip just the very tip in a small amount of rubbing alcohol (isopropyl alcohol).
- Blot the swab on a paper towel so it’s barely moist.
- Gently dab at the very center of the ink stain. The goal is to break down the ink, not wet the leather.
- Blot immediately with a dry cloth. You may only lighten the stain.
Old oil stains, like those on a tool belt, are often part of the piece’s character. You can try absorbing fresh oil with cornstarch, but aged stains are usually permanent. Conditioning the entire piece can help even out the appearance.
A common question is about collar sweat stains on a vintage jacket, like on my jacket June. These are a mix of salt, oils, and dirt.
Start with a gentle, pH-balanced leather cleaner on a soft cloth. Apply it to the entire collar, not just the stained area, to avoid a ring. Work in small circles, rinse the cloth, and wipe away residue. Let it dry. You may need to repeat this process over several gentle sessions to gradually lift the stain without stripping the leather’s natural oils.
Making Repairs That Honor the Original Piece

Repairing vintage leather is different from fixing something new. You are a conservator, not just a mechanic. The aim is to extend its life while respecting its journey.
Simple Fixes You Can Manage
Some issues are straightforward if you have a steady hand and a little patience.
Loose or broken stitching is one of the most common and repairable problems. If the original holes are still good, you can often re-thread them.
- Use a sturdy, waxed thread in a color that matches the original or complements the patina.
- Follow the existing stitch holes with a blunt needle. Pull each stitch snug, but not so tight it cuts into the old leather.
For small cracks or gouges that haven’t torn through, a leather filler paste can help. Apply a tiny amount with a flexible spatula, smooth it level, and let it cure fully. You can then blend the color with a matching leather dye or cream. It won’t be invisible, but it will seal and protect the spot.
When to Call a Professional
Knowing your limits is a sign of care, not failure. Some damage compromises the structure, and a bad repair can ruin the piece.
Take it to a professional if you see:
- A completely torn lining that needs replacing.
- Structural failure, like a broken strap hinge on a vintage bag or a cracked saddle tree (like Mason’s backbone).
- Large sections of leather that are dry-rotted, brittle, and crumbling to the touch.
A good restorer has the tools, materials, and experience to rebuild strength in a way that lasts.
The Philosophy of the Mend
This is the heart of vintage restoration. You have a choice: an invisible mend or a visible one that adds to the story.
An invisible repair tries to make the damage disappear. This works for heirlooms where you want to preserve the original look.
A visible mend, like using a contrasting thread color or a decorative patch, acknowledges the repair. It shows care and history. I once repaired a torn satchel flap with a small, hand-stitched patch of russet leather. It didn’t hide the tear. It highlighted the care given, turning a flaw into a feature. Both approaches are valid, as long as the repair is done with respect for the material’s integrity.
When and How to Find Professional Restoration Help
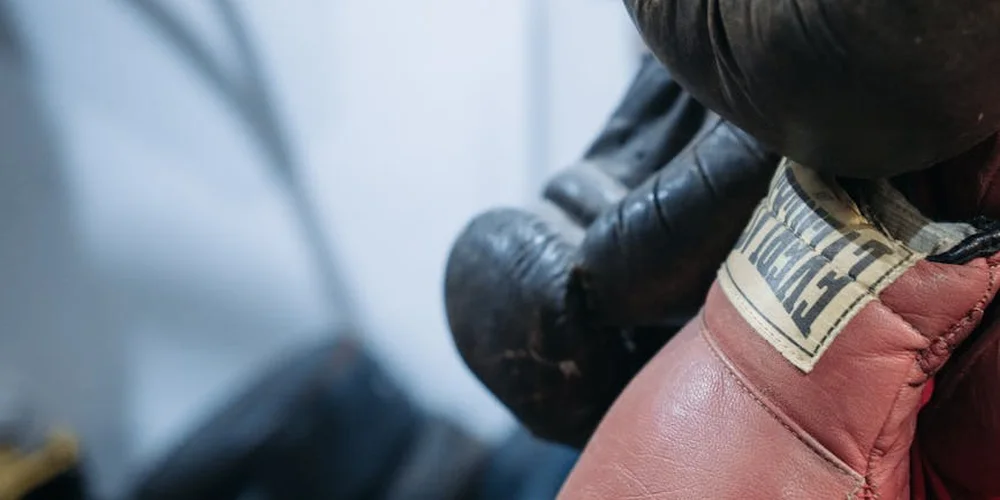
Knowing when to call a professional is a sign of good care, not a failure. Think of it like taking a classic car to a specialist mechanic. Some jobs need tools and knowledge you just don’t have at home.
Signs Your Vintage Leather Needs a Pro
You can handle surface grime and light conditioning. But stop and seek expert advice if you see any of these issues. They go beyond simple cleaning.
- Severe Dry Rot: This isn’t just dryness. The leather feels powdery, cracks into pieces at a touch, or has a cardboard-like texture all the way through. My old saddle, Mason, had a small patch of this on the underside of a flap. I stabilized it, but a large area would need professional consolidation.
- Major Structural Tears: A torn seam is one thing. A rip across the main body of a bag or a split in a jacket’s shoulder seam under tension is different. It often requires internal patching and expert stitching to hold weight or stress again.
- High Historical or Sentimental Value: If the piece is a family heirloom, a collector’s item, or has significant age, the risk of making a mistake is too high. A pro will assess its unique history and choose treatments that preserve its story.
When in doubt, take a clear photo and email a reputable restorer for a quick opinion; most are happy to give preliminary guidance.
Understanding Cost and Finding Local Services
Costs for services like vintage leather restoration in Vancouver, or anywhere else, are rarely fixed. They depend entirely on the item’s condition, size, and the work required.
Think of it in stages. A deep clean and conditioning will cost less than repairing a broken frame on a suitcase or re-lining an entire bag. For a clear idea, always get multiple quotes. Email photos with a detailed description of the damage. A good restorer will ask you questions to give a realistic range.
This step protects you and sets clear expectations for the craftsman. Prices can vary, but clear communication upfront prevents surprises.
How to Vet a Professional Restorer
Not all shoe repair shops are equipped for antique leather. You need to find a specialist. Here is how to choose wisely.
- Ask About Experience with Antique Materials: Direct questions get direct answers. Ask, “What is your experience with leather over 50 years old?” or “How do you approach unstable or dried-out leather differently?” Listen for terms like “conservation,” “archival,” and “reversible methods.”
- Request a Portfolio of Before/After Photos: A true craftsman documents their work. Looking at their portfolio shows you their style. Do they over-dye everything to look brand new, or do they preserve the original patina and character? You want the latter for a vintage piece.
- Discuss Their Process: A trustworthy restorer will explain their proposed steps in simple terms. They should be able to tell you why they are choosing a specific cleaner or adhesive for your item’s particular leather.
A true specialist will be as interested in preserving the item’s history as you are, and their communication will reflect that.
Restoration for Items You Plan to Sell
If you’re restoring an item to sell, your goal changes slightly. Preservation is key, but so is perceived value. A gentle, professional clean and conditioning can make a piece look cared-for and increase buyer confidence. It shows the leather has been maintained.
But be very careful. Over-restoration, like aggressive dyeing or replacing original fittings with modern ones, can actually harm its value to a collector. The goal is to stabilize and refresh, not to make it look factory-new. Always disclose any restoration work done to a potential buyer. Honesty builds trust and accurately represents the item’s true condition.
Common Questions
Can I use modern leather conditioners or cleaners on my vintage piece?
Generally, no. Modern formulas often contain solvents and silicones that can damage old, brittle fibers. Stick to pure, simple products like lanolin or a pH-neutral saddle soap diluted with distilled water.
How much does professional vintage leather restoration cost in Vancouver?
Costs vary widely based on the item’s size and damage. A clean and condition costs less than structural repairs like re-stitching a frame or replacing a lining. Always email clear photos for a detailed quote from a specialist.
Is restoring a vintage leather jacket different from other items?
The principles are the same, but jackets have high-stress areas like seams and linings. Focus on gentle cleaning of sweat stains and inspect the lining and stitching for weakness, as these often fail first.
How should I care for the metal hardware on a vintage leather ottoman or bag?
Use a non-abrasive metal polish applied carefully with a soft cloth. Always mask the surrounding leather with tape first to protect it from any polish residue or tarnish.
When is a DIY restoration not a good idea?
Stop if the leather is crumbly (dry rot), has major structural tears, or is a high-value heirloom. These scenarios require a professional’s tools and materials to prevent irreversible damage.
Caring for Your Vintage Leather
When restoring old leather, patience is your best tool. The most critical step is always to start with the gentlest possible method and test it in a hidden area first. This simple practice can prevent irreversible damage to a piece’s character and history, especially when dealing with vintage leather furniture.
Responsible care means honoring the material’s origin by using quality products and techniques that extend its life for decades. True leathercraft is a practiced skill; the more you learn about gentle cleaning and conditioning, the more joy you’ll find in watching an antique piece age gracefully under your care.
Relevant Resources for Further Exploration
- r/restoration on Reddit: Tips for restoring old leather?
- How To Restore Leather: Simple Leather Restoration Guide – Von Baer
- Explore Top Antique & Vintage Care and Restoration Products – Pecard Leather Care Company
- How to Restore Leather? A Complete Guide to Revive Your Leather
- Restoring Your Leather Jacket to its Former Glory: A Step-by-Step Guide to Leather Restoration | Vintage Leather Jackets Forum
Harriet is a avid collector of leather goods such as purses, bags, seat covers, etc and has an extensive background in leather care, recovery, stain removal and restoration. She has worked for a number of years perfecting her leather care techniques and knows the ins and outs of restoring all kinds and types of leather products. With her first hand knowledge in leather care, you can not go wrong listening to her advice.
Restoring Color and Re-Dyeing