How Do You Apply Saddle Soap to Clean and Condition Leather Boots, Tack, and Goods?
Published on: June 7, 2026 | Last Updated: June 7, 2026
Written By: Harriet Nicholson
Hello Tannery Talk, that moment of doubt before cleaning a cherished leather item is familiar. I am here to guide you through a method that cleans deeply while caring for the leather’s soul.
We will cover what saddle soap really does, gathering your simple toolkit, a detailed step by step application, and how to know when your leather is perfectly clean and conditioned.
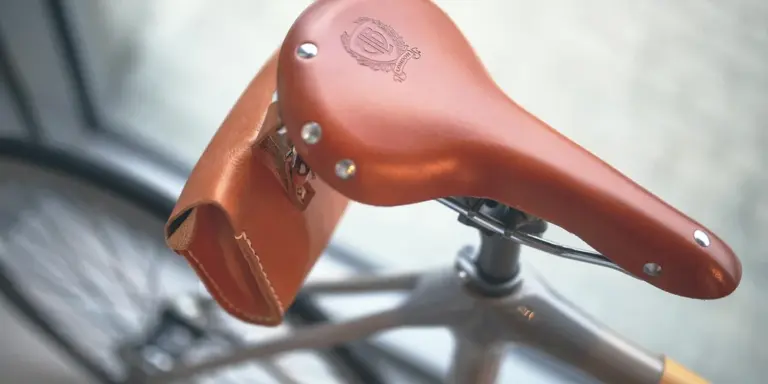
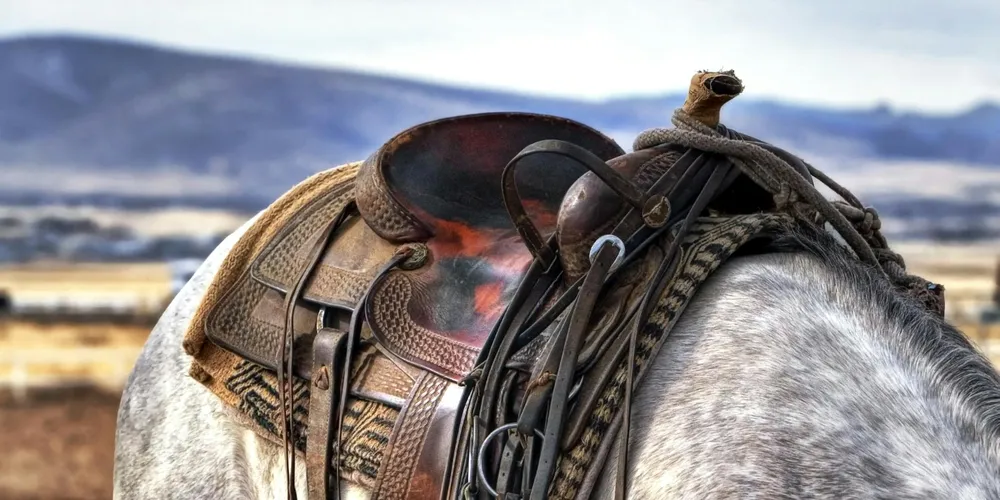
My advice comes from hands on experience maintaining everything from daily carry items like Scout my wallet to heavy use gear like Mason my saddle.
What Saddle Soap Does for Your Leather
Think of saddle soap as a gentle hand soap made for leather. It is a traditional paste or soft bar that cleans with mild saponified oils and conditions with fats or lanolin. Its job is simple. It lifts away surface dirt and grime while putting a little moisture back in.
Saddle soap is your go-to for routine maintenance, cleaning off daily dust and light soil while preventing the leather from drying out. It’s not a deep conditioner or a heavy-duty stain remover. It’s that reliable, gentle clean you give your favorite leather jacket or boots every few months to keep them in good shape. I use it on Mason, my English saddle, after most rides. It wipes away sweat and arena dust without being harsh.
Is Saddle Soap Good for All Leather?
No, it is not. Saddle soap is perfect for many common, durable leathers. It works wonderfully on:
- Full-grain and top-grain leather (like most boots and belts)
- Bridle leather and other vegetable-tanned harness leathers
- Oil-tanned leathers (like many work boots)
- Saddles, bridles, and other tack
Avoid using saddle soap on these materials:
- Suede or nubuck. The soap will mat the delicate nap and likely leave a permanent stain.
- Very dry, stiff, or antique leather. The mild moisture in saddle soap isn’t enough. This leather needs a dedicated conditioner first.
- Aniline or semi-aniline dyed leathers without a protective topcoat. Test in a hidden spot first, as cleaning can alter the color.
When in doubt, test the saddle soap on a small, hidden area and let it dry completely to check for any color change or adverse effect. My wallet, Scout, is a veg-tan leather that handles saddle soap well, but I always do a quick check on a seam first — especially since not all leather types react the same. Some are more delicate and can be damaged by saddle soap.
Saddle Soap vs. Other Cleaners
People often ask about alternatives. Here is the simple breakdown.
Murphy’s Oil Soap or castile soap can work in a pinch, but they are designed for wood or general use. They often lack the conditioning oils specific to leather care. You risk over-cleaning and stripping the leather’s natural oils. DIY leather cleaning dangers, such as using household items like vinegar, rubbing alcohol, or plain soap, can damage the finish and dry out the leather. These dangers explain why many guides steer readers toward leather-specific cleaners.
Specialized leather cleaners are great for targeted jobs. Use them for stubborn stains, mold, or heavy grease that saddle soap cannot handle. For everyday dirt and routine care, saddle soap’s gentle, conditioning clean is usually the safer, more balanced choice. It is the method I trust for June, my leather jacket, to keep its soft calfskin clean without damaging the careful repairs it has had. Still, saddle soap vs pH-balanced cleaners isn’t a one-size-fits-all choice. I’ll walk through when each option shines to help you decide what’s best for your leather.
Your Saddle Soap Toolkit: Gathering What You Need
Getting your tools ready first makes the whole process smoother and safer for your leather. Here is everything you will need.
The Essentials
- Saddle Soap: A tin of paste or a bar. The form does not matter much.
- Clean, Soft Cloths: Have at least three. Cotton flannel or old t-shirt material is perfect. You will use one for applying soap, one for rinsing, and one for drying.
- Lukewarm Water: Not hot. Hot water can damage leather fibers. Not cold, as it hinders cleaning.
- A Soft-Bristle Brush: A horsehair detailing brush or a very soft toothbrush is ideal. This is for gently working soap into stitching and crevices.
Using clean cloths and brushes is non-negotiable. A dirty cloth will just grind grit back into the leather’s pores, causing scratches. I keep a dedicated set of cloths in my tack room just for this purpose. Choosing the right products and methods makes all the difference in leather care. If you’re curious about the best products and methods for cleaning leather, you’ll see more on that below.
Helpful Extras
- A small bowl for your lukewarm water.
- A natural sponge for applying the soap lather, if you prefer it over a cloth.
- A towel laid on your workspace to catch drips.
The Heart of the Matter: How to Apply Saddle Soap Step by Step
Think of this process like giving your leather a good, gentle bath. You would not jump into a shower covered in mud, you would rinse off the big stuff first. Leather needs the same consideration. Let’s get your gear clean.
First, prepare the leather. Take a soft brush, like a horsehair detailing brush or a clean, dry cloth, and brush off all loose dirt and dust. This step prevents you from grinding grit into the leather’s surface during cleaning. For a pair of work boots, pay extra attention to the welt and seams. Understanding how cleaning methods affect the finish helps you choose the right approach. The next section will explore whether the best cleaning methods for leather boots and shoes preserve their finish.
Now, tackle a common question: do you wet the leather first? The answer is no, you do not soak the leather. You dampen your application cloth or sponge with lukewarm water, never the leather item directly. A soaked sponge can force too much water into the leather, which stresses the fibers.
Step 1: Work the Soap into a Lather
Take your damp cloth and rub it directly over the saddle soap. If you are using a tin, use a circular motion. You want to work up a rich, creamy lather right on the cloth. It should look like whipped cream or thick shaving foam, not just bubbly water. This creamy lather is what does the cleaning and light conditioning.
Step 2: Clean in Gentle, Circular Motions
Apply the lather to the leather using small, gentle circles. Cover the entire surface evenly. Do not scrub hard. For my saddle, Mason, I use this method on the flaps and seat, where sweat and dirt build up. You will feel the cloth move smoothly, and you might see the lather turn a light gray as it lifts the grime.
This circular motion helps the soap’s mild cleansers and glycerin work into the leather’s pores without being abrasive. The leather will look uniformly covered in a white, creamy film. That is exactly what you want.
Step 3: The Wipe-Down and Drying Decision
Do you need to rinse saddle soap off? Not with a hose or under a tap. Rinsing that way can leave soap deep inside and distort the leather. Instead, take a second clean cloth, rinse it in lukewarm water, and wring it out completely.
Wipe down the entire piece with this damp cloth to remove all the soapy residue. Go over it twice if needed. The leather should feel clean, not slick or sticky. You are now left with a damp, clean piece of leather that needs to dry properly. This leads us to the most critical part.
Clearing Up Confusion: Wetting, Rinsing, and Drying Your Leather
This stage causes the most worry, but the rules are simple. Your leather is now damp. How it dries determines its future strength and shape.
The only safe way to dry leather after cleaning is through slow, natural air circulation away from any direct heat source. That same slow, air-drying method also applies to leather jackets and leather shoes, helping prevent damage. Place your boots, tack, or bag in a room with good airflow, like near a fan on a low setting, but never pointed directly at it. A shaded porch on a breezy day is perfect.
Why avoid heat and sun? Direct heat, like from a radiator, hair dryer, or hot sun, cooks the leather from the outside in. This causes the outer layer to shrink and harden rapidly while the inside stays wet, leading to cracks and stiffness. Think of it like drying your hands with a blast furnace instead of a soft towel, it damages the skin.
Let the item dry completely. For a jacket like June, this might take a full day. For thick boots or a saddle, it could take two. Be patient. You will know it is dry when it feels room temperature and firm, not cool to the touch. Once it is fully dry, it will feel a bit thirsty, which is the perfect time for a dedicated leather conditioner.
Tailoring the Process: Boots, Tack, Bags, and More
The basic steps are your foundation. Now, let’s apply them to the unique shape and job of your specific leather goods.
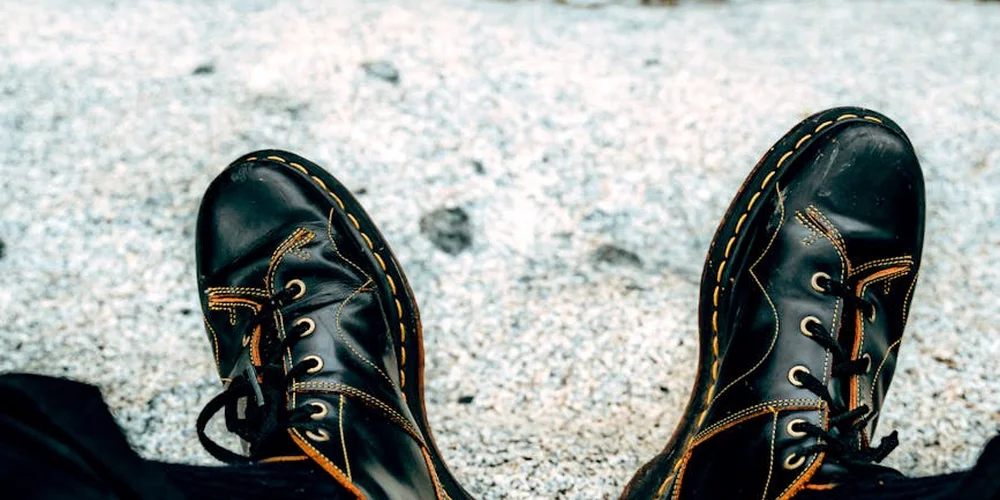
How to Clean Leather Boots with Saddle Soap
Boots take the hardest hits. Focus your effort on three key areas: the seams, the welt (where the sole meets the upper), and the vamp (the front part over your foot).
- Remove the laces and brush off all loose dirt.
- Use your damp sponge to work the saddle soap into a thick lather. Scrub in small circles, paying extra attention to the stitching in the seams and the dirt-packed creases of the vamp. This is where grime hides and weakens the leather.
- For leather soles, give them a good scrub too. It prevents ground-in grit from sanding them down prematurely.
- Wipe away the soap with a clean, damp cloth, changing your rinse water often as it gets dirty.
- Stuff the boots with paper to help them hold their shape and dry away from direct heat.
Focusing on the seams and creases removes the dirt that causes cracking long before you see it.
Cleaning Tack: Saddles, Bridles, and Straps
My old English saddle, Mason, gets this treatment regularly. Tack has moving parts and complex straps that demand a careful hand.
- Disassemble what you can. Remove the girth, take the bridle apart. This lets you clean every inch of leather.
- Clean each strap thoroughly with your lathered sponge, going over both sides. Check for stiff spots or discoloration, which signal deep dirt.
- Buckles and billet guards need special care. Clean around them meticulously, but avoid forcing soap into the pivot points of buckles. Soap residue here can attract more grit and gum up the mechanism.
- Rinse your cloth thoroughly and wipe away all soap. Any leftover film can cause chafing on the horse or stiffness in the leather.
Taking the time to clean tack properly isn’t just about looks, it’s a safety check that reveals worn stitching or stiff, brittle spots before they fail.
Brief Notes on Bags, Jackets, and Delicate Goods
For a bag or a jacket like my calfskin June, the approach is gentler. You’re dealing with finer leathers and often a lining.
Use less water. Wring your sponge out completely so it’s just damp. Test an inconspicuous spot first, like an inside seam. Avoid soaking the leather, especially near glued edges or seams, as this can weaken adhesives. For suede or nubuck, do not use standard saddle soap. Use a specialized cleaner made for those napped surfaces.
Beyond Cleaning: Conditioning and Ongoing Care
Should You Condition After Saddle Soap?
Yes, always. This is the rule I follow with every piece in my shop.
Saddle soap cleans and provides a light moisturizing base. Think of it like washing your hands. The soap gets them clean and might have some lotion in it, but you still need a dedicated hand cream to prevent them from drying out. Saddle soap isn’t enough for comprehensive leather care. A dedicated leather conditioner is that vital next step. It replenishes the natural oils that cleaning and everyday use strip away.
Conditioning after saddle soap is non-negotiable for keeping leather supple, strong, and resistant to cracks.
How to Apply Conditioner
Patience is key. You must let the leather dry completely from its saddle soap cleaning first. This usually takes a few hours at room temperature.
- Once the leather is dry and cool to the touch, apply a small amount of conditioner to a soft, clean cloth. A pH-balanced cream or balm conditioner works well for most items.
- Rub it into the leather using broad, even circles. You don’t need to press hard. Let the conditioner do the work.
- Pay special attention to dry areas, like the tight bends on boots or the stretched panels on a saddle.
- Let the conditioner absorb. After 15-20 minutes, buff off any excess with a dry part of the cloth. The leather should feel nourished, not greasy.
How Often Should You Use Saddle Soap?
Frequency depends entirely on use.
- Heavy-Use Items (Work Boots, Riding Tack): Clean with saddle soap every 4-8 weeks with regular use. Condition immediately after each cleaning.
- Moderate-Use Items (Everyday Bags, Jackets): A deep clean with saddle soap might only be needed 2-3 times a year. Wipe downs with a dry cloth should handle daily dust.
- Light-Use Items (Wallets, Key Fobs like Scout): Once a year is often plenty. These items get dirt from handling, not the ground.
Let the leather tell you. If it looks grimy, feels stiff, or has lost its luster, it’s time for a clean.
Saddle soap is a powerful tool in your care kit, but it’s just one part of the routine. Proper conditioning after cleaning and storing items in a cool, dry place out of direct sun makes all the difference. This holistic care is what gives pieces like Mason, June, and Scout their long, useful lives.
Common Questions
How often should I really use saddle soap?
For most items in regular use, a thorough clean every few months is sufficient. Over-cleaning can do more harm than good, so let the leather’s condition-not the calendar-guide you.
Do I need to rinse the soap off with water?
No, you should never hold leather under running water. Use a clean, damp cloth to wipe away all residue until the surface feels clean, not slick.
How long should I wait to condition after cleaning?
You must let the leather dry completely first, which can take up to a full day. Apply conditioner only when the leather feels room-temperature and firm, not cool or damp.
Can I use it on any type of boot or bag?
No. Always avoid suede, nubuck, and unfinished aniline leathers. For any item of value or uncertainty, test the soap on a hidden area first.
Caring for Your Leather with Confidence
Proper leather care starts with a gentle clean using saddle soap and ends with letting the piece dry fully on its own. This simple routine removes dirt without stripping the leather’s essential natural oils, which is the foundation of keeping any item like Mason or June supple for years. It’s one of the best general methods for caring for and treating leather items.
Taking care of leather well is a way to respect the animal it came from, extending the life of a quality material so nothing is wasted. The skill grows each time you work on a piece, turning maintenance from a chore into a quiet point of pride in your craft.
Industry References
- How to Use Saddle Soap on Leather? – LeatherCult
- Otter Wax Saddle Soap | All-Natural Leather Cleaner
- Saddle Soap | Fiebing’s
Harriet is a avid collector of leather goods such as purses, bags, seat covers, etc and has an extensive background in leather care, recovery, stain removal and restoration. She has worked for a number of years perfecting her leather care techniques and knows the ins and outs of restoring all kinds and types of leather products. With her first hand knowledge in leather care, you can not go wrong listening to her advice.
Using Saddle Soap, Foams, and Liquids