How Do You Restore Vintage Leather Furniture? An Antique Upholstery Repair Guide
Published on: November 4, 2026 | Last Updated: November 4, 2026
Written By: Harriet Nicholson
Hello Tannery Talk. That beautiful old leather chair in your living room has stories in its creases, but now cracks and dryness are making you hesitate to give it the care it deserves.
This guide walks you through the repair process step by step. We will cover assessing its true condition, choosing the right cleaners, deeply nourishing the leather, fixing small tears or cracks, and protecting its earned patina.
My advice comes from years at the workbench, reviving everything from Mason’s weathered saddle to Scout’s dependable wallet.
Is This Piece Worth Restoring?
Before you touch a single brush, spend time with your piece. This isn’t just cleaning, it’s a conversation. You’re listening to its history written in wear and repair.
Start Your Assessment
Sit with it. Look at it from all angles in good, natural light. Run your hands over every surface. You’re looking for two things: the story and the true condition.
The goal is to understand what you have, not to immediately fix what you see.
Check for Clues and Craftsmanship
Flip the furniture over or check under cushions. Look for a maker’s label, stamp, or tag. This can tell you about its age and origin. Examine the construction.
- Are the joints dovetailed or simply stapled? Hand-tufting on a back is a sign of care.
- Inspect previous repairs. Are there mismatched patches of leather? Is there old, hardened glue seepage? These tell you what has already been done.
My saddle, Mason, has a repair stitch on his flank from before I owned him. I honor that stitch, it’s part of his durability.
DIY or Call a Pro? Making the Choice
You can likely handle the project yourself if the issues are primarily surface-level. If the structure is failing, you need an expert.
A DIY-friendly project has surface wear, light scuffs, minor cracking (just in the finish, not deep into the hide), and overall dryness. These respond beautifully to careful cleaning and conditioning.
Call a professional upholsterer or conservator for:
- Structural Issues: Broken frames, sagging springs, or torn webbing.
- Deep Damage: Large tears that go through the leather, severe rot, or brittle leather that flakes when touched.
- High-Value Pieces: Signed items, museum-quality antiques, or pieces with immense sentimental value where a mistake would be devastating.
Understanding the Cost of Professional Help
If you’re considering a pro, cost depends on a few key factors, whether you’re in Vancouver or anywhere else. It’s not just about hours, it’s about skill and materials.
- Labor Intensity: Replacing a single damaged panel on a tufted back is far more complex than re-covering a flat seat cushion.
- Material Matching: Sourcing a historically appropriate, high-quality leather to match a 70-year-old hide is difficult and expensive.
- Structural Repairs: Fixing the frame underneath adds significant time and cost.
Get multiple quotes. A good craftsman will clearly explain why their price is what it is, breaking down material and labor.
What Kind of Leather Are You Working With?
You wouldn’t use the same soap on a silk blouse and denim jeans. Leather has types, and each needs a different approach. Identifying it is your first practical step.
Identify by Touch and Sight
Turn the piece to a discreet spot, like the back or under a cushion. Feel it. Look closely.
- Stiff, Dry, with a Visible Grain Pattern: This is likely full-grain or top-grain leather. It’s durable, like my wallet Scout, and can handle more intensive conditioning.
- Soft, Napped, and Worn: You’re probably feeling suede or nubuck. These are delicate. Aggressive brushing or the wrong cleaner will ruin the nap.
- Hard, Shiny, and Potentially Cracked: This is patent or coated leather. The plastic-like finish is what’s cracking, not the leather underneath. It requires specific, gentle products.
- Super Soft, Thin, and Deeply Colored: This hints at aniline-dyed leather. The color penetrates deeply, but the surface is unprotected and stains easily.
Why the Material Dictates the Method
Using a heavy oil on a thin, aniline-dyed chair will over-saturate it, leading to permanent dark spots and a sticky feel. That same oil is perfect for reviving a dry, sturdy saddle leather stool.
Repairing a thin aniline hide is like restoring a delicate vintage scarf, while working with saddle leather is like reinforcing a work boot. Your tools and products must match the job.
For example, a stiff, dry piece needs a deep-penetrating conditioner. A soft, worn suede needs a gentle, dry cleaning and a specialized suede conditioner to avoid matting the fibers.
A Note on Ethics and New Materials
When you repair history, you become part of its story. If your project requires new leather-for a patch or a replaced cushion-source it responsibly.
Look for suppliers who are transparent about their tannery practices. Full-grain vegetable-tanned leather from reputable sources ages beautifully and aligns with the ethic of preserving quality. Choosing responsibly sourced materials honors the legacy of the original piece and supports better industry practices. The patina you help create today will be part of its story for the next generation.
How Do You Clean and Condition Aged Leather Safely?
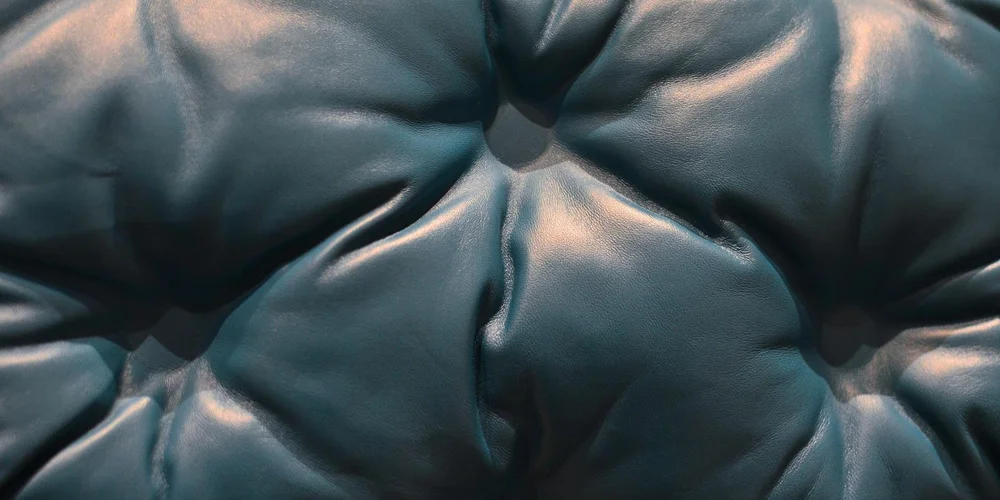
Old leather is thirsty leather. It has lost its natural oils. Your goal is to replenish them without scrubbing away its history. The first rule is the most important: Don’t over-clean or use harsh chemicals.
Always test your cleaner and conditioner in a hidden spot first, like the back of a cushion or underneath an arm. This tells you if the leather’s old finish will react poorly.
Your Gentle Cleaning Toolkit
You don’t need fancy gear. You need the right gear.
- A soft horsehair or boar bristle brush
- Distilled water (tap water can leave mineral spots)
- A pH-neutral leather cleaner
- Several lint-free, soft cotton cloths (old t-shirts work perfectly)
The Step-by-Step Process
- Dry Brush: Gently brush the entire surface to lift dust and grit from crevices. This prevents grinding dirt into the leather during washing.
- Prepare Your Cleaner: Mix a small amount of pH-neutral cleaner with distilled water as directed. Dampen a cloth, then wring it out until it’s only slightly moist. A sopping wet cloth is your enemy here.
- Clean in Sections: Work on one small area at a time. Wipe with the damp cloth using gentle, circular motions. You should hear a soft, clean squeak, not a squelch. Immediately dry the area with a second, clean cloth.
- Let It Dry Completely: Walk away. Let the piece sit for a full 24 hours in a warm, dry room. The leather must be bone-dry before the next step.
Conditioning: The Satisfying Part
Now for the nourishment. Use a quality leather conditioner or balm. Apply a small dab to a cloth and rub it into the leather in slow, circular motions. Watch the thirsty leather drink it in, turning a shade darker as it absorbs the oils. Proper conditioning is key to maintaining leather’s suppleness and longevity.
Let the conditioner sit and penetrate for at least an hour, then buff off any excess with a clean cloth. The handfeel changes from dry and stiff to supple and cool. If the leather still feels parched after a day, you can apply a second, thin coat. Patience always wins.
Avoid harsh chemicals like ammonia, saddle soap, or all-purpose cleaners. They can strip the precious patina that took decades to build. One-size-fits-all products often do more harm than good to antique hides.
What Are the Best Ways to Fix Cracks, Scratches, and Holes?
Think of repairs in three categories: surface wear, cracks that need filling, and holes that need patching. The approach changes for each one.
Surface Blemishes: Scratches and Scuffs
Light scratches are often just in the finish. A good leather balm, worked gently into the mark with your fingertip, can often blend them away by rehydrating the fibers. For deeper scratches, a leather filler paste is your best friend.
- Clean the area thoroughly.
- Apply a small amount of filler with a flexible plastic spatula, pressing it into the scratch.
- Overfill it slightly, let it dry completely (check the product’s time), then sand it flush with very fine grit sandpaper.
The final step is color matching, which is an art of its own. Test any antique dye or pigment on a hidden area first. This step is especially crucial when restoring color faded leather furniture, where accurate color balance matters. Later steps will point you to proven techniques and products for achieving a seamless finish. Apply it with a small brush in thin layers, feathering the edges to blend with the surrounding leather.
Structural Cracks
A crack is a weak point. Your job is to stabilize it. Flexible leather fillers and binding agents can be worked into the crack to prevent it from spreading. The key is to get the product deep into the split. After filling, condition the area well to keep the surrounding leather pliable.
Missing Material: Holes and Tears
This is where your restoration moves into repair. For a clean tear, you’ll need to patch it from behind.
- Carefully lift the leather upholstery if possible to access the back.
- Cut a patch from a compatible, lightweight leather or fabric. It should be larger than the hole.
- Use a flexible, water-based leather adhesive suitable for conservation. Apply it to the patch, not the antique leather.
- Press the patch firmly into place on the back of the hole, ensuring good contact. Use clamps or weights while it cures.
- Once secure, you can fill any remaining gap on the front side with leather filler, then sand and color match.
Sourcing period-appropriate leather for a perfect patch can be a hunt. Look for thickness, grain, and color. A small swatch from a vintage bag or jacket at a thrift store can sometimes be the ideal donor material.
These same principles apply to a vintage leather jacket restoration. The scale is smaller, but the care is the same. Clean gently, condition thoroughly, and repair tears from the inside with a flexible adhesive and a backing patch. The goal is always to extend its life with respect for its age.
How Do You Protect Your Restored Furniture for Years to Come?
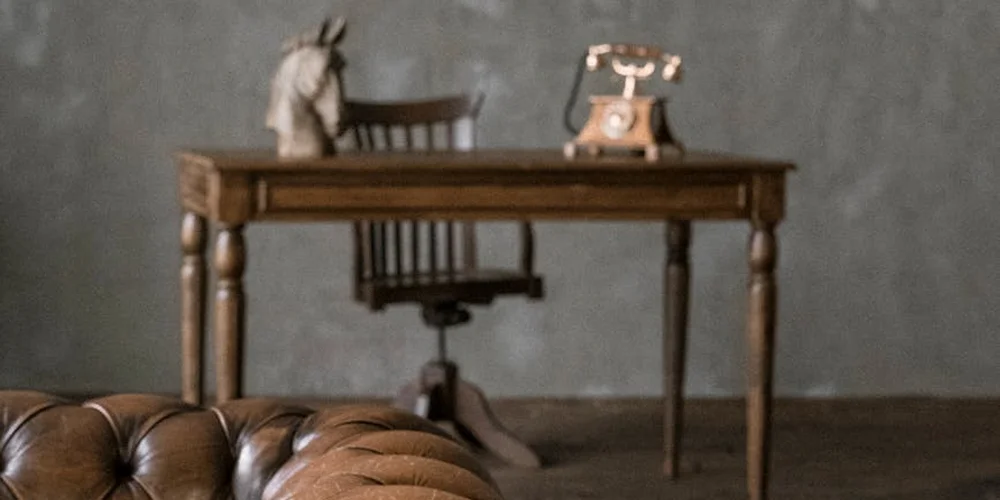
Think of your restoration work as a fresh start, not a finish line. The real secret to longevity is simple, consistent care. I treat my pieces like old friends-I check in on them regularly. This prevents small issues from becoming big problems and lets you enjoy the patina that comes with gentle, loving use.
Create a Simple Care Routine
A good routine is easy to remember and quick to do. It revolves around two main tasks: keeping it clean and keeping it nourished. For my daily-use pieces like Mason the saddle, this happens without much thought. For your furniture, a scheduled approach works best.
- Weekly: A quick, gentle dusting with a soft, dry cloth. This removes abrasive grit before it gets ground into the grain.
- Monthly: A closer look. Run your hand over the surface. Does it still feel supple, or is it starting to feel a bit dry or stiff?
This consistent, light touch is far more effective than neglecting your leather for years and then trying to rescue it with a heavy treatment. It’s the difference between watering a plant regularly and trying to revive a dried-out cactus.
Find the Right Spot in Your Home
Where you place your furniture is the single biggest factor in its long-term health. Leather’s main enemies are consistent and intense heat and light. Humidity and temperature swings also affect leather over time, influencing how it ages and responds to care. Understanding these climate effects helps tailor prevention and repair strategies.
- Avoid Direct Sunlight: UV rays break down the leather’s fibers and dyes, causing fading and brittleness. Think of how June’s jacket would fade on a backyard clothesline versus in a closet.
- Keep Away from Direct Heat: Position your chair or sofa at least a few feet from radiators, fireplaces, or heating vents. Dry, hot air sucks the natural oils right out of the hide.
- Mind the Humidity: Extremely dry air can crack leather, while a damp, musty basement can promote mold. A stable, room-temperature environment is ideal.
Schedule Your Conditioning
Conditioner replaces the natural oils that evaporate over time. How often you need to do this depends entirely on use and climate.
Follow these steps when it’s time to condition:
- Always clean the surface first with a neutral leather cleaner to remove any dirt or body oils.
- Choose a pH-balanced leather conditioner or cream. Test it on a small, hidden area first to check for any color change.
- Apply a thin, even coat with a soft cloth or your fingertips, working it into the grain.
- Let it absorb fully, usually for an hour or two, then gently buff off any excess with a clean, dry cloth.
For a regularly used living room sofa, a thorough conditioning every 6 to 12 months is a good rule of thumb. A decorative chair in a shaded corner might only need it every 18 to 24 months. Let the leather’s feel be your guide-if it feels dry or looks thirsty, it probably is. Doing proper maintenance can extend the lifespan of leather couches and sofas.
Storing a Cherished Piece
Sometimes you need to store a piece, like a heirloom armchair during a renovation. The goal is to let it breathe while protecting it. I learned this with Scout, my wallet, when I had to pack it away for a season.
- First, give it a full clean and conditioning session. You never want to store leather while it’s dirty or dry.
- Never wrap leather in plastic or non-breathable tarps. This traps moisture and can cause mildew. Use a clean, white cotton sheet or a fabric furniture cover instead.
- Store it in a cool, dry, and dark place. Avoid attics (too hot) and basements (too damp).
- If storing long-term, plan to unwrap and check the piece every few months. Air it out, feel for dryness, and give it a light dusting.
Proper storage is an act of preservation, putting your piece into a gentle hibernation until it’s ready to be part of your daily life again.
Quick Answers
I found a vintage leather ottoman with hardware. What should I check before buying it to restore?
First, check if the hardware (nails, studs) is original or a replacement, as this affects value. Then, inspect the leather underneath any metal pieces for hidden corrosion or tears, which complicates repair significantly.
Why does the cost for professional vintage leather restoration in Vancouver vary so widely?
Cost variation hinges on the craftsman’s specialization and the piece’s structural needs. A simple cushion re-stitching is straightforward, but replicating hand-tooling or repairing a compromised frame demands a conservator’s time and rare materials, increasing the price.
Can I restore a vintage leather jacket the same way as furniture?
The cleaning and conditioning principles are identical, but jacket restoration is more delicate due to thinner leather and a lining. For significant repairs like torn seams or lining replacement, seek a specialist in garment leather to preserve its drape and fit. If you encounter a tear or rip, there are practical repair options for damaged leather jackets. These DIY fixes and professional restoration methods will be covered in the next steps.
What’s the difference between leather restoration and lathe restoration?
They are completely different crafts. Leather restoration deals with organic hides, requiring specific cleaners and conditioners. Lathe restoration involves machining, metal parts, and wood, focusing on mechanical function and structural integrity—don’t use leather products on your machinery.
How do I maintain my restored piece without over-maintaining it?
Stick to a simple dry-dusting routine weekly. Only condition when the leather feels stiff or dry to the touch, typically once a year for most homes; over-conditioning can saturate and damage the fibers. Less is often more.
Caring for Your Restored Antique Furniture
When bringing vintage leather back to life, remember that gentle, consistent care will always outlast any quick fix. Treat each clean and conditioning session as a conversation with the material, listening to its needs just as I do when maintaining the deep chestnut patina on Mason’s leather. Understanding how time, use, and care develop character in fine leather goods is key to truly appreciating its value.
Choosing to restore rather than replace honors the animal and reduces waste, making it a deeply responsible practice. View every repair as a chance to grow your skill, so you can keep all your leather goods-from daily wallets to heirloom sofas-in trusted service for years. That mindset also guides the care of leather couches and other furniture through repair, reupholster, restore, and patch techniques. Explore how those skills can extend the life of sofas, chairs, and other items you love.
Expert Resources and Citations
- How to Condition and Restore Leather Furniture | Little House of Four – Creating a beautiful home, one thrifty project at a time.
- How Vintage Leather Furniture Is Professionally Restored – Business Insider
- How we brought 20-year-old leather back to life – The Grit and Polish
- Leather Complete Restoration Kit – Restore Colour To Leather | Furniture Clinic
Harriet is a avid collector of leather goods such as purses, bags, seat covers, etc and has an extensive background in leather care, recovery, stain removal and restoration. She has worked for a number of years perfecting her leather care techniques and knows the ins and outs of restoring all kinds and types of leather products. With her first hand knowledge in leather care, you can not go wrong listening to her advice.
Furniture and Upholstery Care