How to Care for Motorcycle Leather: A Rider’s Guide to Jackets, Gloves, and Boots
Published on: September 16, 2026 | Last Updated: September 16, 2026
Written By: Harriet Nicholson
Hello Tannery Talk. You rely on your leather gear to shield you from the elements and the road, but sun, rain, and wear can leave it stiff and vulnerable.
This guide will walk you through a practical care routine. We will cover gentle cleaning methods, deep conditioning for flexibility, and regular safety inspections for jackets, gloves, and boots.
My advice comes from years of hands-on repair and conditioning, working on everything from daily-worn jackets like June to heavy-duty gear that faces the same demands as your motorcycle leathers.
Why Motorcycle Leather Needs Tougher Love
Your motorcycle gear is your second skin on the road. It works harder than almost any other leather item you own. Think of my old saddle, Mason. It’s built for endurance, not just looks. Your jacket, gloves, and boots are the same, but they face a tougher world of constant sun, whipping wind, road grit, and sudden rain.
When leather dries out, it doesn’t just get stiff or look old. It becomes brittle. This brittleness directly compromises the material’s abrasion resistance, which is your primary layer of safety in a slide. Unconditioned leather is weaker leather, and that makes your protective gear less safe over time. Weatherproofing fades too, letting moisture seep in to chill you and further damage the hide from within.
Comparing it to other leathers makes it clear. A dress shoe or a handbag might see scuffs and need polishing. Motorcycle gear faces high-stress environments that demand consistent, proactive maintenance. You’re not just preserving a look, you’re maintaining a piece of safety equipment.
Building Your Motorcycle Leather Care Kit
You don’t need a cabinet full of potions. A simple, effective kit has three core products: a gentle leather cleaner, a dedicated leather conditioner, and a water-repellent protectant. With these, you can handle 95% of your gear’s needs.
Conditioners come in different forms. Creams are thicker, often made with beeswax or lanolin. They sit on the surface a bit more to create a protective barrier, great for heavy-duty boots. Lotions and oils are thinner. They penetrate deeper to nourish the leather fibers from the inside out, which is ideal for supple jacket leather. For most gear, a conditioner that balances deep penetration with a light protective layer offers the best of both worlds (especially when choosing between oils and conditioners).
You can find kits or buy products individually. Look for those designed for “outdoor,” “equestrian,” or “work” leathers, as their needs are similar. Avoid anything with harsh solvents, silicones, or petroleum distillates listed high in the ingredients. These can break down the natural fibers and stitching over time, creating weak spots exactly where you need strength.
Choosing the Right Cleaner and Conditioner
Start with a pH-balanced leather cleaner. Why? Leather has a natural, slightly acidic pH. Harsh alkaline soaps (like some household cleaners) can strip away its natural oils and damage dye jobs. A balanced cleaner lifts away road grime, bug splatter, and sweat salts without attacking the leather itself. Always test any new product on a small, hidden area first, like an inside seam. This is especially important when avoiding DIY leather cleaning methods that might harm your leather.
The conditioner for your gear has a special job. It must restore the oils and waxes that sun and wind steal away, but it cannot leave a slippery, glossy film. Imagine your glove grips or boot soles being slick. A quality motorcycle conditioner will nourish the leather and dry to a natural, matte finish. Your grip on the handlebars and footpegs must remain secure, so a non-greasy, absorbing formula is non-negotiable. Think of it like a good lotion for your skin: it soaks in to do its work, leaving you protected, not greasy.
How to Clean Your Motorcycle Gear, Step by Step
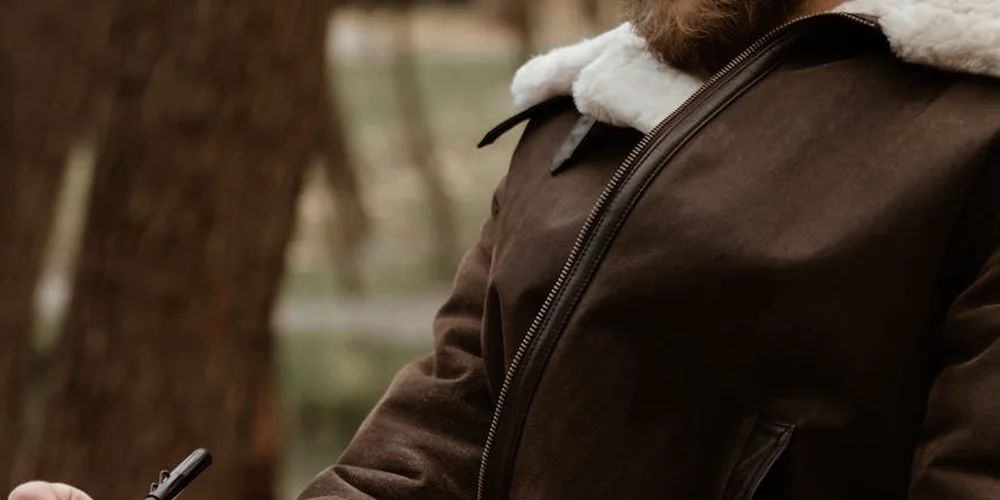
Cleaning starts with a careful inspection. Lay your jacket, gloves, and boots out in good light. Run your fingers over the leather, feeling for any dry, stiff spots or unusual cracks. Check the stitching on seams, especially at the shoulders and knees. This isn’t just about looks. Finding a weak stitch now means you can repair it before it fails on the road.
Once you know the gear is sound, follow these steps.
- Remove all the armor and liners if possible. Brush away every speck of loose dirt and dust with a soft, dry brush. I use a horsehair brush, like the one I use on Mason the saddle. This prevents you from grinding grit into the leather later.
- Dampen a soft, lint-free cloth with clean water and wring it out completely. Apply a small amount of a pH-neutral leather cleaner to the cloth, not directly to the gear. Work in small, circular sections.
- Pay extra attention to seams, zipper tracks, and the openings for armor. Grime loves to hide here. Use a soft-bristled toothbrush for these tight spots, but be gentle.
- Wipe the entire piece down with a second cloth dampened only with water to remove any cleaner residue.
Let your gear dry naturally, away from radiators, heaters, or direct sun, which can bake the leather stiff and brittle. Hang jackets on a broad hanger. Stuff boots with crumpled paper to help them hold their shape. This slow dry is key. Rushing it with heat is the fastest way to ruin good leather. That same slow-dry principle applies to leather jackets and leather shoes as well. Learn how to dry both without damaging them.
Spot Cleaning for Bugs, Road Grime, and Salt
Motorcycle gear faces unique messes. A gentle, targeted approach works best. Always test any cleaner on a small, hidden area first.
- Bug Splatter: Let it soften. Lay a damp cloth over the spot for ten minutes. The bugs will wipe away easily. Scrubbing hard just risks scratching the surface.
- Road Grime and Oil: A damp cloth with a drop of mild dish soap can lift this. Wipe, don’t scrub. Follow immediately with a water-only cloth to remove soap.
- Salt Stains (from sweat or winter roads): Mix one part white vinegar with two parts water. Dampen a cloth with the solution and lightly dab the stain. The mild acid breaks down the salt. Wipe with a clean water cloth afterward.
Your first check should always be the manufacturer’s care label to see if your leather has a protective coating. Coated leathers (often used in sportbike gear) are simpler. A wipe with a damp cloth is usually enough. Uncoated, aniline, or pull-up leathers (like my jacket, June) are thirstier and need the full conditioning process after cleaning. This conditioning process is similar to how you would care for a leather bag to prevent cracking and stains.
Conditioning: Putting Strength Back into the Hide
Cleaning removes. Conditioning restores. Think of it like giving your skin a good moisturizer after a shower. The goal is to replenish the natural oils that riding sun, wind, and rain strip away.
Here is my method, the same one I use to keep June supple.
- Ensure the gear is completely dry and at room temperature.
- Apply a leather conditioner or balm sparingly to a soft cloth. A little goes a long way. I use products based on natural waxes and oils.
- Massage the conditioner into the leather using small, circular motions. Cover the entire surface evenly. You will see the leather darken as it drinks the conditioner in-this is normal.
- Let it absorb. Leave the gear alone for at least an hour, preferably overnight. The leather should feel cool and supple, not greasy. If it feels greasy, you used too much; buff the excess off with a clean, dry cloth.
Proper conditioning should leave the leather looking rich, not shiny, and feeling pliable in your hands, like a well-worked baseball glove. This isn’t just about comfort. Flexible leather moves with you and maintains its abrasion resistance. Stiff, dry leather is more likely to crack and tear in an impact.
How often should you condition motorcycle leather? For gear used regularly, every three to six months is a good rule. But your hands will tell you. If the leather feels dry, stiff, or looks dull, it’s time. My gloves need it more often than my jacket. That includes properly cleaning, conditioning, storing, and maintaining your jacket to preserve its look and durability. Do it consistently, and it will last longer.
What if my gear still feels stiff after conditioning? Give it another light application. Very dry leather might need two thin coats, with a few hours between them, to fully hydrate. Never try to force it all back in one go.
Special Care for Jackets, Gloves, and Boots
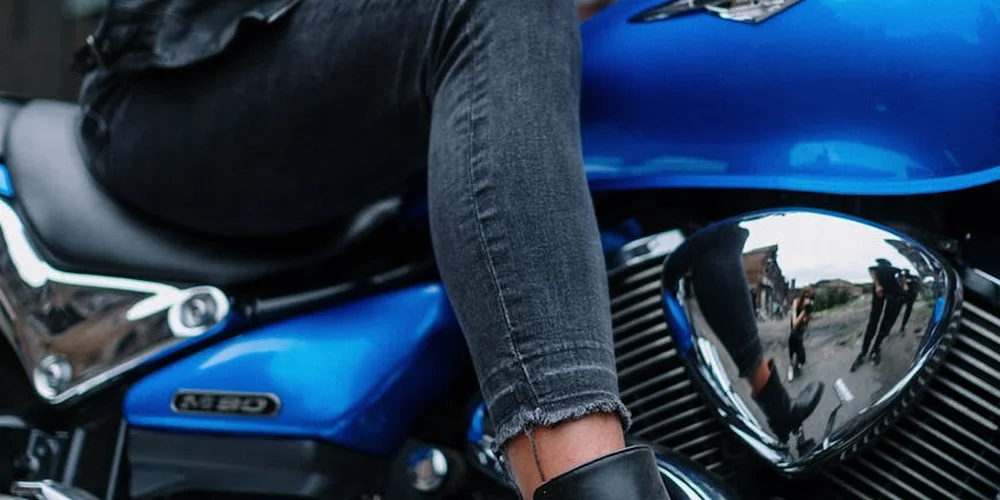
Your gear gets punished in different ways. Giving each piece targeted attention keeps it safe and comfortable.
For Your Jacket
Focus on the areas that take the most stress and weather. The shoulders and upper back face constant sun and rain. The leather there can dry out faster than elsewhere.
- Clean these high-wear zones first with a damp, soft cloth and a drop of pH-neutral leather cleaner.
- Apply a light, even coat of conditioner here, rubbing it in with your fingers to feel for dry spots.
- Let the jacket dry fully away from direct heat. A stiff jacket is a brittle jacket.
Zippers and snaps need care too, a quick wipe with a dry cloth after a wet ride prevents corrosion that can stain the leather.
For Your Gloves
The palms and finger seams are ground zero for wear. Stiffness here ruins your feel for the controls.
- Pay special attention to conditioning the palm leather. Work a small amount of a lightweight conditioner into the leather, avoiding heavy oils that can clog pores and remain greasy.
- Check the stitching on the seams. If it’s fraying or coming loose, it’s time for repair. Strong seams are a safety feature.
- After conditioning, put the gloves on and flex your hands. This helps work the product into the creases where the leather flexes most.
For Your Boots
Boots meet the road. The soles, heels, and the area where your ankle bends are critical. Proper motorcycle leather care for boots combines cleaning, conditioning, and protection.
- Brush off dirt from the soles and upper with a soft brush. Use a leather cleaner for any grime or road salt stains.
- Condition the entire boot, but be generous on the ankle flex points. This leather cracks first if it dries out.
- Use a dedicated leather cream or wax for boots. These products often contain more waxes to bolster abrasion resistance. A good cream nourishes the leather and creates a barrier without making the soles slippery.
Jacket Armor and Liner Maintenance
Modern gear has parts that need care too. Ignoring them leads to smells and compromises safety.
If your liner is removable, take it out according to the manufacturer’s instructions. Wash it separately as the tag directs, usually on a gentle cycle. Let it air dry completely before putting it back. This stops mildew and keeps the jacket fresh.
To check armor pockets, gently feel around the edges of the armor inside the liner. You are looking for thin leather or torn stitching. Do not tug on the leather from the outside to move the armor, as this can stretch and weaken the pocket. If the armor slides around too much or the pocket lining is torn, the armor may not stay in place during an impact.
Keeping Gloves Supple and Boots Water-Resistant
These small steps make a big difference in comfort and function.
For gloves, suppleness is key. Use a conditioner made for fine leathers. Apply a tiny amount to one finger at a time, rubbing it in thoroughly. Excess product will make your hands feel slick. Let them dry overnight. They should feel softer, not oily.
For boot water resistance, start with clean, conditioned leather. Apply a leather-safe water proofer in a well-ventilated area. Use a cloth or your fingers to work it into the seams where the upper meets the sole, and around any stitching. Pay close attention to the welt, the strip of leather that connects the sole to the upper, as water loves to seep in here. One even coat is better than a thick, gloopy one. Reapply this treatment every few months with heavy use. That’s how I protect my leather boots and shoes from scratches, salt stains, and water damage. Following these steps helps keep them looking newer, longer.
Restoring and Troubleshooting Your Gear
Leather is resilient. Most common problems have a straightforward fix if you act with patience.
Common Issues and Simple Fixes
- Drying Out & Stiffness: This is leather crying out for oil. A dedicated leather conditioner is the answer. Apply a light coat, let it absorb for an hour, and see how it feels. Repeat if needed.
- Minor Scuffs: These are often just on the surface. For light color transfers, a gentle leather cleaner on a microfiber cloth can lift them. For deeper scuffs that expose lighter leather, a matching leather cream can help blend the area.
- Water Damage & Stiffness: If gear gets soaked, never force-dry it near a heater. Stuff boots with newspaper, hang the jacket on a wide hanger, and let everything dry slowly at room temperature. Once completely dry, condition it thoroughly to replace lost oils.
Restoring Neglected Leather
I brought my old wallet, Scout, back from being dry and brittle. The method is simple, do not rush.
- Clean the item gently to remove surface dirt.
- Apply a very thin layer of conditioner. Rub it in until the leather stops absorbing it.
- Let it rest for a full day.
- Feel the leather. If it still feels thirsty, apply another thin layer.
- Repeat this process over a week or two. Multiple light sessions are far better than one heavy soaking, which can oversaturate and weaken the fibers.
The leather will slowly become supple again. The color may darken slightly, but a rich, lived-in patina will return.
Repair or Replace? A Safety Checklist
Leather can be repaired, but your safety is the priority. Use this guide to decide.
| Consider Repair If… | Consider Replacement If… |
|---|---|
| Stitching is loose in a non-critical seam. | Stitching is failed in a major seam (like a jacket’s shoulder). |
| A small tear or hole is in a low-abrasion area. | The leather is deeply cracked, hardened, or worn thin in an impact zone. |
| Hardware (zipper, snap) is broken but the surrounding leather is strong. | The armor pockets are compromised or the armor itself is cracked/aged. |
| The item is stiff but softens evenly with conditioning. | The leather feels papery, brittle, and shows no improvement with conditioning. |
When in doubt, consult a professional leather repair shop specializing in motorcycle gear. They can assess damage you might miss. Your skin is worth more than the cost of new gear.
Common Questions

What’s the real difference between a leather cream and a leather oil for my gear?
Creams, often wax-based, sit on the surface to build a protective shield-ideal for boots. Oils penetrate deeply to nourish from within-better for a jacket’s suppleness. This balance reflects the science behind leather conditioning: oils and waxes interact with the hide to penetrate, nourish, and form a protective barrier. For most gear, a balanced conditioner that does both is your best bet.
How do I know when my leather actually *needs* conditioning, not just cleaning?
Trust your hands, not just the calendar. If the leather feels stiff, looks overly dull, or has lost its natural flexibility, it’s thirsty. A well-conditioned hide should feel cool and pliable, like a broken-in baseball glove.
I see “Harley-Davidson” or other brand-specific care kits. Are they necessary?
Not necessarily. What matters are the ingredients. A good, simple kit from any reputable brand designed for outdoor or work leathers will serve you well. Just avoid products with harsh solvents or silicone.
How can I keep my boots water-resistant without making the soles slippery?
Use a dedicated leather water proofer after conditioning, applying it sparingly with a cloth. Focus on the seams and welts, and buff off any excess. A proper product soaks in to protect without leaving a dangerous, greasy film on walking surfaces.
What are the non-negotiable signs that my gear is a safety risk, not just worn?
Deep, hardened cracks in impact zones (shoulders, knees, elbows), papery-thin leather you can pinch through, or failed stitching in major seams mean the hide’s structural integrity is gone. At that point, conditioning is a bandage, not a fix-replace the gear.
Caring for Your Riding Leather
The most important habit you can build is a simple one: clean and condition your gear after exposure to rain, sweat, or road grime. This consistent routine is what keeps the leather supple and protective, turning your apparel from a simple purchase into a reliable safety partner.
Proper care is a form of respect for the material and the animal it came from, extending a garment’s life for years and reducing waste. Your skills as a caretaker will grow with practice, and trusted resources like Tannery Talk are here to help with every question on the road ahead.
Research and Related Sources
- r/motorcycle on Reddit: Motorcycle jacket care
- Buy Motorcycle Leather Dressing | Motorcycle Leather Restorer – Pecard Leather Care Company
- How to clean leather motorcycle gear
Harriet is a avid collector of leather goods such as purses, bags, seat covers, etc and has an extensive background in leather care, recovery, stain removal and restoration. She has worked for a number of years perfecting her leather care techniques and knows the ins and outs of restoring all kinds and types of leather products. With her first hand knowledge in leather care, you can not go wrong listening to her advice.
Jacket and Apparel Care