How Do You Fix Leather Stained by Hair Dye or Colored Products?
Published on: August 21, 2026 | Last Updated: August 21, 2026
Written By: Harriet Nicholson
Hello Tannery Talk. That sudden splash of color on your leather feels like a disaster, but please don’t worry. I have guided many pieces back from similar spills.
We will cover immediate stain control, choosing the right cleaning agents for different leathers, and methods to restore color and nourishment.
My hands have repaired everything from Scout’s wallet to a dyed-stained bag, giving me practical insight into what truly works.
What Makes Hair Dye Stick to Leather So Badly?
Hair dye is designed to do one thing: bond. Its job is to penetrate hair strands and lock in color permanently. Leather is not so different from hair. It is porous and absorbs oils and liquids deeply into its fibers, much like leather dye interacts with animal hide.
Think of applying a leather conditioner. You work it in, and it soaks below the surface to nourish from within. Hair dye does the same, but it is not nourishing. It is a pigment designed to create a permanent chemical bond. Where conditioner moisturizes and then rests in the leather, dye actively seeks to stain it forever.
Not all leathers surrender to dye the same way. Aniline or full-grain leather, with its open pores and minimal surface coating, will drink in a dye stain almost instantly. Protected or corrected-grain leathers have a pigment or polymer topcoat that can buy you a few precious seconds to wipe a spill away before it soaks through microscopic cracks.
I learned this lesson with my own leather jacket, June. A stray splash of a colored styling product landed on her shoulder. I watched, almost in slow motion, as the dark spot was absorbed into the soft calfskin. In that moment, it was not a jacket. It was a sponge.
The Critical First 60 Seconds After a Spill
Your reaction in the first minute sets the stage for everything that follows. Panic is normal, but action must be calm and precise.
Your only job right now is to remove as much of the foreign substance from the surface as physically possible, without driving it deeper.
- Find a clean, dry, absorbent cloth like a cotton t-shirt scrap or a microfiber towel.
- Gently place it over the stain and press down. Do not rub or wipe. Rubbing grinds the dye into the leather grain like sandpaper.
- Lift the cloth, move to a clean section, and press again. Repeat until no more product transfers to the cloth.
Avoid the instinct to grab water or a cleaner. Most dyes and colored products are activated or set by moisture. Introducing water now can dissolve the dye and help it seep even deeper into the leather’s core, making the stain larger and more set. Especially when dealing with dye-transfer stains on light-colored leather, it’s crucial not to worsen the situation.
Before you move to any cleaner, even a specialized leather one, you must test it. Find a hidden spot, like inside a seam or under a collar. Apply a tiny dab with a cotton swab. Wait a few minutes, then check for color change or damage. This simple step can prevent a much bigger disaster.
For a fresh, wet stain, after blotting, you can try a gentle lifting technique. Use the sticky side of a piece of masking tape. Lightly dab it onto the surface. This can sometimes pull up minute particles of the product from the very top layer without the abrasive action of rubbing.
A Gentle Cleaning Method for Recent Stains
Time is your friend with a fresh stain, but rushing can cause more harm. Your first move is always the gentlest.
I grab a clean, white cloth and a mild, pH-neutral leather cleaner. You want something that cleans without stripping the leather’s natural oils. Think of it like using a gentle face wash instead of harsh soap. You may wonder about the best products for cleaning leather. I’ll cover those methods in the next steps.
- Dampen a corner of your cloth with the cleaner. Do not pour it directly onto the leather.
- Blot the stained area gently. Do not scrub. You are trying to lift the color from the surface, not grind it in.
- Let the cleaner sit for no more than 60 seconds. This gives it a little time to work.
- Wipe the area with a separate cloth dampened with plain, cool water. This removes any cleaner residue.
- Let the leather air dry completely, away from direct heat or sun. This part takes patience.
You must avoid harsh chemicals like acetone, ammonia, or general household cleaners at all costs. They are too strong. They will strip the protective topcoat and dyes from your leather, leaving a dry, discolored patch that is much harder to fix than the original stain. Unlike commercial cleaners or home remedies that are formulated for leather care, these substances can cause permanent damage.
How do you know when to stop cleaning? If after two gentle passes the stain hasn’t lightened, it’s time to stop. You are now risking damage to the leather’s finish. Continuing will only rough up the surface and set the stain deeper. This is where we move from cleaning to repair.
Repairing the Color When a Stain Remains
Sometimes a stain lifts some of the leather’s original color with it. What remains is a lightened patch. Now, it’s about careful restoration, not just cleaning. Restoring the color requires patience and precision.
First, assess the spot. Run your finger over it. Does it feel noticeably rougher or more porous than the surrounding leather? That means the protective topcoat is compromised. A simple color touch-up won’t be enough; you will need to repair the finish, too, to protect the new color and ensure even wear.
Color matching is the next step. Leather dyes come in many shades. Test your dye on a hidden area first, like an inside seam or the back of a belt loop, and let it dry completely to see the true color. It will look different wet. My jacket June has a small repair where I matched her calfskin color this way. It took two tries to get it right, and that patience made the repair invisible.
For application, use a small, fine-tipped artist’s brush. It allows for precise control. Dip just the tip of the brush into the dye.
- Start by dabbing the color onto the very center of the lightened area.
- Use feather-light strokes to slowly blend the new color outward into the good leather.
- Apply multiple thin layers, letting each dry fully, rather than one thick, gloopy coat.
Blending is the secret to a natural look. You are not painting a solid block of new color. You are building up tone gradually so it melts into the existing patina. The goal is for the eye to travel over the piece without sticking on the repair, like on my wallet Scout where a small scuff was blended back into its dark brown veg-tan surface.
How to Use a Leather Dye Repair Kit Effectively
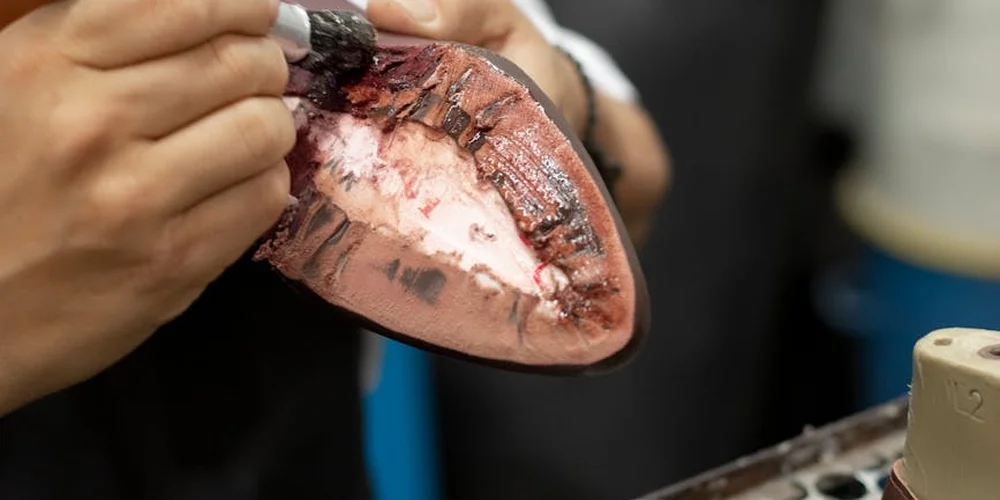
Think of a dye repair kit as a first-aid pack for your leather’s color. A good one gives you the tools to patch up the damage and blend it back in. The process is simple, but patience is your best tool. You’ll find that restoring and repairing the color on a faded leather bag requires just that.
What’s Inside the Kit?
A typical kit has three main parts. First, the dye. This is a pigmented liquid that matches your leather’s color. It soaks into the top layer. Next, a topcoat or finisher. This clear layer goes over the dried dye to protect it and give it the right sheen, whether matte or glossy. Finally, applicators. You usually get small sponges or brushes designed not to leave streaks.
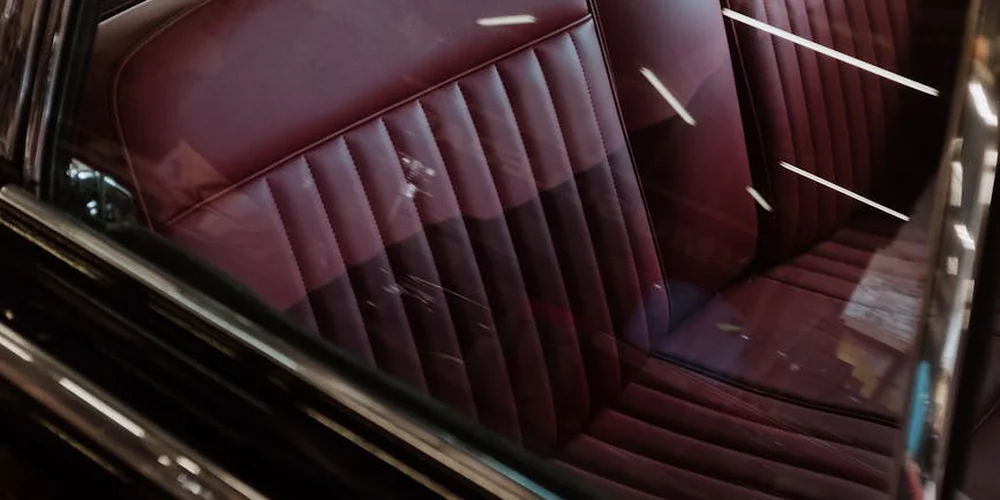
The key is to match not just the color, but the finish; a glossy black car seat and a matte black boot need different topcoats.
Your Step-by-Step Guide
Rushing this will show. Follow these steps for a clean, lasting repair.
- Clean and Prep: The area must be perfectly clean and dry. Use a mild, pH-balanced leather cleaner on the entire panel, not just the stain. Any residual dye, oil, or dirt will block the new dye from bonding. Let it dry completely. This can take an hour.
- Apply the Dye: Shake the dye bottle well. Dab a tiny amount onto the applicator. Apply in thin, even layers, feathering the edges out into the good leather. It’s better to do three light coats than one heavy, gloopy one. Let each coat dry fully-about 30 minutes. The color will deepen as it dries.
- Seal the Deal: Once the final dye coat is completely dry (touch it, it should not feel tacky), apply the clear finisher. Use the same light, even technique. This sealant is what protects your repair from wear and scuffs. Allow it to cure for at least 24 hours before using the item.
A common mistake is overloading the applicator, which causes drips and a stiff, painted look. If this happens, you can gently wipe the wet excess with a clean, dry cloth and let it dry before applying a thinner next coat.
Choosing the Right Kit for the Job
Not all kits are the same. The main difference is scale and finish.
For furniture like a couch or car seat, you need a kit with more dye volume to cover the larger area. These often include a spray applicator for the most even coverage on broad, flat surfaces. The finisher is usually formulated to withstand more friction and sunlight.
For personal items like a jacket (my June), a bag, or boots, a smaller touch-up kit is perfect. These focus on precision, with small brushes or dabbers. The finisher is more flexible to move with the leather. For a small scuff on my wallet Scout, a precision pen-style applicator is all I’d use.
Finding a Good Kit and Key Features
You can find these kits online or in hardware and craft stores. Look for a few specific features. A color matching guide is vital-many brands offer a way to confirm your shade before you buy. Choose a kit that includes both the dye and a protective topcoat, as the dye alone is not durable. Also, check if the products are flexible and breathable once dry, so they don’t crack or make the leather feel plastic. Water-based dye kits are now widely available and are much more pleasant to work with than older, solvent-based options.
When DIY Isn’t Enough: Finding Professional Help
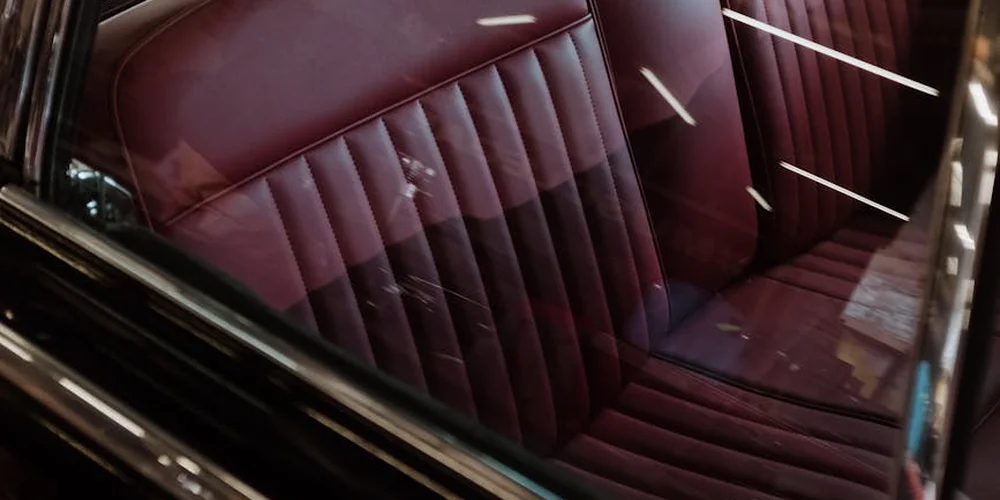
There’s no shame in calling a pro. In fact, for some pieces, it’s the most responsible choice. I wouldn’t practice a complex repair on a cherished heirloom or a high-value item. Knowing when to step back saves you from causing greater, sometimes irreversible, damage.
Signs You Need a Professional
- The damaged area is very large, like an entire seat cushion or the back panel of a jacket.
- The item has high monetary or sentimental value. Your grandfather’s briefcase or a designer bag deserves expert hands.
- The color is complex. Multi-tonal, aniline, or brightly colored leathers are incredibly hard to match perfectly with a standard kit.
- The leather is also structurally damaged-deep cuts, tears, or areas where the surface is completely worn away.
If you feel nervous or the piece is irreplaceable, a professional consultation is the safest first step.
How to Search for and Vet a Specialist
Start by searching for “leather repair” or “leather restoration” in your area. Look for businesses with a physical shop, as this often indicates established work. Read reviews, but pay closer attention to before-and-after photos in their portfolio. A good restorer will be proud to show their work. Knowing which methods are most effective for repairing general leather items helps you compare options. It also guides what questions to ask during consultations.
Call them. Ask questions: “Have you worked on a piece like this before?” “What is your process for color matching?” “Can you explain the repair and the cost estimate?” Their willingness to explain the craft is a great sign of honesty and skill. A true specialist will often advise you if a repair isn’t worth the cost, which builds immense trust.
What Professional Restoration Involves
For a car seat or sofa, a pro doesn’t just dab on dye. They may strip the old finish from the entire panel, repair any cracks with filler, use an airbrush system for flawless color application, and finish with a durable, protective coating cured for durability. For a heirloom bag, the work is even more meticulous, potentially involving re-dyeing entire sections for a perfect match and hand-finishing.
They have access to professional-grade materials and custom-mixed colors that DIY kits cannot replicate. The goal is a repair that is invisible and lasts for years.
Setting Realistic Expectations on Cost and Outcome
Cost varies wildly based on damage and item type. A small, simple color touch-up on a chair might be modest. Full restoration of a vintage leather jacket or a car seat with multiple panels will be a more significant investment.
Discuss the expected outcome upfront. A good professional can tell you how close to “like new” the repair will look. For severe damage, the goal may be a “beautifully restored” look that blends the repair rather than making it disappear completely. Get a written estimate that outlines the work and cost before any work begins.
Simple Habits to Prevent Future Stains
The best repair is the one you never have to make. After dealing with a dye stain, a few easy habits can save your favorite pieces from the next accident.
Create a Simple Barrier
Think of your leather like your skin. You wouldn’t do a messy task without an apron. Give your leather the same courtesy.
- During any coloring session-hair, fabric, or even painting-use a dedicated cape or old towel. Cover nearby furniture completely.
- Treat your bathroom like a splash zone. Keep leather goods like belts, bags, or jackets out of the room entirely during your routine.
- For items you use daily, like a wallet or key fob, get into the habit of placing them in a drawer or a sealed bag before you start.
Creating physical distance between your leather and potential stains is the most reliable form of protection.
Use Conditioner as Your First Defense
A well-conditioned piece of leather has a subtle, natural resilience. The oils and waxes fill the pores of the grain, making it less thirsty for spills.
I condition my go-to pieces, like June the jacket, every few months. For items in high-risk areas, I do it a bit more often. Here’s how:
- Clean the leather first with a soft, damp cloth to remove dust.
- Apply a thin, even coat of a quality leather conditioner or cream with a clean cloth. A neutral, non-darkening formula is great for lighter leathers.
- Let it soak in for 15-20 minutes, then buff gently with a dry cloth.
This doesn’t create a plastic shield, but it gives spills a moment to bead up so you can blot them away before they sink in.
My Personal Rule for Scout
My wallet, Scout, lives in my back pocket. But it never stays there when I’m home and getting ready. My rule is simple: when I walk into the bathroom to style my hair or apply product, Scout goes into the zippered pocket of my work bag.
It takes two seconds. That habit has saved it from hair gel, spray, and more than one dropped tube of cream. Think of one high-risk moment for your leather and make a tiny rule for it.
Integrating one small, specific habit is far easier than trying to remember a long list of don’ts.
Quick Care Beats Major Repairs
Leather thrives on consistent, gentle attention. A monthly wipe-down and a seasonal conditioning keep the material supple and less prone to permanent damage.
If a splash does happen, speed is everything. Having a leather cleaning kit-a gentle cleaner, conditioner, and soft brushes-in an accessible place means you can act in minutes, not days. The difference in outcomes is dramatic.
Prevention isn’t about fear, it’s about confidence. With a few mindful steps, you can enjoy your leather every day without constant worry.
Common Questions
Can I really fix a major dye stain on my leather couch myself?
For a large, noticeable area like a sofa cushion, a DIY kit is best for small blemishes. If the stain is extensive or the color is complex, the risk of a mismatched, patchy result is high, and a professional is the wiser investment.
What’s the difference between a kit from Amazon and one from a hardware store?
Brand and formulation matter more than the seller. Focus on the product details: choose a kit with both dye and a flexible topcoat. Read reviews that mention color accuracy and durability, not just the star rating.
How do I know if an online kit’s “color match” will be accurate?
You don’t, until you test it. Always order a kit that provides a physical color swatch or offers sample sizes. Test the dye on a hidden area first, as the dried color is the only one that counts.
Is a “leather dye repair kit near me” always the better choice?
Not necessarily. Local availability is convenient for a quick fix, but selection may be limited. Your priority should be the correct color and finish for your specific piece, whether you buy it locally or online.
Caring for Your Leather After a Color Mishap
Act fast when hair dye or colored products touch leather, as quick blotting with a damp cloth is your best defense. If a stain sets, a gentle leather cleaner made for your piece’s type can often lift it without harm, especially when used correctly on porous surfaces like leather furniture, bags, and clothing.
Good leather care respects the animal and craft behind each item, making sustainable use a priority. Build your skills in maintenance over time, so companions like Mason or Scout grow more character with age.
Relevant Resources for Further Exploration
- cleaning – How can I remove leather dye stains from colored clothing? – Lifehacks Stack Exchange
- 3 Ways to Remove Dye from Leather – wikiHow
- Leather Dye Remover – Auto Dye Transfer Removal – Auto Leather Dye
- Blue jean dye transfer stain removal on leather & vinyl | www.leathercare.com
- How To Remove Dye Transfer Stains On Leather – Colourlock
Harriet is a avid collector of leather goods such as purses, bags, seat covers, etc and has an extensive background in leather care, recovery, stain removal and restoration. She has worked for a number of years perfecting her leather care techniques and knows the ins and outs of restoring all kinds and types of leather products. With her first hand knowledge in leather care, you can not go wrong listening to her advice.
Restoring Color and Re-Dyeing