How Do You Store Leather Motorcycle Gear Properly?
Published on: October 20, 2026 | Last Updated: October 20, 2026
Written By: Harriet Nicholson
Hello Tannery Talk. You love your riding gear, but seeing your leather jacket slump or your helmet collect dust can make you worry about damage.
This guide gives you clear steps to keep your gear ready for the road. We will cover protecting helmet interiors, supporting jacket shapes, conditioning chaps correctly, and choosing the right storage space.
I care for leather every day, from my own worn-in pieces to gear I restore for others.
What Should You Do to Your Gear Before Putting It Away?
Motorcycle leather storage always starts here. Think of it like prepping my saddle, Mason, for a long winter rest. You don’t just put him in the barn dirty and dry. You give him what he needs to stay healthy while he’s not in use.
Leather is skin. Storing it without care is like expecting your own skin to stay soft through a cold, dry winter without any lotion. It will stiffen, lose its natural oils, and can develop deep, permanent cracks. Beyond cleaning and conditioning, how you store leather goods—especially shoes—helps prevent damage and extend their lifespan. Good storage practices guard against moisture, dust, and deformation, keeping your leather items looking and feeling their best. A proper clean and condition session is your non-negotiable first step.
The process is straightforward. You just need a soft brush or cloth, a mild leather cleaner, and a good quality conditioner. I prefer a pH-balanced cleaner and a conditioner with natural oils like lanolin or beeswax. Set aside about an hour for this task.
- Wipe it down. Brush off any loose dirt, dust, or road grit from your jacket and chaps. A soft horsehair brush works perfectly for this.
- Clean the surfaces. Apply a small amount of a neutral leather cleaner to a damp cloth. Work it into the leather using gentle, circular motions. For heavily soiled areas, like the sleeves or knees, you may need to use a soft-bristle brush. Wipe away any residue with a separate clean, damp cloth. Let the gear air dry completely, away from direct heat. This usually takes 30-60 minutes.
- Apply conditioner. Once dry, massage a generous amount of leather conditioner into the grain. Use your hands to work it in thoroughly, just like you would rub lotion into your skin. Pay extra attention to high-stress areas like shoulders, elbows, and knees. Let the conditioner absorb for at least 15 minutes, then buff off any excess with a dry cloth.
This one ritual feeds the leather’s fibers, replacing the oils that sun, wind, and rain strip away, and creates a protective barrier for the months ahead. Your gear will feel supple and be ready to protect you again, instead of becoming brittle and weak. I do this for June, my leather jacket, every time I put her away for the season. This same care mindset extends to how you style and care for leather jackets, boots, and bags in different seasons, keeping every piece supple and ready for whatever weather comes.
How Do You Store a Motorcycle Helmet So It Stays Safe?
Your helmet is different from your leathers. Its job is to protect your head, so storage is about preserving its structural integrity and interior comfort. You want it to be as safe and fresh on day one of next season as it was on the last day of this one.
Start by giving it a refresh. If your helmet has a removable liner and cheek pads, take them out according to the manufacturer’s instructions. Hand wash them in lukewarm water with a very mild, scent-free detergent. Rinse them thoroughly and let them air dry completely for a full day.
While the liners dry, clean the helmet’s shell and interior. Use a soft cloth dampened with warm water to wipe down every surface. Avoid any harsh chemicals or solvents, as they can degrade the plastics and foams. Let the entire helmet air dry in a well-ventilated room, away from heaters or sunlight.
The single most important rule for helmet storage is to never trap moisture inside. A plastic bag or sealed bin will create a damp environment perfect for mildew and mold. Instead, use a breathable helmet storage bag or a plain cotton pillowcase. This allows air to circulate while keeping dust off.
Find it a permanent home on a cool, stable, interior shelf. The spot should be away from direct sunlight, which can fade colors and degrade materials over time. Make sure no other heavy objects are placed on top of it or could fall onto it, as any dent or compression can compromise its safety.
Helmet Storage Mistakes to Avoid
A few common errors can shorten your helmet’s life and put you at risk. Treat your helmet with the same respect you would any critical piece of safety equipment.
- Do not hang it on a mirror, handlebar, or hook. The constant pressure on one point of the shell can warp its shape over weeks or months. A warped helmet may not fit correctly in a crash.
- Never store it near fuels, oils, or cleaning chemicals. The fumes can degrade the helmet’s materials and foams, weakening them from the inside out.
- Avoid damp, humid places like a basement or garage floor. This invites mold and can cause the interior foams to break down.
Storing a helmet improperly is like tossing a fragile item into a junk drawer where it can get crushed and damaged-you wouldn’t do it with anything else you rely on for safety. Give it a dedicated, thoughtful space.
Where and How Should You Hang a Leather Motorcycle Jacket?
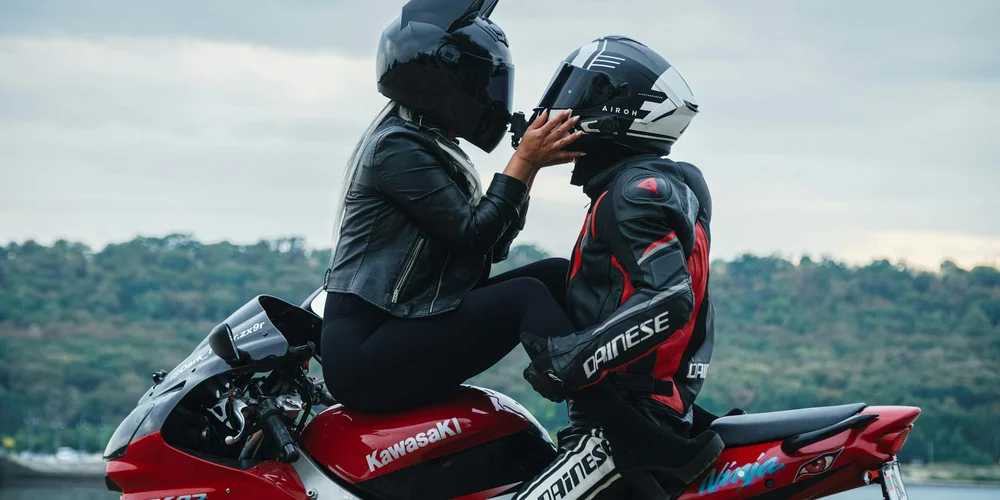
Think of your jacket like my old friend June, a soft calfskin jacket. Its shape and smooth look depend entirely on how it rests. Hang it wrong and you invite deep, permanent creases across the shoulders and back. Hang it right, and it will hold its form for years.
A proper hanger is your first and best defense against misshaping. Use a wide, padded hanger that truly supports the jacket’s shoulders. The wooden kind with a gentle curve is ideal. It mimics the natural slope of your shoulders, preventing those sharp, pointy dents that thin wire hangers create.
The storage space matters just as much. You want a dark, ventilated closet. Leather needs to breathe. Make sure there is room for air to circulate around the jacket. Do not cram it between other garments. Heat and damp are the enemies here, so avoid attics, basements, or spots near radiators.
Never use a plastic garment bag for long-term storage. Plastic traps moisture, which can lead to mildew, especially in high humidity environments. For dust protection, use a breathable cotton cover instead. It keeps the dust off but lets the leather breathe, just like it should.
What’s the Best Method for Folding and Storing Leather Chaps?
Leather chaps are built for durability, not for elegant storage. Their bulk and weight mean hanging them for months can actually stress the belt loops and waistband. Folding is the smarter choice for the off-season.
The goal is to fold along the natural seams and lines of the garment. You want to avoid forcing a sharp, new crease where the leather doesn’t naturally bend. Here is a reliable method. This aligns with a step-by-step guide on removing wrinkles from leather clothing and shoes to smooth and restore your items. In the following steps, you’ll learn concrete techniques to apply these methods to leather for a refreshed, polished look.
- Lay the chaps flat on a clean, soft surface, front side down.
- Fold each leg inward, aligning the inner seams. The leather will naturally want to fold along the line of the thigh.
- Bring the bottom hem up to the waist, creating a long, flat rectangle.
- Fold this rectangle in half or thirds, depending on your storage space size.
Now, where do you put this neat package? A drawer or a dedicated shelf is perfect. Always store them separately from other gear to prevent zippers, snaps, or rough textures from scratching the surface.
For added protection, wrap the folded chaps in an old cotton sheet or a clean towel. This simple barrier shields the leather from dust and any ambient light, which can slowly dry it out. It is a gentle, effective way to tuck them away until your next ride.
How Do You Pick the Perfect Spot in Your Home for Gear Storage?
Finding a good home for your riding gear is like finding the right spot for a cherished leather wallet. You wouldn’t leave Scout out on a sunny dashboard or toss him in a damp basement. Your jacket and chaps deserve the same thoughtful care.
Let’s talk about three common spots: the garage, basement, and closet. A garage is convenient but often the trickiest. Basements are cool but can be damp. A bedroom closet is usually your best bet, if you have the space.
No matter which room you choose, three environmental factors are non-negotiable for leather health.
- Stable Temperature: Leather hates sudden swings. A steady, room-temperature climate (around 65-75°F or 18-24°C) is ideal. Think of how June, my jacket, prefers a consistent environment to keep her leather supple.
- Low Humidity: Moisture in the air is a silent threat. It encourages mold and can weaken leather fibers over time. Aim for a dry space. If your basement feels damp, it’s not the right choice.
- Darkness: Prolonged, direct sunlight is a leather’s worst enemy for color and strength. Store your gear in the dark, just like you’d keep a fine bottle of whiskey out of the light.
Some spots in your home will actively damage your gear. Avoid them completely.
- Hot Attics: The extreme, dry heat will bake the natural oils right out of the leather, making it brittle.
- Damp Floors: Never place gear directly on a concrete basement or garage floor. Condensation and ground moisture will wick upward.
- Next to Heaters or Vents: Direct, artificial heat is just as damaging as attic heat, drying out the leather unevenly and quickly.
The perfect spot is a consistent, dry, and dark place where the air feels comfortable for you to sit in for an hour. If you wouldn’t be comfortable there, your leather gear won’t be either.
Is a Motorcycle Leather Storage Bag Worth Using?
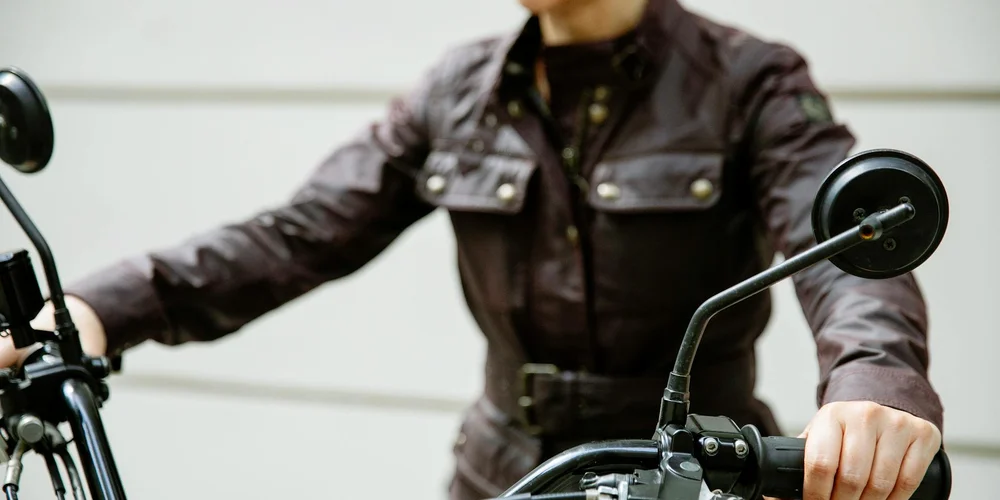
I hear this question a lot. The short answer is yes, a dedicated storage bag can be a great investment, but only if it’s the right kind. A bad bag can do more harm than good.
The main benefit is protection. A good bag shields your gear from dust, accidental scuffs, and pet hair. It also makes your jacket or chaps portable and easy to organize in a closet. For gear like my old saddle, Mason, a bag would have saved him from a lot of garage dust over the years.
The potential downside is all about breathability. A plastic or vinyl bag will trap any residual moisture against the leather, creating a perfect environment for mold. This is the fastest way to ruin a perfectly good jacket.
When you shop for a storage bag, ignore the fancy features and look for these three essentials.
- Breathable Fabric: Look for natural canvas or a specialized breathable synthetic. Hold it up to your mouth and try to blow air through it. If air passes easily, it’s a good sign.
- Soft, Smooth Lining: The inside should be a soft flannel or brushed cotton. You don’t want a rough lining that could abrade the leather’s surface finish during storage.
- Proper Size: The bag should be roomy enough that you don’t have to force your gear inside. Crushing leather into tight folds for months can set permanent, deep creases.
Using the bag correctly is just as important as buying it. Follow these two simple rules every time.
First, never store dirty or sweaty gear. Always give your leather jacket and chaps a gentle wipe-down with a damp cloth and let them air dry fully before bagging them. If it’s been a season, apply a light coat of conditioner first.
Second, never zip the bag completely shut. Always leave the main zipper open a few inches at the top. This constant, passive air flow prevents any stagnant, moist air from being trapped inside. It’s the simplest trick to ensure your bag is a sanctuary, not a sauna.
What Do You Check When Unpacking Your Gear for the Season?
Opening your storage box should feel like greeting an old friend, not starting a repair project. This final check is your guarantee that everything stored well is ready to ride well.
Think of it like waking up my jacket June after a long rest. I give her a gentle once-over, feeling for changes the quiet months might have brought.
Your goal here is a fast, thorough inspection that confirms your gear’s safety and comfort.
Your Unpacking Checklist: A 10-Minute Health Check
Find a clean, well-lit space. Lay each piece out flat. Work through this list methodically.
- Inspect the Leather for Dryness or New Stiffness
Run your hands over every panel. Pay extra attention to high-stress areas like elbows, shoulders, and seat patches on chaps.
Good leather, even after storage, should still have some suppleness. If it feels board-stiff or papery, it has lost moisture. This is common if the air was very dry where it was stored. For long-term storage, use humidity-controlled conditions to prevent mold, cracking, and color fading. Regularly airing and reconditioning as needed helps keep leather supple over the years.
This stiffness is a simple fix, not a sign of damage, if you catch it early.
- Common Mistake: Assuming stiffness is permanent. It usually isn’t.
- Simple Fix: A light conditioning touch-up, which we’ll cover next.
- Check the Helmet Liner for Odors or Mold
Bring the helmet close and take a deep breath inside. It should smell neutral or faintly of leather. A musty, sour smell means moisture was trapped.
Look closely at the interior padding and fabric. Any dark speckles or fuzzy patches signal mold growth, which needs immediate attention for your health.
- Common Mistake: Ignoring a faint smell, hoping it will air out.
- Simple Fix: For odors, sprinkle baking soda inside, let it sit for an hour, then vacuum it out thoroughly. For any sign of mold, clean the liner with a soft brush and a damp cloth with a drop of mild soap, then let it air dry completely away from direct heat.
- Test Every Zipper, Buckle, and Strap
Work every zipper up and down its full track three times. They should move smoothly without catching. Lube any that feel gritty with a tiny drop of zipper lubricant or beeswax.
Fasten and unfasten every buckle and clasp. Tug on all straps to ensure stitches and anchors are still secure.
Failing hardware is a safety issue; this two-minute test is non-negotiable.
The Conditioning Touch-Up: Bringing Leather Back to Life
If your leather felt dry during inspection, it needs a drink. This is the same care I give to any piece coming out of hibernation, from Scout my wallet to a stored saddle.
You will need a soft, clean cloth and a small amount of pH-balanced leather conditioner.
- Wipe the leather down with a dry cloth to remove any surface dust.
- Apply a dime-sized amount of conditioner to your cloth. Rub it into your palms first to warm it up.
- Massage the conditioner into the leather using small, circular motions. Focus on the stiff, dry areas you noted. You should see the leather darken slightly as it drinks the conditioner in.
- Let it absorb for 15-20 minutes. Then, buff gently with a clean, dry part of the cloth to remove any excess.
The leather will feel cooler and softer to the touch. Its color will even out as it fully dries over the next few hours.
This light touch-up hydrates the fibers and restores flexibility, preventing cracks from forming when you move.
When you finish these steps, your gear is done. There’s no need for major repairs or deep restoration. Slip the jacket on. It should feel familiar and protective, not restrictive. Proper storage means you spent time preserving, not fixing. Now you’re ready to ride.
Common Questions
What should I look for in a motorcycle leather storage bag?
Prioritize breathable fabric like cotton canvas and a soft, smooth lining. A tight weave that keeps dust out but allows air movement is ideal.
How often should I condition leather gear that’s in long-term storage?
Once at the start of storage is usually sufficient if done properly. Only re-condition if your inspection upon unpacking reveals stiffness or dryness.
What’s the first sign my storage spot might be too damp?
A faint musty smell on your gear is your earliest warning. Feel for any slight dampness or coolness on the leather’s surface, especially in seams.
Final Thoughts on Storing Your Gear
The best advice I can give you is simple. Always clean and condition your leather before you put it away for the season. This single habit prevents most of the long-term damage I see, keeping jackets like June and heavy-duty chaps ready for years of road trips. That approach naturally ties into proper care—how to clean, condition, store, and maintain your jacket’s look and durability. Mastering these steps keeps jackets like June looking sharp and riding strong for years to come.
Caring for leather well is a way to honor the material and the animal it came from. Building your skills in maintenance is the most sustainable choice, transforming a purchase into a lasting companion you truly understand. Understanding the best general methods for caring and treating leather items guides your routine. From cleaning to conditioning and proper storage, these practices keep leather looking and lasting.
Relevant Resources for Further Exploration
- BikerTidy are high Quality Motorcycle gear storage units made in the UK. | Get Tidy
- How to Store and Keep your Leather Motorcycle Gear? | Skull Action
- Storing Your Motorcycle Jacket and Gear (No Winter Rot!)
- Motorbike leather suit storage bag | Moto Vision – Moto Vision
- Motorcycle Leather Luggage Made in the USA
Harriet is a avid collector of leather goods such as purses, bags, seat covers, etc and has an extensive background in leather care, recovery, stain removal and restoration. She has worked for a number of years perfecting her leather care techniques and knows the ins and outs of restoring all kinds and types of leather products. With her first hand knowledge in leather care, you can not go wrong listening to her advice.
Storing Leather (Dust Bags, Stuffing, Hanging)