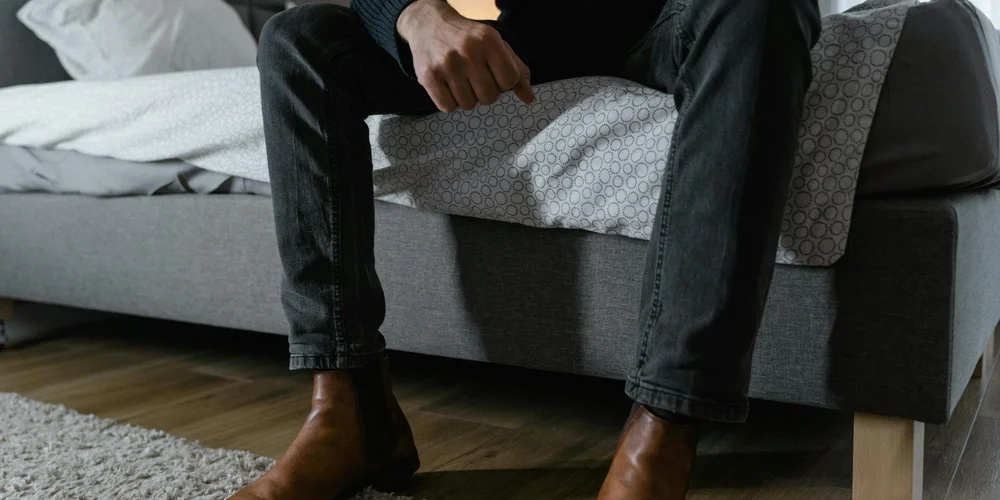
How Do You Repair Scratches and Remove Scuff Marks from Leather Shoes and Boots?
Published on: March 26, 2026 | Last Updated: March 26, 2026
Written By: Harriet Nicholson
Hello Tannery Talk. Noticing a fresh scuff or scratch on your leather footwear can be worrying, but I promise it’s a fixable part of their story.
This article will walk you through the process, covering how to assess the type of damage, the right materials to use for repair, and my hands-on method for blending marks back into the leather.
I’ve spent years in the workshop bringing pieces like my jacket June back from similar wear, so you’re in practical hands.
Start Here: Look at the Damage Before You Fix Anything
Before you reach for any product, take a moment to really look at the mark. Rushing in is how small fixes become bigger problems.
Identifying the exact type of damage tells you which repair method to use and saves you from wasting time or making the mark more noticeable.
Think of it like a scraped knee versus a deep cut. One needs a gentle clean and a bandage. The other needs more careful attention. Leather damage works the same way.
Here are the three main types you’ll see on shoes and boots:
- Surface Scuffs: These are marks on the protective topcoat or finish of the leather. The color underneath is usually fine. They look like a white or grey mark and often feel slightly rough to your fingertip.
- Deeper Scratches: These go through the topcoat and into the pigmented layer of the leather. You’ll see the actual color is scraped away, revealing a lighter layer or even the raw, pale leather beneath. The groove might feel smooth because material is missing.
- Cuts or Gouges: This is damage that goes into the leather flesh itself. It’s a physical tear or deep groove. This is like the “deep cut” and needs a different approach to fill the space.
So, touch it. Run your finger over the mark. A rough feeling often means it’s just on the surface. A smooth indent usually means leather or color is gone. This simple test tells you almost everything.
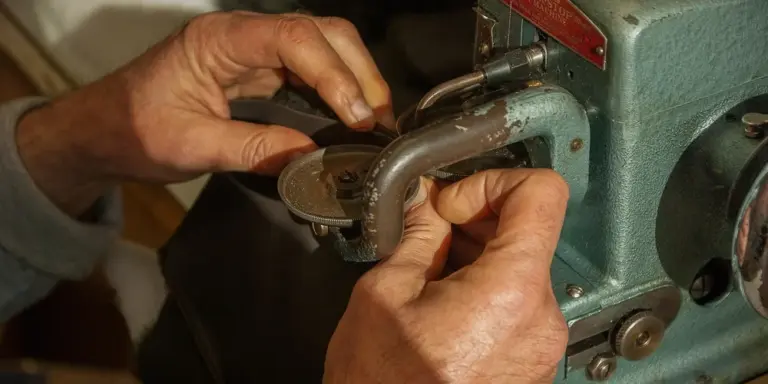
Your Leather Repair Tool Kit: What You Really Need
You do not need a cabinet full of specialty products. A few good, multi-use items will handle 90% of common wear and tear.
Start with your basic leather care kit, the same one you should use for regular maintenance. I use these same products on my leather jacket, June, to keep her soft and clean. Proper care means knowing how to clean, condition, and store your jacket to maintain its look and durability. The next steps will walk you through those exact practices.
- Soft, Lint-Free Cloths: Old cotton t-shirts are perfect. They apply cleaner and conditioner without scratching.
- A Horsehair Brush: This is for dust and dried mud. Brushing first prevents you from grinding grit into the leather during cleaning.
- A Quality Leather Cleaner: A pH-balanced, neutral cleaner lifts dirt and oils without stripping the leather’s natural moisture.
- A Good Conditioner: This is your leather’s food. After cleaning or repairing, a conditioner replaces oils and keeps the leather flexible and strong.
For actual repairs, these are the specific items that help:
- Colored Leather Cream or Balm: This is a pigmented conditioner. It adds a tiny amount of color back into shallow scratches while it moisturizes. It’s my first choice for blending scuffs.
- Wax-Based Filler Sticks: Think of this like putty for leather. You melt it into deeper scratches and cuts to fill the gap and create a smooth surface. It comes in many colors.
- Liquid Leather Dye: This is for serious color loss. It’s stronger than cream and permanently restores color to sanded or deeply scraped areas. Use it sparingly.
- Fine-Grit Sandpaper (800+ grit): For advanced work only. You use it to gently smooth down dried filler or feather the edges of a repair so it blends seamlessly.
Avoid “miracle in a bottle” promises. Simple, quality products applied with patience always give you a better, longer-lasting result.
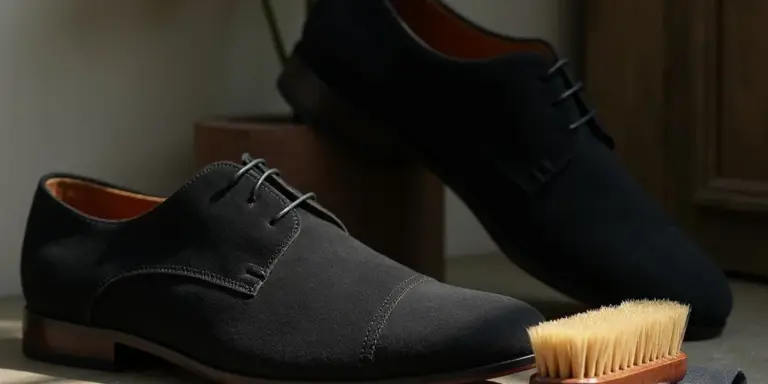
How to Get Scuff Marks Off Leather Shoes (The Simple Fixes)
A scuff is often just a surface mark. The pigment gets pushed around or a bit of foreign material gets stuck on top. Think of it like chalk on a chalkboard, not a crack in the board itself. For my boot Mason, a simple clean handles most of his adventures.
Step 1: The Power of a Good Clean
Always start here. You would be surprised how many scuffs are just dirt. Use a soft brush or cloth and a leather cleaner. A pH-balanced saddle soap works wonderfully. Apply a small amount to a damp cloth, work it into a gentle lather on the leather, and wipe it clean with a separate damp cloth. Let it dry completely. Do this properly to clean and condition leather boots, tack, and other goods. This small step helps protect and extend the life of your gear. This basic step lifts away grime and can make a scuff disappear entirely.
Step 2: Buffing Out Light Scuffs with Conditioner
If a pale mark remains after cleaning, it’s likely a surface pigment disturbance. Your leather conditioner or a colored cream is your next tool. The oils and waxes help redistribute the leather’s natural pigments and moisturize the fibers.
- Apply a small dab of conditioner or a matching colored cream to a soft cloth.
- Rub it firmly in a small, circular motion over the scuff for about 30 seconds. You are generating gentle heat and friction.
- Let the product soak into the leather for 5-10 minutes.
- Take a fresh, dry part of your cloth and buff the area vigorously. The scuff should blend away as the leather’s color evens out.
The Critical Patent Leather Exception
This is vital. Patent leather has a plastic coating. The standard rules do not apply. For how to clean patent leather shoes with scuff marks, you need a different approach.
- Never use conditioner, oil, or cream on patent leather. It will create a cloudy, sticky mess.
- Use only a barely damp microfiber cloth. If needed, use the tiniest drop of mild dish soap in water.
- Gently wipe the scuff. Often, the glossy surface allows marks to wipe right off.
- Dry immediately with a separate dry microfiber cloth.
Does Vaseline Remove Scuffs?
It can, but I do not recommend it. The petroleum jelly will temporarily darken and hide a scuff by filling it with grease. The problem is it never truly absorbs, leaving a tacky surface that attracts dirt and dust, creating a bigger mess later. It can also degrade some leather finishes over time. A dedicated leather conditioner is a safer, more effective choice that actually nourishes the hide. For a cleaner, leather-safe option, Murphy’s Oil Soap can be used to clean before conditioning. Then apply a conditioner to keep the hide nourished.
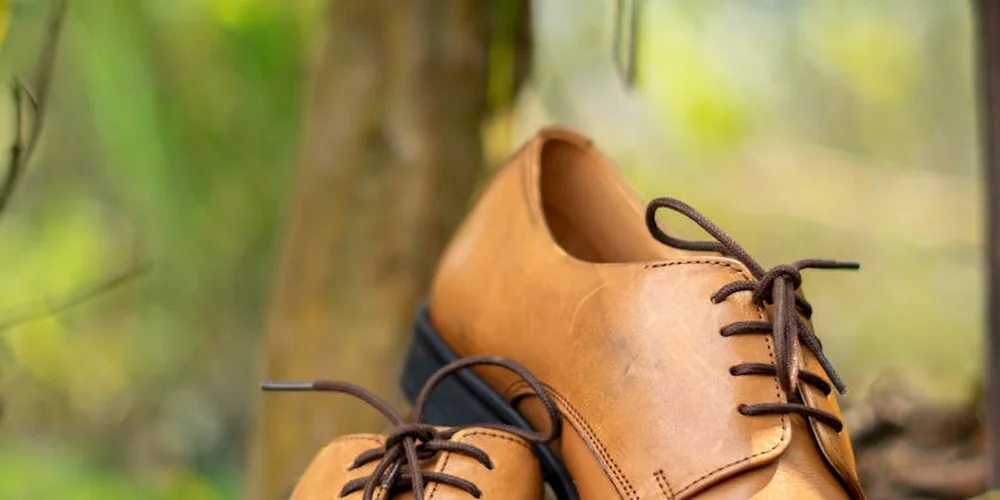
Fixing Scratches: From Surface to Deep Damage
A scratch is a physical groove in the leather. The approach depends entirely on its depth. Repairing my jacket June from a fence scratch followed this exact process.
A Clear, Step-by-Step Repair Flow
Step 1: Clean Thoroughly
This is non-negotiable. Any dirt or oil in the scratch will prevent repair materials from adhering. Clean the entire area around the scratch with leather cleaner and let it dry fully. You need a pristine surface to work on, especially when you’re repairing cat scratches on leather.
Step 2: Address Shallow Scratches (Colored Cream)
If you can feel the scratch with your fingernail but it’s not a deep groove, a colored leather cream may fix it. Match the color as closely as possible.
- Apply the cream directly into the scratch, overfilling it slightly.
- Let it sit for 15-20 minutes so the waxes and pigments settle.
- Buff it firmly with a clean cloth. The excess cream will polish away, and the pigment should remain in the scratch, camouflaging it.
This method works perfectly for common repair scratches on leather boots from brushing against curbs or gravel.
Step 3: Fill Deeper Grooves (Leather Filler)
For a scratch you can clearly see a depth in, like many from cat claws, you need a filler. A leather filler or cement is a thicker compound that dries hard.
- Press the filler into the clean, dry scratch, overfilling it slightly above the leather’s surface.
- Let it dry completely, which can take several hours.
- Once rock hard, use a very fine grit sandpaper (600+ grit) to gently sand the filler down until it is perfectly flush with the surrounding leather. Go slow.
For a task like repair cat scratches leather, filler is often the essential step, as those scratches are usually deep and narrow.
Step 4: Restore Severe Color Loss (Liquid Dye)
If the scratch is very pale or the filler is the wrong color, you need to stain it. Use a liquid leather dye with an applicator or cotton swab.
- Always test the dye color on a hidden spot first, like the inside of a tongue on boots.
- Apply the dye carefully just to the repaired scratch, using a dabbing motion. You may need multiple thin coats.
- Let it dry fully between coats.
Step 5: Condition to Protect Your Work
After any repair, especially one involving dye or filler, the leather needs moisture back. Apply a light conditioner over the entire repaired area and the surrounding leather. This blends the finish, protects the new work, and keeps the leather supple. Let it absorb, then give it one final gentle buff. These steps reflect the most effective methods for repairing general leather items. They help ensure lasting results across many types of leather repairs.
Special Cases: Patent Leather, Furniture, and When to Call a Pro
Some leathers and situations need a slightly different touch. The core idea is the same, but your technique changes.
Removing Scuff Marks from Patent Leather Shoes
Patent leather is different. It’s a base leather with a high-gloss plastic coating. That shiny film is what you’re really caring for.
You must remember the clean-only rule: never use standard leather conditioners, oils, or creams on patent leather. These products cannot penetrate the plastic layer. They will just sit on top as a greasy, smeary mess that attracts dirt.
Here is the safe way to fix a scuff:
- Use a soft, dry microfiber cloth. Gently buff the scuff mark. Often, a simple rub is all it needs.
- If the scuff persists, dampen a corner of the cloth with a tiny amount of water or a dedicated, gentle leather cleaner. Wipe the area lightly.
- Immediately dry it with another clean, dry part of the cloth.
- For a final, high shine, apply a product made specifically for patent leather gloss. Use a very small amount on a soft cloth.
Repairing Scratches on Leather Furniture and Car Seats
The process for a couch or car interior is similar to shoes. You still clean, assess, and color. But two things change: the scale and the backing.
Furniture and car leather is often thinner and mounted over foam or fabric. Be gentle with any liquid. Always test your cleaner and conditioner in a hidden area first, like the back of a cushion or under the seat. Car leather, especially, can be coated with delicate finishes that stain easily. Regular cleaning plus sun-protective care helps guard against sun damage, spills, and wear on leather car seats.
For a shallow scratch, clean the area with a pH-balanced leather cleaner. Follow with a light application of conditioner to keep the leather supple. For a deeper scratch that catches your nail, you can use a leather filler paste, then a matching leather dye or cream. Work in very thin layers, allowing full drying time between each.
Knowing When to Seek Professional Help
Being honest about limits is part of good care. Some damage is best handled by a skilled cobbler or leather restorer.
Call a pro for:
- Large cuts or gashes that compromise structure.
- Damage to the lining or stitching of a bag or jacket.
- Extensive areas of color loss or severe cracking.
- Any repair on a very expensive or sentimentally priceless item where you cannot risk a learning mistake.
It is okay to start small and seek help when needed. A good professional can make repairs that are nearly invisible and last for years.
Caring for Your Repaired Leather: Make the Fix Last
A repair is not the end. It is a new chapter. Good daily care is what prevents future damage and lets your leather age with grace.
Think of regular cleaning and conditioning as giving your leather a drink of water. Supple, moisturized leather is more resilient. It resists new scratches and stops small ones from becoming deep cracks. For my boots and bags, I do this every few months, or whenever the leather feels dry to the touch.
How you store items matters just as much as how you wear them.
- Use shoe trees in boots and shoes. They maintain the shape and absorb moisture.
- Store items away from direct sunlight and heat sources, which dry out and fade leather.
- For bags and jackets, use padded hangers or store them stuffed with tissue paper to hold their form.
Scratches and scuffs tell the story of where you have been. Look at the light creases on my jacket, June. They are not flaws. They are maps of movement. Good care transforms damage into character. It lets a mark become part of the patina, not the end of the item’s life. Your careful repair and ongoing attention honor that story and ensure your leather companion is ready for many more adventures.
Common Questions
Can the same method fix scratches on my leather couch?
The process is similar: clean, assess depth, then use colored cream or filler. The key difference is furniture leather is often thinner and mounted on foam, so apply all products sparingly to prevent saturation. For restoring color faded leather furniture, consider proven techniques and products such as leather colorants, sealants, and conditioning creams that blend evenly with the original finish.
What’s the fastest way to handle cat scratches on a leather chair?
First, clean the area thoroughly. For deep, narrow claw marks, a wax-based leather filler stick is your best bet to fill the groove before any color touch-up.
Do I use different products for scratches on my car’s leather seats?
Use the same principles, but with extra caution. Always test cleaner and conditioner in a hidden area first, as automotive leather often has sensitive protective coatings that can stain.
Is conditioner enough to repair a scratch, or do I always need color?
For a true scratch where pigment is removed, you need color. A quality conditioner is for maintenance and blending, but it cannot replace missing dye in a deep groove.
When should I absolutely not try to fix a scratch myself?
Seek a professional for large structural gashes, damage to lining or stitching, or on any item of high monetary or sentimental value where a trial-and-error risk is unacceptable.
Caring for Your Leather, Step by Step
The most reliable way to handle scratches is to start with a gentle clean and a nourishing conditioner. A well-hydrated leather surface is more resilient and far easier to blend minor marks back into a rich, unified patina.
Regular, mindful care is the most sustainable practice, transforming a simple repair into a long-term investment in your gear. With each clean, condition, and touch-up, you build a useful skill and a deeper respect for the material, ensuring your leather companions last for many more miles.
Further Reading & Sources
- r/AskACobbler on Reddit: Repairing scratched leather shoe
- A Beginner’s Leather Scratch Repair Guide – Andar
- How to repair scratches on leather shoes?
- How to easily remove scratches from your leather shoes?
Harriet is a avid collector of leather goods such as purses, bags, seat covers, etc and has an extensive background in leather care, recovery, stain removal and restoration. She has worked for a number of years perfecting her leather care techniques and knows the ins and outs of restoring all kinds and types of leather products. With her first hand knowledge in leather care, you can not go wrong listening to her advice.
Fixing Surface Scratches and Scuffs