How Do You Care for Vintage Leather Without Damaging It?
Published on: October 24, 2026 | Last Updated: October 24, 2026
Written By: Harriet Nicholson
Hello Tannery Talk. You have a beautiful old leather piece, but you are worried that cleaning it might cause more harm than good.
This guide will walk you through the process, covering how to identify different antique leathers, assess their true condition, clean them gently, choose the right conditioner, and store them properly for the future.
I have learned these methods through years of hands on repair and care for my own collection, including pieces like Mason my eight year old saddle and June my carefully mended jacket.
What Makes Vintage Leather Different?
Vintage leather isn’t just about a date on a calendar. I think of it as leather that has lived. It has aged and, more importantly, acquired a unique character you can’t fake. This character is its story, told through a rich patina, gentle creases, and the soft handfeel of decades of careful use.
Its value is less about being new and more about being a well-told story, where every mark and shade adds to its history. This is what we aim to preserve, not erase.
Leather tanned fifty or a hundred years ago is fundamentally different from modern leather. Older tanning methods, like vegetable tanning with oak bark or other natural materials, were slower and less standardized. The fats and oils used for dressing were often simpler, like neat’s-foot or lanolin. This means the leather can be more sensitive to harsh modern chemicals, especially when compared to the modern methods used today.
These older materials demand a gentler, more thoughtful approach that nourishes without overwhelming the original craftsmanship. Think of it like caring for a fragile, handwritten letter versus a printed email.
When you’re holding a family heirloom or a collectible piece, you’re holding two kinds of value. There’s the material value of a well-made object. Then there’s the sentimental value, the memory in the grain. My approach always respects both. The goal is to ensure the piece remains sturdy enough for gentle use or dignified display, honoring its past while securing its future.
How to Inspect Your Vintage Leather Find
Before you do anything, you need to have a quiet conversation with the piece. Set it on a clean, soft surface in good light. Put on some cotton gloves if you have them; the oils from your hands can transfer. Now, look, feel, and listen.
Start with a slow, visual scan from one end to the other, noting the overall color and any major scars, stains, or areas of wear. Then, move your hands over the surface gently. You’re checking for a few key things:
- Stitching Integrity: Are the threads frayed, brittle, or missing? Gently tug along a seam to check for strength. Loose stitching is a common, fixable issue.
- Lining Condition: Peer inside bags and jackets. Is the fabric lining torn, stained, or disintegrating? A failing lining can shed debris onto the leather.
- Surface Dryness: Does the leather feel stiff, papery, or thirsty? Healthy vintage leather should still have some suppleness.
- Existing Repairs: Look for patches, glued areas, or non-original stitching. These tell you where the piece has already lived a hard life.
Now, you must watch for red flags. These are signs of serious distress that need special attention or professional help:
- Deep Structural Cracks: Not just surface creasing. These are cracks you can catch a fingernail in, which go deep into the fiber structure. They often feel brittle.
- Powdery Disintegration: If a white or colored powder comes off on your gloves, the finish or the leather itself is breaking down. This is called “red rot” in very old vegetable-tanned pieces.
- Mold or Mildew: Look for fuzzy patches or a musty, closed-up smell. Mold can cause permanent stains and weaken fibers.
Identifying the type of leather helps guide your care. Run your fingers across it. Is it thick, stiff, and have a waxy feel? That’s likely bridle leather, common on old luggage, tack, and tool belts. It’s built for endurance. Is it thin, softly wrinkled, and incredibly supple? That could be a soft calfskin or lambskin, typical in vintage jackets and gloves. Each type has different needs.
For specific items, tailor your inspection. On a vintage camera case, pay extra attention to the interior padding and the metal snaps, which can rust and stain. For old car seats, focus on the areas that get the most sun and friction-the bolster and seat crease. Check for weakened backing material. With antique luggage, test all the clasps, hinges, and the strength of the handle attachments. The structure is as important as the leather.
A thorough, gentle inspection tells you exactly what you’re working with and prevents you from causing accidental damage with the wrong product or technique. It’s the most important step you can take.
How to Clean Vintage Leather Without Harming It
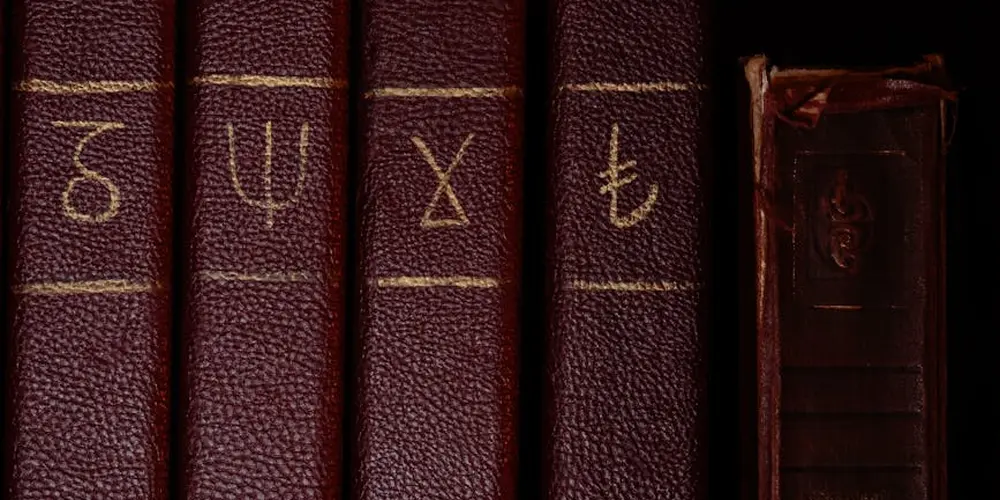
Working with an old leather piece is different. Its history makes it special, but also more delicate. My rule is simple: always do less than you think you should. Forcing a deep clean can strip away the very character you love. Start gentle.
Dust and grit are abrasive. Before anything else, take a soft, dry brush like a horsehair shoe brush and gently whisk away all loose surface dirt. Work in one direction, following the grain. This alone can make a huge difference.
The most critical step is to test any cleaner you use on a hidden spot first, like an inside seam or the back of a strap. This tells you if the leather’s original finish will react poorly.
For a safe cleaning solution, I use a tiny amount of a pure saddle soap or a pH-neutral leather cleaner whipped into lukewarm water to make a light, airy foam. You want soapy foam, not soapy water.
A Step-by-Step Gentle Clean
- Dampen a soft, clean cloth (like microfiber) in plain water and wring it out tightly.
- Pick up a small amount of your soap foam on the cloth, not directly on the leather.
- Apply using light, circular motions over a small area. Do not soak the leather.
- Immediately wipe the area with a second clean, damp cloth to remove all soap residue.
- Dry immediately and thoroughly with a soft, absorbent towel. Buff gently.
This “immediate dry” technique prevents water marks from forming. Leather is skin. Just like your skin, if you let soapy water dry on it, it leaves a film. This can be especially damaging when water or other substances cause leather shrinkage, damage, and staining.
Cleaning Different Finishes
Think about the texture. A rugged, grained leather from a military cargo bag can handle a bit more purposeful brushing to get into its pores. For the smooth, almost polished leather on a vintage card case or deck box, use even lighter pressure. Your goal is to clean the surface, not scrub the finish off.
If the piece is very fragile or the test spot shows color transfer, stop. A dry clean is the safest clean.
How to Condition and Repair Aging Leather
Old leather is often thirsty. Conditioning is about giving it a careful drink, not drowning it. Over-conditioning can darken leather permanently and weaken fibers. My jacket June gets a light conditioning once a year, while my saddle Mason might need it twice.
Choose a mild, simple conditioner for vintage pieces. Look for pure lanolin, unscented natural oil blends, or conditioners made for antique leather. Avoid heavy waxes or modern silicone-based products for this first refresh.
Applying Conditioner Sparingly
- Shake or stir your conditioner well.
- Apply a dime-sized amount to a soft cloth and rub it between your hands to warm and spread it.
- Massage the conditioner into the leather using broad, even circles. Focus on dry, stiff areas.
- Let the piece absorb it for 15-20 minutes.
- Buff off any excess with a clean cloth. The leather should feel supple, not greasy.
If the leather still feels dry after a full day, you can apply a second, even thinner coat. Patience is part of the process.
Simple, Stable Fixes for Minor Issues
Small problems don’t always need big solutions. For light scuffs on smooth leather, sometimes just rubbing gently with your thumb (the natural oils help) or using a matching colored wax shoe polish can blend them in. For a lifting corner or seam, a tiny dot of a flexible, water-based leather glue applied with a toothpick can secure it. Press firmly and let it cure fully.
Know when to stop. If the leather is cracking deeply, the lining is disintegrating, or a strap is torn completely, a professional conservator is your best next step. A good repair now prevents irreversible damage later.
Answering Common Questions
How do I soften a stiff, old camera strap? Condition it as described above. Then, gently flex it by hand over several days. The combination of moisture and movement will relax the fibers.
Can I revive the dry leather on my vintage car coat or cafe racer jacket? Absolutely. The process is the same, but take extra care on any painted or metallic finishes. Condition the leather panels individually, avoiding any non-leather trim. A jacket like this benefits hugely from gentle, regular wear after conditioning to help the oils distribute.
How to Handle Common Age-Related Damage
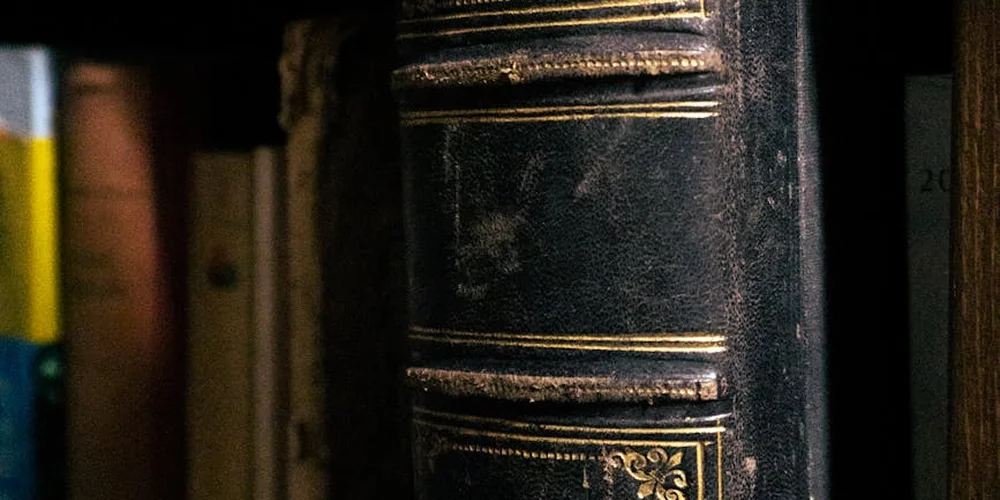
Old leather tells a story, and its flaws are part of that. Your job isn’t to erase the story, but to gently support the material so it can keep telling it for years. When restoration is needed, special considerations for antique stains and damage come into play.
White Moisture Spots (Bloom)
Those cloudy white spots on the surface are often just “bloom.” It’s natural fats and waxes rising to the surface over decades. Don’t panic. Aggressive cleaning can strip the leather’s soul. Start with the gentlest approach.
- Take a soft, dry, clean cloth (like an old t-shirt).
- Fold it and give the spot a light, circular buff. Use almost no pressure.
- Check your progress. Often, this gentle friction is enough to redistribute the bloom back into the leather.
If buffing doesn’t work after a few tries, leave it be. The bloom is part of the item’s character and protects the fibers underneath.
Dried and Cracked Corners & Edges
This is where leather cries out for moisture. Think of it like a dry sponge. Pouring water on a dry sponge just makes a mess. You need to add moisture slowly.
- Clean the area first with a barely-damp cloth to remove surface dust.
- Choose a simple, pH-balanced leather conditioner or cream.
- Apply a tiny, thin layer only to the cracked area with your fingertip.
- Let it absorb fully for 24 hours. The leather will drink it in slowly.
- Assess. If it still feels dry and brittle, apply a second thin layer.
My wallet, Scout, had a cracked corner. Two thin layers over two days made it supple again. One thick layer would have left it greasy and dark.
Multiple thin layers are always better than one thick, suffocating coat. Patience repairs what force destroys.
Overall Stiffness
Stiff leather has lost its internal flexibility. You need to rehydrate it from the inside out, like waking up sleeping muscles.
- Apply a light conditioner over the entire item.
- After letting it soak in for a day, gently flex the leather in your hands. Don’t force it. Just bend it slightly back and forth.
- This movement helps work the conditioner deeper into the fibers.
- Repeat this process once a month until the desired flexibility returns. It might take several cycles.
Managing Discoloration and Fading
Sunlight and time change color. On my jacket June, the shoulders are a shade lighter than the back. I see this not as damage, but as a record of where she’s been.
Attempting to “even out” fading or darken light spots usually leads to a blotchy, unnatural look. The original dye is often centuries old. Trying to match it is nearly impossible.
Embrace the uneven tones. They are the authentic map of the item’s life. Preserving that history is more valuable than a uniform, new-looking finish.
Avoid any product that promises to “restore original color” on true antiques. These are often harsh dyes or pigments that sit on top, obscuring the beautiful patina you’re trying to preserve.
How to Store and Preserve Vintage Leather Long-Term
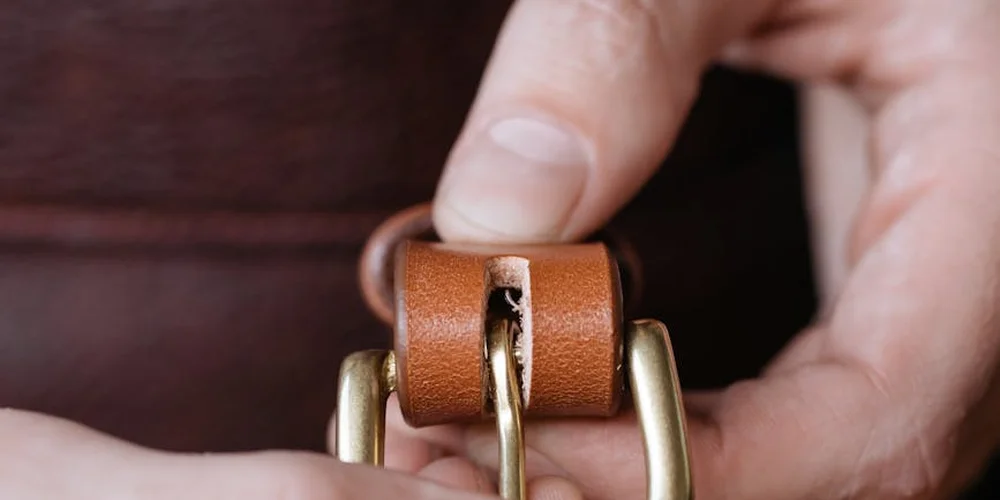
Proper storage is about creating a peaceful, stable environment for your leather to rest. Think of a cool, dark closet, not an attic or basement.
The Three Rules of Storage
- No Direct Light: Sunlight is a powerful bleach. Store items in a dark place. Even bright indoor light can cause fading over years.
- Stable Humidity: Aim for a consistent environment. Damp air encourages mold. Very dry air pulls essential moisture from the leather, making it brittle. A room in your living area is usually perfect.
- Never in Plastic: This is critical. Plastic bins or bags trap moisture and don’t let the leather breathe. This creates a swampy microclimate that will cause mildew rapidly.
Preparing Your Item for Storage
Give it a light cleaning to remove dust and a single, thin application of conditioner. Let it dry completely for a day or two before storing.
To maintain shape, stuff bags, purses, and boots with acid-free tissue paper or a clean, white cotton cloth. This supports the structure without introducing acids or dyes that can transfer.
For the final layer, use a breathable fabric bag like cotton or muslin. This keeps dust off while allowing air to circulate, which is the whole point.
When to Call a Professional
For a mass-produced item with mostly sentimental value, your careful home care is perfect. For a rare, historically significant, or very valuable collectible, professional evaluation is wise.
A qualified conservator can assess structural issues like torn linings, broken seams, or unstable leather that needs consolidation. They use reversible methods and materials that future conservators can work with.
The goal with vintage leather is not to make it look new. The goal is to stabilize it, care for its needs, and preserve its story so it can be used and admired for another generation. That patina you’re preserving is the real treasure.
Common Questions
How do I treat a stiff vintage leather camera strap?
Apply a sparing amount of pure lanolin or a simple leather conditioner, then gently flex it by hand over several days. This combination of moisture and movement will relax the fibers without over-saturating them.
What’s the best way to clean the interior of a vintage leather camera or lens case?
Vacuum the lining carefully with a brush attachment to remove debris. For the leather interior itself, use only a dry, soft brush-any moisture can damage the often-fragile original padding or lining material. When you’re ready to tackle the exterior, you can learn how to clean, condition, and remove stains from leather or faux leather jackets to restore their finish.
Can I restore the color to sun-faded vintage leather car seats?
Do not attempt to re-dye them, as it will look unnatural and damage the patina. Instead, clean and condition them meticulously; this will even out the appearance and protect against further UV damage.
My vintage leather cargo bag is structurally sound but very dirty. How aggressive can I be?
You can be more purposeful with a dry brush on its rugged grain, but the cleaning process remains gentle. Use a light foam of saddle soap and the “immediate dry” technique to avoid soaking the old leather.
How should I handle extremely delicate pieces, like vintage leather Carnivale masks?
Limit handling to wearing clean cotton gloves. For care, use only a soft, dry brush-avoid all liquids and conditioners unless advised by a professional conservator, as the paints and finishes are often unstable.
Final Thoughts on Vintage Leather Care
The most vital step is to work slowly and gently, letting the leather’s age and character guide your hands. Rushing with harsh cleaners can erase decades of honest wear in moments. Even when you know which products and methods to use for cleaning leather, patience remains key.
Caring for antique leather is a sustainable act, extending the life of a well-made item and respecting its origins. Your growing knowledge is the best tool for preserving these pieces, so keep learning and trust your touch, especially when it comes to caring for and treating leather.
Industry References
- Cleaning and conditioning | Vintage Leather Jackets Forum
- Clean & Care for Your Antique Leather Goods | The Urban Vintage Affair
- How to Clean Old Leather: 15 Steps (with Pictures) – wikiHow
- How to clean, polish, store and preserve vintage leather accessories | My Thrifty Life by Cassie Fairy | Inspiration for living a lovely life on a budget
- How to Care for Vintage Suede and Leather Coats
Harriet is a avid collector of leather goods such as purses, bags, seat covers, etc and has an extensive background in leather care, recovery, stain removal and restoration. She has worked for a number of years perfecting her leather care techniques and knows the ins and outs of restoring all kinds and types of leather products. With her first hand knowledge in leather care, you can not go wrong listening to her advice.
Aniline and Semi-Aniline Leather Care