How Do You Clean and Disinfect Leather Goods Safely?
Published on: May 22, 2026 | Last Updated: May 22, 2026
Written By: Harriet Nicholson
Hello Tannery Talk. Seeing dirt or germs on a beloved leather item can make you pause, worried that cleaning might do more harm than good.
Let’s walk through the process together. We will cover identifying your leather type, selecting gentle cleaners, applying disinfectants properly, and ensuring thorough, safe drying.
My advice comes from years at the workbench, personally caring for and restoring leather goods just like your own.
Do You Really Need to Disinfect Your Leather?
I get it. You touch your bag, your jacket, or your steering wheel constantly. It’s natural to wonder about the germs. My English saddle, Mason, gets handled by multiple people. I’ve thought about it too.
First, let’s separate cleaning from disinfecting, because they do different jobs.
Cleaning removes the dirt and grime you can see. It’s like wiping down your kitchen counter. Disinfecting aims to kill the germs and microbes you can’t see. Think of it like using a kitchen spray designed to eliminate bacteria. For most personal leather goods, a good, regular clean is all the maintenance they need.
Disinfection becomes a practical question for high-touch or shared items. Think of a library book bag, a gym bag’s interior, or a car steering wheel used by several drivers. For a personal wallet like my Scout or a jacket like June, a simple clean is usually perfect.
Leather is a porous, natural material. Harsh chemicals or frequent deep cleaning strips away its natural oils. This leaves it dry, stiff, and prone to cracking. The goal is to care for the leather first, and address germs second, using the gentlest method that works.
So, how do you disinfect leather safely? You choose a method made for it and you always, always prepare the leather first.
How to Get Your Leather Ready for a Safe Clean
Rushing in with a cloth and cleaner is the most common mistake. Preparation protects your leather and makes the whole process smoother.
The single most important rule in leather care is to test any product in a hidden spot first. The inside of a strap, the underside of a flap, or an interior seam. Apply a small amount, let it dry fully, and check for color change or texture damage. This simple step prevents heartbreak.
Start with these preparation steps:
- Remove loose dirt. Take a soft, dry brush (a horsehair shoe brush is ideal) and gently brush the entire surface. For suede or nubuck, use a specific suede brush. This gets rid of dust and grit that could scratch the leather during cleaning.
- Check for existing damage. Look closely for deep scratches, cracks, or areas where the finish (the top protective layer) is already worn or peeling. Applying moisture to a deep crack can worsen it. Note these spots to be extra gentle.
- Identify your leather type. This decides your whole approach. Run your finger over it. Is it smooth with a slight plastic-like feel? That’s likely a protected or finished leather, which is very common and resilient. Does it feel incredibly soft, absorb water quickly, and show every mark? That’s probably aniline or semi-aniline leather, which is more delicate and absorbent. Is it fuzzy? That’s suede or nubuck.
Once you know your leather, gather your tools. You don’t need much:
- Two or three clean, white, lint-free cloths (old cotton t-shirts work well).
- A soft-bristled brush for dusting.
- For the clean: a bottle of pH-neutral leather cleaner.
- For the disinfecting step (if needed): a leather-safe disinfectant spray or a solution of 70% isopropyl alcohol and distilled water.
- Good light so you can see what you’re doing.
With your leather identified and your gentle tools ready, you’ve built a foundation for success. The actual cleaning and disinfecting can now be done with confidence, not worry.
How to Clean Leather, Step by Step
Forget complicated routines. The best way to clean most leather goods is also the simplest. You need two things: a pH-balanced leather cleaner or a pure, oil-based saddle soap, and a lot of patience. Choose from the best products and methods for cleaning leather.
Think of leather like your skin. You wouldn’t scrub your face with a harsh detergent. You use a gentle cleanser. Leather needs the same care. This method works for boots, bags, belts, and jackets like my calfskin jacket, June.
- Prepare your tools. You’ll need a few soft, clean cloths (microfiber or cotton flannel are perfect), a soft-bristled brush (like a horsehair detailing brush), and your chosen cleaner. Fill a small bowl with lukewarm water.
- Do a spot test. Apply a tiny amount of cleaner to a hidden area, like an inside seam. Wait for it to dry completely. This checks for color change or damage.
- Apply the cleaner to your cloth, not the leather. Dampen one corner of a cloth with water and work a pea-sized amount of cleaner into it to form a light lather.
- Clean with gentle, circular motions. Work on a small section at a time. Use very light pressure. You’re coaxing dirt out, not scrubbing it off. For textured leather, use the soft brush in gentle circles to lift grime from the grain.
- Wipe away the residue immediately. Use a separate, clean, damp cloth to wipe off the soapy film before it dries. Rinse this cloth often.
- Let it dry naturally. Never use direct heat like a hairdryer. Place the item in a room with good air flow. Let it dry fully, which can take several hours. Leather that feels cool to the touch is still damp inside.
The golden rule is to never soak the leather. Water stains and can weaken the fibers. If your cloth is too wet, wring it out until it’s just damp.
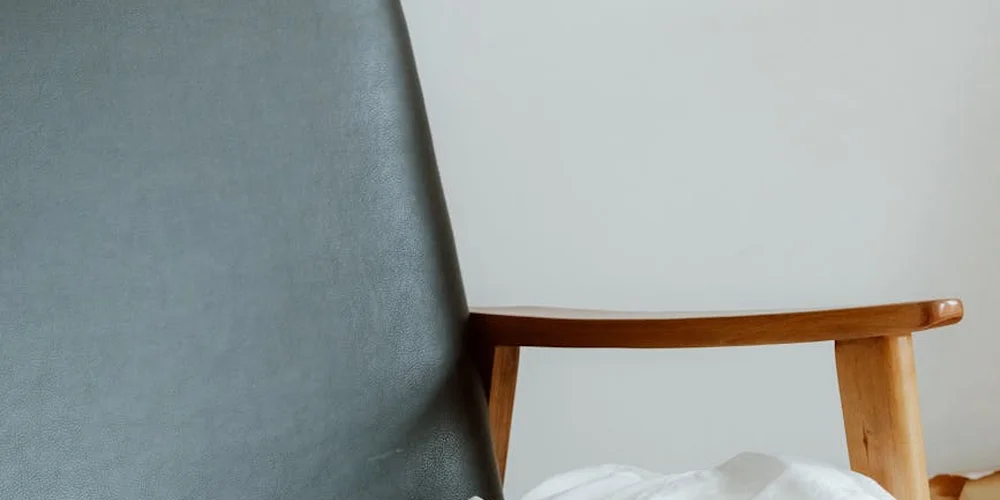
Cleaning a Leather Sofa or Chair
For a large leather suite, the process is the same but requires a system. Work on one cushion at a time. Clean the entire front of a cushion before moving to the next. This avoids streaks and ensures an even clean. Pay special attention to armrests and headrests, as these gather the most oils from skin.
Cleaning Delicate Aniline Leather
Aniline leather is like bare skin-it has no protective pigment topcoat. It’s absorbent and marks easily. You must be extra gentle. Use an aniline-specific cleaner only. Apply it with an even lighter touch and blot more than you wipe. Expect some natural variations in color to remain; that’s part of its character. In contrast, pigmented leather hides stains better and is easier to repair.
I used this exact method on June after a rainy camping trip. The mud came off, and the gentle soap left her leather supple, not stripped, and ready for her next conditioning.
What’s the Safest Way to Disinfect Leather?
We all want our belongings to be clean and germ-free. But leather is organic. Harsh disinfectants will destroy it. Products with high alcohol content, bleach, ammonia, or standard household wipes will dry out the fibers, fade the dye, and can cause permanent, brittle cracking.
Vinegar is acidic and can burn the leather’s surface over time. These chemicals don’t clean; they damage.
You have two safe options for disinfecting. The first is a leather-safe disinfectant spray, specifically formulated for upholstery and goods. The second, which I use in my workshop, is a carefully diluted isopropyl (rubbing) alcohol solution.
To make a safe disinfecting solution, mix 70% isopropyl alcohol with distilled water at a 1:1 ratio. This gives you a 35% alcohol solution that is effective yet much less harsh. Always test this mixture on a hidden spot first.
Your application method is everything. Do not spray the solution directly onto the leather.
- Lightly mist your disinfectant onto a clean, soft cloth until it is slightly damp.
- Wipe the leather surface quickly and evenly. Do not soak it.
- Allow the leather to air dry completely. It should only take a few minutes.
Conditioning immediately after disinfecting is not optional. Any alcohol, even diluted, will draw natural oils to the surface and evaporate them. If you don’t replace that moisture, the leather will start to dry out. Once the piece is dry from disinfecting, apply a quality leather conditioner. This replenishes the lost oils and forms a protective barrier, especially after treating mold on leather.
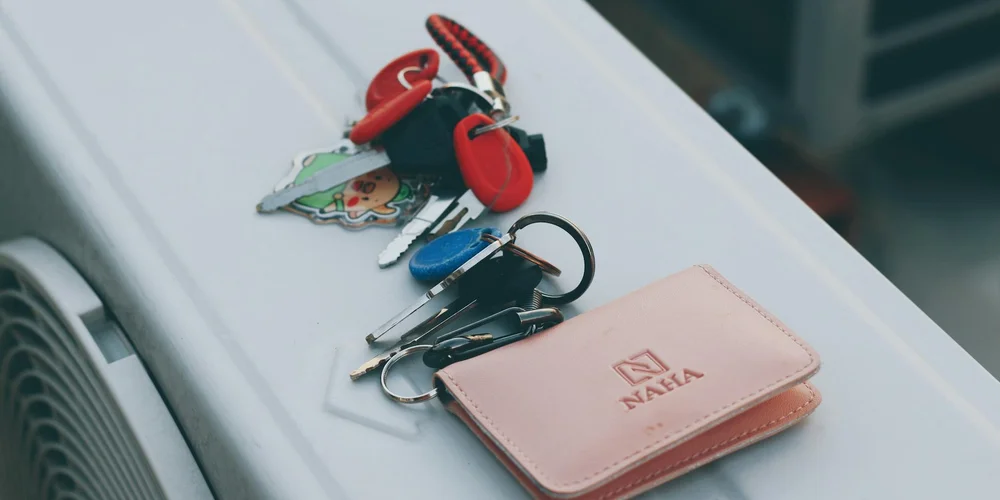
I treat my wallet, Scout, this way if it gets handled a lot during travel. A quick, careful wipe with a diluted alcohol cloth, let it dry, then a light conditioning. It keeps it clean without compromising the tough veg-tan leather.
How to Clean and Disinfect Special Leathers and Stains
General leather care works for most things. But some materials need a different touch. The best cleaning method always starts with knowing what you’re working with, especially when it comes to caring for and treating leather items.
A Quick Guide to Tricky Leathers
Treating every leather the same is the fastest way to cause damage. Here’s how to handle two common, sensitive types.
Suede and nubuck have a delicate, raised nap that liquids will ruin. Never use soap, saddle soap, or conditioner on them. For dirt or light stains, a dry, soft-bristled brush is your only tool. Brush gently in one direction to lift the grime and restore the texture. For tougher issues, a specialized suede eraser or a very mild suede cleaner can be used sparingly.
Coated or PVC leather has a plastic top layer. A mild soap and water solution is safe for the surface, but it cannot moisturize the material underneath. Wipe it down with a damp cloth, dry it immediately, and that’s usually all it needs. Conditioners won’t penetrate the coating and will just sit on top as a greasy film.
First Aid for Common Stains
Stains happen. Panic doesn’t help. The rule is always to start with the gentlest method and work up.
- Ink: Dampen a cotton swab with a small amount of isopropyl alcohol (rubbing alcohol). Dab-do not rub-at the stain. The goal is to lift the ink without spreading it or drying out the leather. Follow up with conditioner on that spot immediately after.
- Oil or Grease: Sprinkle a little cornstarch or talcum powder on the spot. Let it sit for several hours, even overnight. The powder will absorb much of the oil. Brush it away gently. You may need to repeat this. Do not wet the stain first, as water can set it.
- Mystery Grime or Old Dirt: For a spot clean, I often use a drop of pure, pH-neutral castile soap in a cup of water. With a barely-damp cloth, work in small circles over the stain, then wipe with a clean water-dampened cloth to remove soap residue. Let it dry completely before you even think about conditioning.
My jacket, June, had an old ink spot on the cuff from a leaky pen. A careful dab with alcohol and a prompt conditioning treatment made it virtually disappear without hardening the leather.
How to Clean and Condition Leather to Restore Its Feel
Cleaning, and especially disinfecting, can strip natural oils from leather. Conditioning is not an optional extra, it’s the final, critical step to bring your item back to life.
Think of leather like your skin. Washing it cleans it, but without moisturizer, it becomes tight, dry, and prone to cracking. A quality conditioner replenishes the oils that give leather its soft, supple handfeel and prevents it from drying out and becoming brittle. It’s what maintains that satisfying, flexible strength.
Steps to Condition Your Leather
Here is my simple process, using my wallet, Scout, as the example. You’ll need a clean, soft cloth (like microfiber) and a good leather conditioner. A neutral, oil-based conditioner works for almost all real leathers, and is especially helpful when used on leather bags, ensuring they stay hydrated to prevent cracking and stains.
- Ensure your leather is completely clean and fully dry from any previous cleaning.
- Apply a small amount of conditioner to your cloth. You can always add more.
- Rub the conditioner into the leather using gentle, circular motions. Cover the entire surface evenly, paying extra attention to dry, stiff, or high-wear areas like folds and edges. On Scout, I focus on the creases where the leather bends in my pocket.
- Let the conditioner soak in. This usually takes 20-30 minutes. The leather will look darker at first-this is normal.
- After it soaks in, take a fresh, dry part of your cloth and buff the surface lightly. This removes any excess conditioner and brings up a soft glow.
If the leather still feels dry after a few hours, you can apply a second, lighter coat. It’s better to use multiple thin coats than one heavy, greasy one.
The final step is patience: let the item dry fully, away from direct sunlight or heat sources, before you use it again. I usually let Scout sit overnight. Rushing this can trap moisture or cause uneven drying. Proper drying lets the oils fully integrate, restoring that durable, comfortable feel you love.
Common Questions
Why is conditioning right after disinfecting so critical?
Disinfectants, especially alcohol solutions, strip vital oils from the leather’s fibers. Conditioning immediately afterward replenishes this lost moisture to prevent the leather from becoming dry and brittle. Be aware that DIY cleaners—household items like vinegar, alcohol, and soap—can damage leather. Details on these risks and safer care options will follow via a linked reference in the next steps.
Can I just use a little dish soap or vinegar to clean my bag?
No. These common household products are too harsh or acidic for leather’s pH and will degrade its finish and fibers over time. Always use a cleaner formulated for leather, as acidic or alkaline cleaners can cause irreversible damage to leather’s delicate balance.
What’s the single biggest drying mistake?
Applying direct heat from a hairdryer, heater, or sitting it in direct sun. This forces rapid moisture loss, leading to stiff, cracked leather. Always air dry at room temperature.
How often should I condition my leather items?
For items in regular use, a light conditioning every 6 to 12 months is solid maintenance. Condition immediately after any deep cleaning or disinfecting, as those processes are drying.
My leather got caught in the rain. What’s my first move?
Blot off excess water with a clean, absorbent cloth. Then let it dry naturally, slowly, away from heat. Once completely dry, condition it to restore the oils that the water may have drawn out.
Your Leather Care Routine
Start with the gentlest method that works, and always test a cleaner in a hidden spot first. This simple step protects the finish and patina you’ve worked so hard to build.
Caring for leather properly is the most sustainable choice you can make, extending the life of a well-made piece for years. Properly maintaining and conditioning leather couches and sofas can significantly extend their lifespan. Keep learning about the materials and methods, and your skill will grow alongside the character of your favorite items.
Related Guides and Information
- Safeguarding Elegance: The Ultimate Guide to Disinfecting Leather
- How to Clean and Sanitize Leather | Clorox™
- How to Disinfect Leather?: A Guide to Prevent Corona Virus Transmission
- How to Disinfect Leather
Harriet is a avid collector of leather goods such as purses, bags, seat covers, etc and has an extensive background in leather care, recovery, stain removal and restoration. She has worked for a number of years perfecting her leather care techniques and knows the ins and outs of restoring all kinds and types of leather products. With her first hand knowledge in leather care, you can not go wrong listening to her advice.
Aniline and Semi-Aniline Leather Care