How Do You Remove Pen Stains from Leather Without Damaging It?
Published on: February 8, 2026 | Last Updated: February 8, 2026
Written By: Harriet Nicholson
Hello Tannery Talk. Spotting a fresh ballpoint ink mark on your leather can make your heart sink, but take a deep breath-this is a fix we can handle together.
This article walks you through a safe, methodical approach. We will cover identifying the ink and leather type, choosing household versus specialty cleaners, and executing a gentle removal process that protects your item’s finish.
I’ve guided everything from Mason’s saddle to June’s jacket through similar mishaps, using hands-on methods that prioritize the leather’s long-term health.
What Kind of Ink and Leather Are You Dealing With?
Not all ink stains are the same. The pen type decides your first move.
Ballpoint ink is oil-based. It sits on the surface like grease. Gel ink is water-based but packed with pigment, so it can act like paint. Fountain pen ink is usually water-based and often has dyes that sink in fast. Knowing your ink helps you pick the right cleaner without guessing.
Your leather type matters just as much. Think of it like clothing.
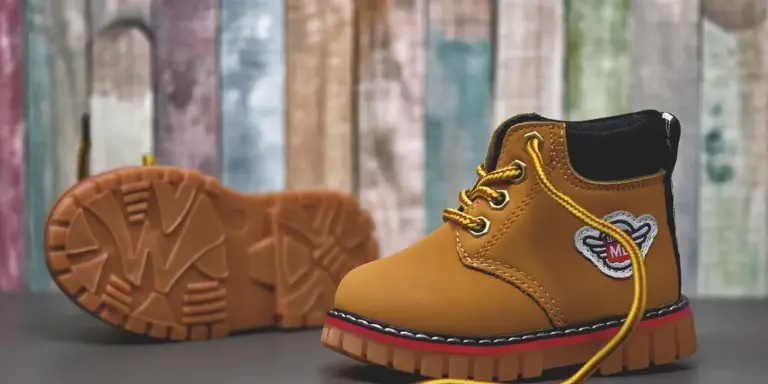
Finished, protected leather has a clear topcoat. It is like a raincoat. Spills and ink often bead up on the surface, giving you a chance to wipe them away before they set. Most bags and shoes are made this way.
Unfinished, aniline leather is different. It has no protective plastic layer. It is like a plain cotton t-shirt. The surface drinks in everything, including ink, right down into the fibers. Aniline leather stain removal requires a softer touch because you are working directly with the raw material.
My jacket, June, is a good example. She is made from soft calfskin with a very light finish. A gel pen mark on her sleeve stayed mostly on top. But my old aniline leather chair? A drop of fountain pen ink vanished into it like water into sand.
Setting Up for Success: Your Workstation and the First Test
Gather a few simple tools before you start. You do not need much.
- Cotton swabs for precise application.
- Very soft, clean cloths (like microfiber).
- A small bowl of distilled water. Tap water can leave mineral spots.
- A gentle, pH-balanced leather cleaner is a good idea to have ready.
Now, here is the most important step. You must test your method in a hidden spot first. This test is a non-negotiable rule for every leather repair, no exceptions. Check inside a seam, under a flap, or on the bottom of a bag.
Apply a tiny amount of your chosen cleaner with a damp cotton swab. Wait a full minute. Then look closely.
- Did the leather’s color change or bleed?
- Did the shiny coating (if there is one) become dull or sticky?
- Did the texture feel rougher or different?
If you see any of these changes, stop. That method is too harsh for your leather. Try a milder option, like just distilled water on a cloth.
I see people search for strange things. “Does biting leather help with withdrawals” is one I have seen. That is a search engine quirk, not a cleaning tip. Biting leather will not remove ink. It might just give you a mouthful of conditioner and damage the grain.
The Best Way to Get Ballpoint Pen Off Leather
You need to dissolve the ink without harming the leather’s topcoat or color. For most ballpoint pen stains, isopropyl alcohol (rubbing alcohol) is the most effective first-line home remedy. It works because it breaks down the oil-based ink, lifting it from the surface. Think of it like how hand sanitizer cleans ink off your skin. However, for more stubborn pen and marker stains, you might need to try a different approach.
Before you start, your hidden test spot is your best friend. Always test the alcohol on a discreet area first, like an inside seam, to check for any color transfer or finish damage. If the test spot changes, stop. That leather needs a gentler approach, like a specialist leather cleaner.
The Four-Step Process
If your test spot passed, here is how do you get ballpoint pen off leather safely.
- Apply to a cloth. Dampen a corner of a clean, white, lint-free cloth (like microfiber) with 70% or 91% isopropyl alcohol. Do not pour it directly onto the leather. Wring the cloth so it is damp, not dripping wet.
- Dab gently. Lightly dab the stained area. Do not rub. You will see the ink start to transfer onto your cloth. Use a clean section of the cloth as it gets dirty.
- Blot with water. Once the ink is gone, immediately dampen a clean part of your cloth with plain water. Blot the area you treated to rinse away any remaining alcohol residue.
- Air dry. Let the leather dry completely, away from direct heat. This can take a few hours. Do not use a hairdryer.
Patience is your tool here; gentle dabbing is far more effective than hard scrubbing, which can grind ink deeper or scuff the leather. I used this exact method on June’s jacket cuff after a stray pen mark. The key was stopping the moment the ink was gone and following up with that water rinse.
A Necessary Warning
Isopropyl alcohol is a solvent. It can dry out leather and, on some finishes, temporarily or permanently lighten the color. This is why the hidden test is non-negotiable.
If you see any color on your cloth during cleaning, you are lifting dye, not just ink. Stop immediately. For dyed-through leathers like full-grain, this risk is lower. For corrected grains or heavily pigmented finishes, the risk is higher. If the alcohol dries the spot, condition it once fully dry with a light, pH-balanced leather conditioner to restore moisture.
This direct method answers the core question of how do I get ballpoint pen off leather. For stubborn stains or if the alcohol test failed, your next step is a professional leather cleaner formulated for ink removal.
How to Remove Other Ink Types and Smudges
Ballpoint ink is common, but gel pens and permanent markers are different animals. Their ink sits on top of the leather, almost like a thin layer of dried paint, and is designed to resist water.
Addressing Gel Ink and Permanent Marker
For these stubborn marks, a mild solvent or a specialized leather cleaner with degreasing properties is often the next step. These products are formulated to break down the oils and resins in the ink without harming the leather’s natural oils.
Always test any cleaner, solvent, or home remedy on a hidden area first, like the back of a strap or inside a pocket. You are checking for color transfer or finish damage.
- Apply a tiny amount of the specialized cleaner to a clean, white cotton swab or microfiber cloth.
- Gently dab the stain. Do not rub hard. You want to lift the ink, not grind it deeper into the grain.
- As the ink transfers to your cloth, rotate to a clean section to avoid reapplying it.
- Let the area dry completely. If the stain lightens, you can repeat the process.
Using Home Remedies for Leather Stain Removal
If you don’t have a specialty product, you can try a gentle home solution. The goal is minimal moisture and maximum patience.
- Mild Dish Soap Solution: Mix one drop of clear, pH-neutral dish soap with a cup of distilled water. Dampen (do not soak) a corner of a microfiber cloth in the solution, wring it out tightly, and gently work on the stain.
- Glycerin Soap: A pure glycerin soap bar can sometimes lift surface stains. Lather a tiny amount in your hands, apply the foam to the stain with your fingertips, and wipe away with a damp cloth.
With any home remedy, you must follow up with a proper leather conditioner. These methods can dry out the leather. After the spot is clean and fully dry, apply a small amount of conditioner to restore moisture.
Handling a Smudge Versus a Fresh Stain
The approach changes based on whether the ink is wet or has already set.
A fresh, wet stain needs immediate action. Use the corner of a paper towel or absorbent cloth to gently blot and lift as much wet ink as possible. Blotting is key, rubbing will spread it and make a smudge. Think of it like blotting a spill on a wooden table.
A dry smudge is what you usually find later. My wallet, Scout, once got a pen smudge on its back pocket. For this, you start with the gentlest method first: a dry, soft-bristled brush (like a horsehair brush) to see if you can lift any loose particles. If that doesn’t work, move to the damp cloth with a tiny bit of cleaner, using those small circles.
The One Rule for All Ink Removal: Patience
Rushing this process is how small stains become large, damaged patches. Working in small, gentle circles is not just a suggestion, it’s the most effective technique. You apply gentle pressure and frequently check your cloth to see if the ink is transferring. It might take several slow passes over a few minutes to see progress. If the stain isn’t budging after a few careful attempts, it may be time to consult a professional leather restorer. Preserving the integrity of the leather is always more important than removing every last trace of ink, especially when dealing with delicate leather stains like ink, wine, or oil.
Special Advice for Your Leather Sofa, Car, or Bag
Every leather item has its own story and purpose. A spill on a sofa needs a different mindset than a smudge on a car seat. Here’s a quick guide for handling ink on specific pieces, especially car seats.
- Sofa: Work slowly. You have space to test in a hidden spot.
- Car Seat: Your first step is always to check your vehicle’s owner’s manual.
- Bag: Protect the shape and interior lining while you work.
Removing Ink from a Leather Sofa
Your sofa is a large, stationary piece. This gives you an advantage. You can take your time and work methodically. The first rule for any fresh spill, especially something oily like chili oil, is to blot. Don’t rub.
Blotting lifts the liquid away. Rubbing grinds it deeper into the grain. For an oily stain, use a clean, dry cloth to soak up as much as you can. Then, use a tiny amount of a pH-neutral leather cleaner on another cloth to gently work the area.
Patience is your best tool for sofa stains; work in small circles from the outside of the stain inward to prevent it from spreading.
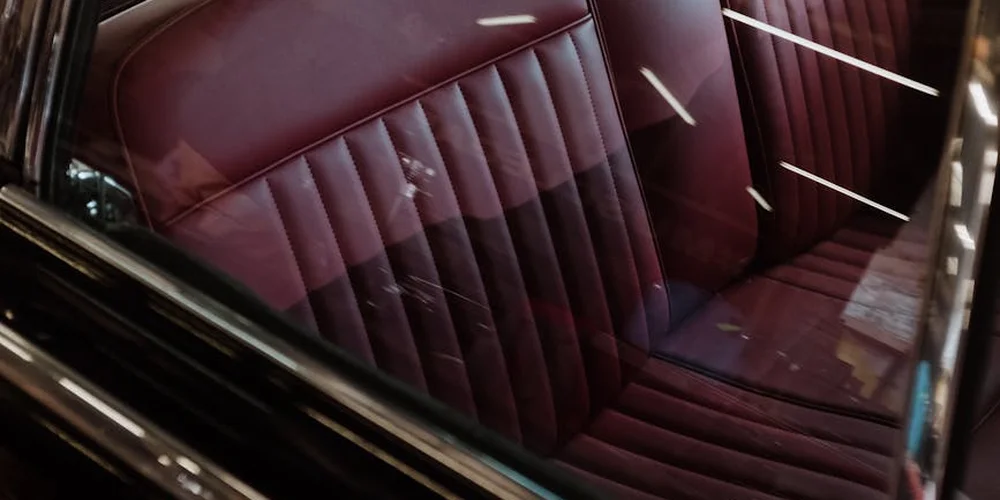
Cleaning Pen Marks from Car Leather Seats
Car interiors are tricky. Most modern car “leather” is actually a coated split leather or a synthetic material. The coating can be damaged by harsh cleaners or alcohol. It’s important to use the right products and techniques to care for them.
This is why the manual is so important. It often specifies what cleaners are safe. If you can’t find the manual, assume the leather is coated and be extra gentle. Start with a damp microfiber cloth and a drop of mild soap. I’ve seen strong cleaners strip the color and finish from car seats, leaving a permanent blotch.
Treat your car seats with more caution than other leather; a damaged coating cannot be repaired at home. I prevent and protect my leather car seats from cracking and drying out with regular conditioning. Small steps now can save big repairs later.
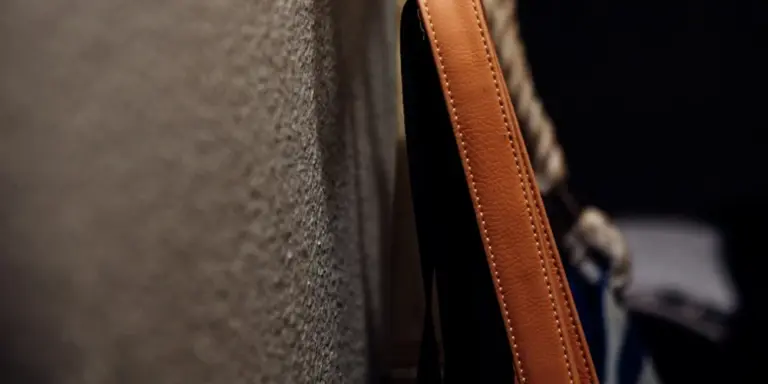
Handling Ink Stains on a Leather Bag
When working on a bag, first empty it completely. Lay it on a flat, clean surface. Check the interior lining material. Is it fabric, suede, or plastic? You don’t want your cleaning solution to seep through and stain the lining.
Apply any cleaner or conditioner sparingly to avoid soaking the leather. Use a cotton swab for precision on small ink spots. After cleaning, stuff the bag with clean, white paper to help it hold its shape as it dries. My bag June has survived a few ink scuffs this way, with careful, focused cleaning to remove common stains like ink, oil, and watermarks.
Always work on a flat surface and protect the bag’s interior lining to avoid creating a second, bigger problem.
After the Ink is Gone: Restoring and Protecting the Spot
You got the ink out. Great work. But you’re not finished.
Every cleaner, even mild saddle soap, lifts more than just dirt. It pulls out the leather’s natural oils and waxes too. Think of it like washing your hands-the soap cleans, but it also dries out your skin. Leather needs moisture put back in. Conditioning the spot you just cleaned is not a suggestion; it’s a required step to prevent the leather from drying out, cracking, and becoming brittle. It’s part of proper leather care.
How to Condition the Cleaned Area
This isn’t about slathering on product. It’s a light, precise touch to restore balance.
- Let the area dry completely. Wait at least 2-4 hours after your final cleaning rinse. The leather should feel cool and dry to the touch, not damp.
- Choose a simple conditioner. For this repair, you want a basic, pH-balanced leather conditioner or cream. Avoid heavy waxes or pigmented products for now.
- Apply a tiny amount. Put a drop, about the size of a pea, on a clean, soft cloth. Rub the cloth between your fingers to spread the product.
- Gently massage it in. Using circular motions, work the conditioner into the cleaned spot and the immediate surrounding area. This helps blend the treatment. You should barely see any product on the surface.
- Buff it off. After 1-2 minutes, use a clean, dry part of your cloth to gently buff away any slight residue. The goal is for the conditioner to be in the leather, not on it.
A common mistake is using too much, too soon. If the spot looks soggy or darkens significantly more than the rest, you used too much conditioner; buff it vigorously with a dry cloth and let it rest for a full day. You can always add a second, thinner layer later if needed.
What Success Looks and Feels Like
Here’s how you’ll know you did it right. Run your finger over the spot. It should feel supple and cool, just like the leather around it. There should be no stiffness or roughness. The color might be a shade darker immediately after conditioning, but as it cures over 24 hours, it should even out closely with the original patina.
A successfully treated area blends in, feeling clean and nourished, not sticky or stiff. On my jacket June, a small ink spot I removed last year is now just a faint memory in the grain. The leather there is just as soft as the panel it’s on.
When a Shadow Remains
Sometimes, a faint shadow or a slight change in the leather’s texture lingers. This is especially true with deep ballpoint ink stains or on very porous leathers. The ink may have penetrated beyond what we can safely lift.
This isn’t a failure. View a faint remaining mark not as a flaw, but as proof of care-a chapter in your gear’s story. My wallet Scout has a tiny, shadowy line from a pen leak. I know it’s there, but it’s soft, conditioned, and part of its character now. The leather is protected and healthy, which is the true goal. Perfection is less important than preservation.
Simple Habits to Stop Pen Stains from Happening
Think of a pen mark on leather like a spilled drink on a table. It’s easier to clean a sealed, protected surface than a dry, thirsty one. A little forethought saves a lot of elbow grease later.
Keep Your Pens in Their Place
A loose pen rolling around in a leather bag is a disaster waiting to happen. The cap will come off. It always does.
- Never store a pen loose in a pocket, pouch, or main compartment of any leather item.
- Use a dedicated pen slot in a notebook cover or a separate, rigid pen case made of metal or hard plastic.
- For briefcases or totes, a small fabric pouch inside the bag acts as a perfect pen jail.
This one simple rule is the most effective stain prevention you can practice.
Maintain Your Leather’s Defenses
Conditioned leather has a subtle, protective barrier. It’s not magic, but it gives you precious extra seconds to blot a spill before it soaks in. Dry leather is like a sponge.
- Clean your leather item with a pH-balanced cleaner every few months to remove surface oils and dirt.
- Apply a thin coat of a natural wax or oil-based conditioner suitable for your leather type.
- Buff it gently with a soft, clean cloth after 15 minutes. This leaves a smooth, slightly resistant surface.
My wallet, Scout, gets this treatment twice a year. Its dark veg-tan leather repels minor scuffs and potential ink touches with ease now.
Choose Your Tools Wisely
Not all writing instruments are created equal when near leather. Ballpoint pens are the most common culprits because of their oily ink. Gel pens can be even worse.
- Consider using a pencil for quick notes in a leather-bound planner.
- If you must use a pen, opt for a fine liner or a rollerball with water-based ink. They are generally less oily.
- Always, always recap the pen immediately after use. Make it a muscle memory.
Accidents Are Inevitable, And That’s Okay
Do not beat yourself up. I have a small, faint blue line on Mason’s saddle flap from a misplaced marker years ago. It’s part of his story now. The goal is not perfection, but care.
If a stain does happen, your first move is always the same: gently blot, do not rub, with a clean, absorbent cloth to lift any excess ink before it sets. From there, we can assess the specific removal steps. But starting with clean, conditioned leather makes any recovery mission much simpler.
Common Questions
I got chilli oil on my leather sofa. What’s the very first thing I should do?
Immediately blot-don’t rub-with a clean, absorbent cloth to lift the oil. Using water or soap first can set the stain; your next step should be a specialized leather degreaser after a hidden spot test.
Is aniline leather stain removal different from regular leather cleaning?
Absolutely. Aniline leather has no protective topcoat, so stains penetrate deeply and require the gentlest methods. Always start with a dry brush or a barely damp cloth, and consider professional help for significant stains to avoid damage.
What’s the biggest mistake people make when they try to clean a stain quickly?
They reach for a harsh household chemical like acetone or bleach, which strips color and finish instantly. The correct first step is always to test a hidden area with the mildest option, like distilled water on a cloth.
Moving Forward with Marked Leather
Remember, the single best tool is patience and a hidden test spot. A gentle, tested approach respects the material and gives you the best chance for a clean recovery. Leather is surprisingly resilient and often bounces back beautifully with careful attention.
Every time you successfully care for a piece, you build the skill to keep it for years. This thoughtful maintenance is the heart of sustainable use, honoring the material by ensuring your leather goods live their longest, best life. Make checking and conditioning your leather a regular habit, just like you would for any other valued possession.
Related Guides and Information
- r/AutoDetailing on Reddit: Pen ink on leather. What’s the best way to remove safely?
- Ink on Leather? Don’t Panic – Here’s How to Fix It – Vintage Leather Sydney
- How To Remove Ink and Pen Stains From Leather Fast – Von Baer
- How to Remove Ink from Leather [7 Working Methods] – Moonster Leather Products
Harriet is a avid collector of leather goods such as purses, bags, seat covers, etc and has an extensive background in leather care, recovery, stain removal and restoration. She has worked for a number of years perfecting her leather care techniques and knows the ins and outs of restoring all kinds and types of leather products. With her first hand knowledge in leather care, you can not go wrong listening to her advice.
Removing Ink and Marker